Advertisement
Loop test receiver
Instructions for use
FEATURES
• Digital Volume Controls
• High Pass Filter
• Belt Clip
• Sturdy Case
TECHNICAL SPECIFICATION
O
u
p t
t u
P
o
w
r e
B
t a
e t
y r
9
F
e i
d l
e s
s n
t i
i v i
y t
D
y
n
a
m
c i
a r
n
g
e
T
H
D
+
N
i o
e s
H
g i
h
P
a
s s
F
e r
q
u
e
n
y c
F
t l i
r e
O
d r
r e
5
0
z h
r
j e
c e
o t
n
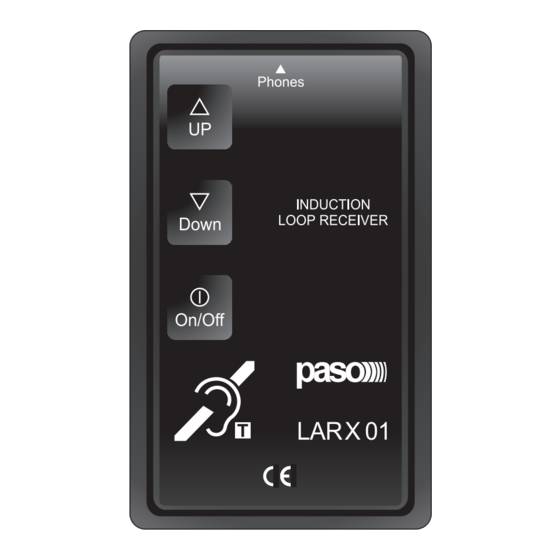
GETTING STARTED
1. Plug the Headphones into the 3.5mm Jack socket on the top of the LARX01; any 32 Ω Walkman style headphones can be used if the supplied ones
are not suitable.
2. A PP3 type battery is required, for long life operation an alkaline type will give the best operation. The battery should be inserted into the clip
opening on the rear of the unit, being sure to observe the correct polarity.
3. When the battery is inserted, the unit may immediately turn on, (indicated by the green LED on the top of the unit lighting) or alternatively the ON
OFF button may need to be pressed.
4. When powered up, the green LED will glow brightly whilst the soft start circuit is operating and then the LED will dim when the unit is operating. The
volume returns to a low level on start up to prevent possible ear damage from a unit being left at high volume in a large loop field.
5. The up volume button can now be pressed until the desired volume is reached (the volume only changes when the button is released, so it is best
to give ‘short sharp’ presses of the volume buttons to achieve the correct volume.
6. When finished, pressing the ON OFF switch momentarily will turn off the unit and the LED will extinguish.
Notes
1. If the unit is not being used for long periods of time remove the batteries - this will stop them flattening and will prevent any chance of the battery
leaking and damaging the unit.
2. The LARX01 is not a hearing aid, it is only designed to provide monitoring facilities for loop test or talk back situations.
3. Remember the volume resets to a safe level on turn on, this is not a fault but a health & safety requirement.
DESCRIPTION
The LARX01 is designed to allow people without hearing aids to listen to the programme material
being broadcast by the induction (AFILS) loop amplifier. Digital volume controls with a positive ‘click’
action are used to set the volume of the received signal in the headphones as well as a power toggle
button for standby. The receiver has many uses, from testing the audio quality of a loop installation,
to providing museum talk through system for non hearing aid users. A built in high pass filter is used to
remove mains hum from the received signal, making this unit ideal for installations in theatres where
the mains noise from dimmers and lighting affect the sound quality. Power is provided by a PP3 type
battery, providing over 20 hours of continuous use from an alkaline battery. In standby the unit is in
low power consumption mode.
2
0
0
m
W
If the unit is to be left unused for long periods of time then the batteries should be removed to prevent
them discharging fully or leaking. Any standard ‘walkman’ style headphones can be used with the
V
P
P
3
LARX01, as long as the impedance of the headphones is between 16 Ω and 32 Ω.
1
m
A
M
1 -
It is good practice to provide an LARX01 with all induction loop installations, to allow the responsible
person to periodically test the effectiveness of the installation and record it in a log booklet.
8
0
d
B
<
8
0
d
B
Please Note: the LARX01 is not a hearing aid and is not sold as such, the device can however be
used by people with mild hearing loss to enhance sound reception at theatres and concert venues.
1
2
0
H
z
3
d r
>
3
0
d
B
LARX01
1
Advertisement
Table of Contents

Subscribe to Our Youtube Channel
Related Manuals for Paso LARX01


Summary of Contents for Paso LARX01
- Page 1 > GETTING STARTED 1. Plug the Headphones into the 3.5mm Jack socket on the top of the LARX01; any 32 Ω Walkman style headphones can be used if the supplied ones are not suitable. 2. A PP3 type battery is required, for long life operation an alkaline type will give the best operation. The battery should be inserted into the clip opening on the rear of the unit, being sure to observe the correct polarity.
- Page 2 PASO will not accept any liability for damage to property and/or persons arising out of incorrect use of the equipment or of procedures that do not comply with the instructions provided in this booklet.
Need help?
Do you have a question about the LARX01 and is the answer not in the manual?
Questions and answers