Table of Contents
Advertisement
Quick Links
Advertisement
Table of Contents

Subscribe to Our Youtube Channel
Summary of Contents for Falco FAL-34NS1
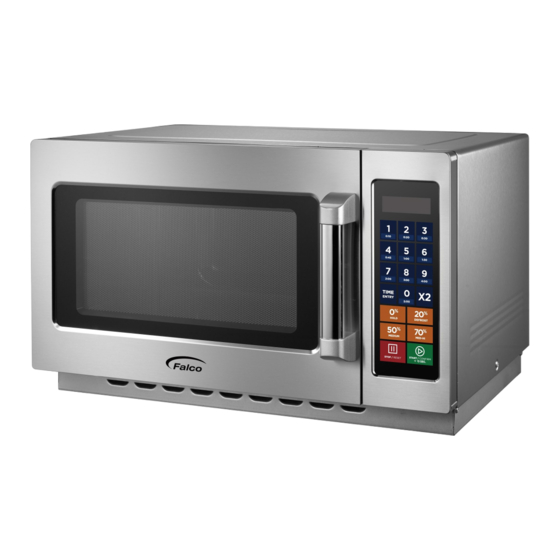
- Page 1 OPERATING MANUAL OF FAL-34NS1 COMMERCIAL MICROWAVE...
-
Page 2: Table Of Contents
Table of Contents FALCO THE COMPANY ............................... 3 USING THIS MANUAL ................................ 3 SPECIFICATIONS OF THIS APPLIANCE ..........................3 WARNING AND SAFETY INSTRUCTIONS ..........................4 PRECAUTIONS TO AVOID POSSIBLE EXPOSURE TO HARMFUL MICROWAVE ENERGY ..........4 REDUCING THE RISK OF ELECTRICAL SHOCK ......................... 5 UTENSILS THAT CAN BE USED SAFELY IN THE MICROWAVE .................... -
Page 3: Falco The Company
FALCO THE COMPANY Falco Domestic Appliances was founded in 1991 and is proud to be a trusted name in the South African appliance industry. Our business has been built on providing higher spec products offered at reduced prices. More importantly, is the service aspect of our business, we value every customer and will always strive to assist to the best of our ability. -
Page 4: Warning And Safety Instructions
• Incorrect maintenance and repairs could cause harm to the user. Please ensure repairs are carried out by an authorised Falco technician. • A damaged appliance can be dangerous. Please check for any visible damage before use and notify your retailer should then be any signs of damage. -
Page 5: Reducing The Risk Of Electrical Shock
by a person responsible for their safety. Children should be supervised to ensure that they do not play with the appliance. • If the supply cord is damaged, it must be replaced by the manufacturer, its service agent or similarly qualified person to avoid a hazard. •... -
Page 6: Utensils That Can Be Used Safely In The Microwave
5. Cleaning - Be sure to unplug the appliance from the power supply before cleaning. Clean the inside of the oven after using with a slightly damp cloth. The door frame and seal and neighbouring parts must be cleaned carefully with a damp cloth when they are dirty. -
Page 7: Materials To Be Avoided
MATERIALS TO BE AVOIDED • Aluminium Tray - May cause arcing. Transfer food into microwave-safe dish. • Food Carton with Metal Handle - May cause arcing. Transfer food into microwave-safe dish. • Metal or Metal-Trimmed Utensils - Metal shields the food from microwave energy. Metal trim may cause arcing. -
Page 8: Countertop Installation
NOTE: 1) Don't press down hard on the ceramic base. 2) Handle objects gently when inserting and removing from the microwave, to avoid damage to the ceramic base. 3) After using, don't touch the ceramic base by hand to avoid scalding. COUNTERTOP INSTALLATION •... -
Page 9: Cleaning Instructions
STACKING THE MICROWAVE This model of microwave can be stacked on top of another identical microwave (Figure 2) *Not to exceed more than two levels of stacking. CLEANING INSTRUCTIONS ALWAYS KEEP THE OVEN CLEAN Cleaning the glass viewing window, the inner door panel and oven front face. For best performance and to maintain a high degree of safety, the inner door panel and oven front face should be free of food or grease build-up. -
Page 10: Operation
CAUTION: Do Not wipe plastic and painted sections of the oven with bleach, thinners or other cleaning agents, as this may cause these parts to dissolve or change sharp. OPERATION CONTROL PANEL AND FEATURES 1) Power Level Buttons 2) Cooking Time Button 3) X 2 Button 4) Stop/Reset Button 5) Start Button... - Page 11 The number of seconds is determined by the keyboard Timeout Window, set by User Option 4. • During IDLE MODE the display is blank and there shall be no oven activity. • Opening and then closing the oven door, the oven will exit the IDLE MODE and go into READY MODE.
- Page 12 6) MANUAL COOK ENTRY MODE • The user may manually enter a cook time and power level while in this mode. • While the oven is in the READY MODE, pressing the “TIME ENTRY” button on the keyboard will put the oven into MANUAL COOK ENTRY MODE. •...
- Page 13 Press any number from 0 - 9 to select the program, the LED will display the saved time. You can then input the cooking time required. Press “Hold 0% Defrost 20% Medium 50% or Med-Hi 70%” to input the power level required. The LED will display the related power.
- Page 14 STAGE COOKING PROGRAMMING This allows the user to cook food items at a combination of power levels and times. Three stages can be set at most under programming mode or memory mode. After setting the power and time for the first stage, press the “Time Entry”...
- Page 15 Example To set the sound level of the buzzer to medium. STEP 1 – Open the oven door and press button “2” for 5 seconds. The buzzer will sound once and enter this mode. The LED displays “OP:--". STEP 2 - Press the buttons “2” & “2” “OP:22”...
- Page 16 Appendix B – Default cooking times The microwave oven will ship with the following Preset Cooking Times: SERVICE MODE Open the oven door and press button “3” for 5 seconds to enter service mode, LED displays “SERVICE”. To check how many times the door was opened and closed, press button “3”, the LED will display the amount of times.
-
Page 17: Trouble Shooting
TROUBLE SHOOTING According to Waste of Electrical and Electronic Equipment (WEEE) directive, WEEE should be separately collected and treated. If at any time in the future you need to dispose of this product, please do NOT dispose of this product with household waste. Please send this product to WEEE collecting points where available. -
Page 18: Warranty
Warranty and service certificate: This certificate is issued by Falco Domestic Appliances, supplier of ALL Falco products. Hereinafter referred to as ‘The Company’, to the original purchaser only, of the product/appliances described on the certificate and shall constitute the only warranty given in respect of this product/appliance.
Need help?
Do you have a question about the FAL-34NS1 and is the answer not in the manual?
Questions and answers