
Related Manuals for AQUASONIC AC339

Summary of Contents for AQUASONIC AC339
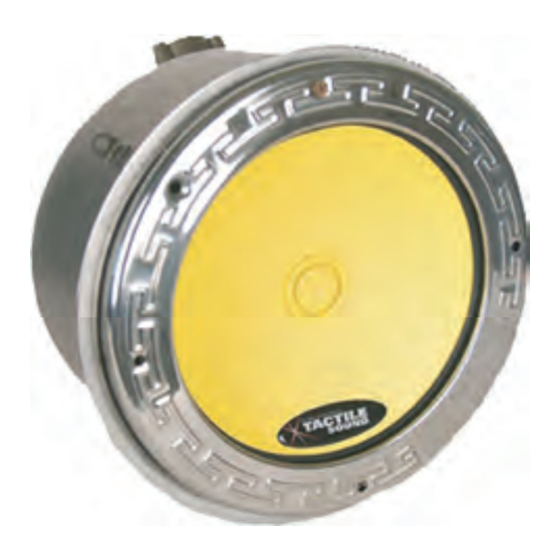
- Page 1 INSTALLATION GUIDE Aquasonic® Awarded the Design and Engineering Award at 2004 International CES Aquasonic® AC339 Easily Converts To One Of the Following Configurations Portable Floating Model In-Wall Model Portable Drop-In Model...
-
Page 2: General Safety Instructions
GENERAL SAFETY INSTRUCTIONS Thank you for purchasing the Aquasonic® AC339 from Clark Synthesis Tactile Sound. Please read the following instructions before assembling and using the product. DO NOT DROP SPEAKER - If damage occurs due to high impact of speaker, it is not covered under warranty. - Page 3 Carefully unpack product. DO NOT discard any parts or packaging until installation is complete. Some Parts Are Pre-Assembled Required Audio Components • Power: Receiver or amplifier for the TST. All AC339 configurations should be powerered with between 100watts and 200watts. Make sure your amplifier is capable of driving a 4-ohm load. Aquasonic...
- Page 4 AQUASONIC FLOATING INSTALLATION 1. Remove speaker from packaging. 2. Remove 8-wire floats from top of styrofoam packing. 3. Slide wire floats (8) onto speaker wire, as needed. 4. Attach optional nylon rope of desired length to tether eyelet hole in rubber ring flange. Tether/nylon rope can Underwater Speaker Cable be purchased at pool supply or hardware store.
- Page 5 AQUASONIC IN-WALL INSTALLATION This configuration requires some assembly. The Aquasonic® AC339 simply replaces the light bulb in the light niche. TOOLS NEEDED: Phillips Head Screwdriver, 2-9/16" Open-Ended Wrenches. 1. Remove AC339 and acoustic sound lens (ASL) from packaging. 2. Seperate the TST from the float. Using the 9/16” wrenches, loosen the jam nut to remove the float assembly from the gold mounting point on the TST.
- Page 6 Unitension wire clamp assembly 79101600 Gasket for 8-3/8” lens 00782105 Light niche 79104800 Pilot screw with captive gum washer Parts Supplied By Clark Synthesis/Aquasonic Item # Part No. Clark Synthesis/Aquasonic Description AC339 Aquasonic underwater speaker (TST) ASL339 Clark Synthesis acoustic sound lens...
- Page 7 This configuration requires some assembly. A tether is recommended to suspend speaker in water. TOOLS NEEDED: Phillips Head Screwdriver, 2-9/16" Open-Ended Wrenches. 1. Remove AC339 and acoustic sound lens (ASL) from packaging. 2. Seperate the TST from the float. Using the 9/16” wrenches, loosen the jam nut to remove the float assembly from the gold mounting point on the TST.
- Page 8 As the lead ers in Tact ile Tec hnology we have been honored with the Innovations Design and Engineering Aw ard f or the TST 329 in 1998, the Sensation Theater Seat in 2002, and the AC339 in 2004. Aquasonic...
- Page 9 CLARK SYNTHESIS' ACCESSORIES Clark Synthesis Tactile Sound has many accessories in development to aid in installations of the AC339-Aquasonic Underwater Speaker. For a complete list of accessories please contact us at: Clark Synthesis Corp. 12905 Division Street, Suite B Littleton, CO 8012...
-
Page 10: One-Year Limited Warranty
WARRANTY One-Year Limited Warranty Your AC339-Aquasonic Sound Series Underwater Speaker is a quality crafted device made to give many years of high performance. Each speaker is guaranteed for 1 year from date of purchase on material and workmanship. Clark Synthesis Corp. will repair or replace at our sole discretion. Warranty void if TST is altered, modified, abused or tampered with in any way.
Need help?
Do you have a question about the AC339 and is the answer not in the manual?
Questions and answers