Table of Contents
Advertisement
Quick Links
Trouble Shooting
Heat alarm does not sound when tested
Check AC power is turned on.
Turn off the power. Remove the heat alarm from the plate and check the
connector plug is securely attached.
Remove heat alarm from bracket and check the battery is connected
properly.
If there are still failures, the fitting will need to be replaced.
Alarm chirps every 40 seconds at the same
The battery is low and must be replaced.
time as the red LED flashes
Alarm chirps and red LED flashes every
Switch off power immediately.
2 seconds.
Check all wiring of all alarms.
See 'Operation, Power Fault Indication
Test the interconnected alarms by pressind and holding the test button for
Condition'
6 seconds.
If a fitting is damaged, it must be replaced.
Unwanted alarms
Hire an electrician to move the heat alarm to a more appropriate location.
Interconnected alarms do not sound when
Press and hold the Test button for at least 5 seconds after the first unit
the system is tested
sounds.
Turn off the power and check the interconnecting wiring.
Should you experience any difficulty when installing this product, please call the
GL Helpline on 01905 610200
during normal office hours 8.30am to 4.30pm, Monday to Friday
Please note that this equipment and its components have NO user serviceable parts. GL tries to improve its products for the
benefit of its customers. For this reason we reserve the right to make any changes to any product at any time without notice.
GL Instructions GL-P102 Mains Powered Heat Alarm. Recognised by the NHBC and LABC.
©Green Lighting Ltd. 2023
www.gl-e.uk
GL-P102
Mains Powered Heat Alarm
ASSEMBLY & FITTING INSTRUCTIONS
KM 715769
Please read these instructions carefully before attempting to install this fitting.
It is advisable to keep these instructions in a safe place for future reference.
If this fitting is installed by a contractor, the contractor should ensure that the
customer has a copy of these instructions.
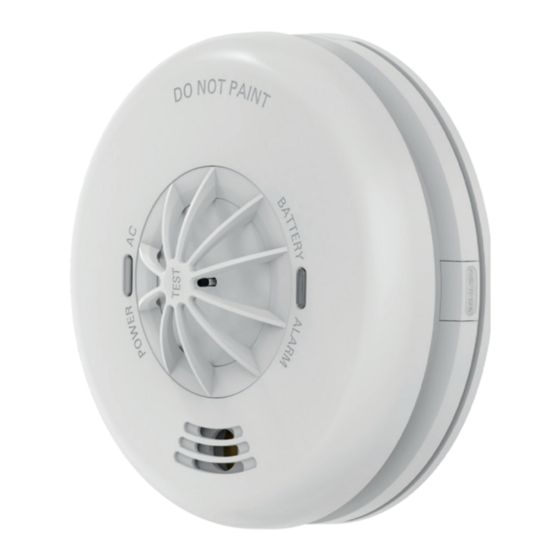
Description
The GL-P102 Heat Alarm is designed to be installed as part of a complete fire
protection system where smoke alarms are unable to be installed. The heat
alarm can rapidly detect incremental temperature.
Specification
Voltage:
220-240V AC
Backup:
9V Battery
> 85dB at 3 metres
Alarm Volume:
Alarm Sensitivity: 54°C to 64°C
Silence Time:
Approx. 8 minutes
Interconnect:
Max 40 alarms
Choosing a Location
Heat alarms are best suited to areas such as kitchens, laundry rooms, boiler
rooms and garages where dust, moisture and fumes can cause nuisance alarms
in heat alarms.
When a heat alarm is installed in a room they must be situated on the ceiling,
preferably in the centre of the room. They should be installed no further than
5.3m away from any wall or door.
As doors and other obstacles can interfere with the path of heat to an alarm,
it is recommended to install an alarm both sides of such obstruction in order
to compensate.
In an emergency, a substantial increase in warning time can be achieved by
using a complete fire protection system. (PTO see Fig 1)
58.8mm
Advertisement
Table of Contents

Summary of Contents for GL GL-P102
- Page 1 (PTO see Fig 1) Please note that this equipment and its components have NO user serviceable parts. GL tries to improve its products for the benefit of its customers. For this reason we reserve the right to make any changes to any product at any time without notice.
- Page 2 Interconnecting Smoke and Heat Alarms Flash Double flash Interconnected Alarms Pause GL’s smoke and heat detectors are capable of being Sound interconnected, wired together so that if one alarm is activated then all the alarms which are linked on Normal Condition the circuit will also sound.
Need help?
Do you have a question about the GL-P102 and is the answer not in the manual?
Questions and answers
Is there a minimum distance that this should be installed from a fan i.e. 300 or 600mm?