Advertisement
- 1 Introduction
- 2 Overview
- 3 Getting started
- 4 Frameo app
- 5 Frameo quick setup
- 6 Start using frameo
- 7 Connecting a new friend
- 8 Navigating your frameo
- 9 Settings
- 10 My frame
- 11 Manage photos
- 12 My Friends
- 13 Display and slideshow
- 14 Wi-Fi
- 15 Backup and Restore
- 16 About
- 17 Help
- 18 Privacy
- 19 Support
- 20 Warranty, Compliance, Support and Safety information
- 21 Documents / Resources
Introduction
Before connecting, operating or adjusting this product, please read this user's manu al carefully and completely.
If the user manual is not printed in your local language, then please enter our website to see if it is found online under the model you have. The website address is: www.denverelectronics.com
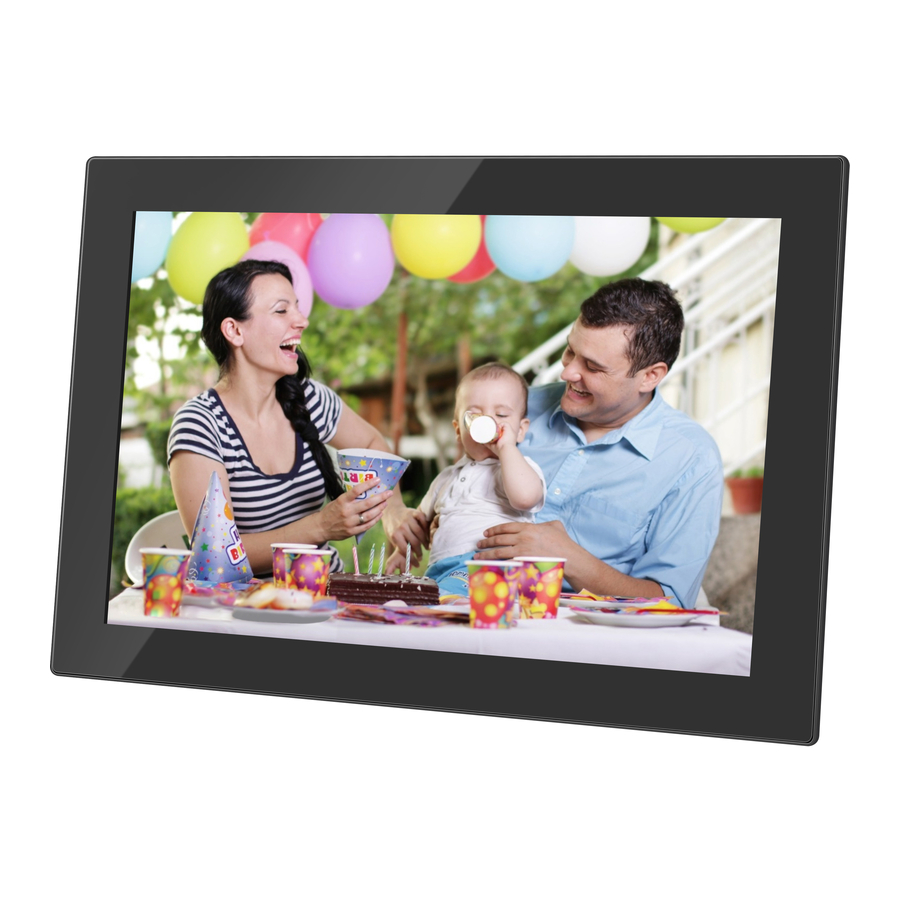
Overview

- POWER
After connecting power adapter, please press and hold power button for approximately 5 seconds (until screen turns on). When it is on, press and hold power button for approximately 3 seconds to access reboot or power off menu. Short press on power button will turn off/onscreen (but leave the photo frame in on position). - USB
Connect a USB flash drive. USB is for service use only. - RESET
Use a needle or paper clip to reset unit. - MicroSD card
Load external max 32GB microSD memory card here. - DC
Connect DC adapter to power on the device.
Getting started
First, to set up your frame follow the 'Quick start guide' included in the package. If you are new to using frameo then start by following the frameo quick setup on page or follow the on screen guide when powering it on for the first time.
Once you have set up your Frameo frame, start connecting it to your friends and family.
Frameo app
To send photos to your frame, use the frameo app for iOS or Android

Find the frameo app on:
Google play by searching for "frameo" or scan this QR code


App Store by searching for frameo or scan this QR code


Frameo quick setup
When starting your frame for the first time, you will need to setup the frame.
- First you start by selecting a language. This will be the language used throughout frameo.
- Connect your frame to the internet by connecting it to a Wi-Fi.
If a newer version of the frameo software is available, then you will be prompted with an update dialog. It is recommended to update your frame immediately if prompted. - Enter your name, and the location where you have placed your frame e.g. "Living room", "Kitchen" or "Office" and finally set the timezone if not correct.
Start using frameo
Start by connecting with your friends and family by providing them with a unique code from your frame.
If you want to be able to send photos to the frame yourself, start by downloading the app for iOS or Android on App Store or Google Play. Then use the code to connect your frame and app as described below.
Connecting a new friend

- Make sure that your friend has downloaded and installed the frameo app
- Click the add friend icon on your frame
![]() . A dialog will appear showing a unique code which is valid for 12 hours.
. A dialog will appear showing a unique code which is valid for 12 hours. - Now share this code in whatever fashion you prefer e.g. SMS, E-Mail, IM, phone call, to your friend.
- Once your friends have added the code in their frameo app, they will automatically appear on your frame and be able to send you photos.
- Read chapter Change options for a friend to allow connected friends, to retrieve and share the connection code via the smartphone app.
Navigating your frameo
Swipe left or right to go through your photos.
To access the menu, simply tap once on the screen.

In the menu you will find the most used features.
Add friend
This will generate a code that you can share with your friends and family so they can connect and send photos to your frame.
Gallery
Opens a gallery which allows for easy and fast navigation through your photos.
Settings
Opens the Settings.
Hide photo
Hides the current photo. This means that the photo will no longer be shown in the slideshow. If needed the photo can be shown again through the settings menu.
Fit to frame/Fill frame
This toggles how the photo is shown.
The Fill frame option is the default. The photo is scaled so that it fills the whole screen. It will be centered around what is selected as the most important part. See the first picture below.
Fit to frame will make sure that the entire photo is shown on the screen. See the second picture below.

Adjust photo
The adjust photo feature is only available when the photo is set to fill frame. It allows you to adjust the position of photo in the frame for an even better fit.
Interacting with videos
When a video is shown two additional controls are shown. One for play/pause of the video and one for mute/unmute of the video.
Press ![]() to start the video playback. Pressing
to start the video playback. Pressing ![]() will pause the video playback.
will pause the video playback.
Pressing ![]() will mute the video while pressing
will mute the video while pressing ![]() will unmute the video.
will unmute the video.
Power menu
Tap the power icon  in the top right corner of the screen to access the power menu. Here you can power off or restart your frame and make it go into sleep mode.

NB. Make sure to always use the power off button on the device or in the power menu to turn Frameo off. Never disconnect power when Frameo is running.
Settings
Through settings, you can personalize your frame to your needs.
My frame
Frame name:
Changes the name of your frame. This is also the name the connected friends and family will see in their list of connected frames.
Frame location:
Changes the location of your frame. This is the location displayed on your friends' and family's list of connected frames which can help to distinguish frames from each other.
Set language:
Sets the language throughout your frame.
Enable/Disable 24-hour format
Enables, and disables, 24-hour time format.
Set time zone
Sets the timezone that should be used on your frame.
Sleep mode:
frameo offers a sleep mode which turns off the screen to reduce power consumption while you e.g. are sleeping. Its default setting is to turn off the screen at 23:00 and turn on the screen again at 07:00. To change this just set the sleep mode start/end time.
Your frame is not powered down or in standby, so you will still be able to receive photos during sleep mode.
Manage photos
Show/hide photos:
Select which photos to hide by tapping the particular photos you wish to hide. Hidden photos will NOT be deleted from your frame, you can always select them to be shown again.
Use ![]() to hide or show all photos.
to hide or show all photos.
Delete photos:
Select photos that you want to permanently delete from your frame by tapping the photo. Use ![]() to select or deselect all and
to select or deselect all and ![]() to delete the selected photos.
to delete the selected photos.
Import photos:
Allows you to import photos from an external max 32GB SD card.
Before you try to import photos from a SD card, make sure you have a SD card with photos on inserted into your frame.
Start by selecting the photos that you want to import onto your frame. Once selected tap the import button ![]() to start the import process.
to start the import process.
It is currently not possible to add a caption or define the most important part of the photo when using the import function. Alternatively add yourself to your friend list and send them using the app.
Export photos
Allows you to export photos from the frame to external storage (e.g. microSD card).
The export function will export all photos on the frame as well as profile pictures.
My Friends
This list contains all the people that are allowed to send photos to your frame.
Change options for a friend
Click the options icon ![]() to open the friend options menu. From here you can allow/disallow if a friend may share the code to the frame. If this is enabled the friend can retrieve and share the code to the frame from his/her app.
to open the friend options menu. From here you can allow/disallow if a friend may share the code to the frame. If this is enabled the friend can retrieve and share the code to the frame from his/her app.
From the options menu you can also delete a friend, by pressing the DELETE FRIEND button. This will remove the friend from the list and thereby remove their permission to send photos to the frame. You will then be asked to confirm the removal and if you would like to remove all photos previously received from this friend.
Remove person
To remove a person from this list, thereby removing their permission to send you photos, tap the delete icon ![]() . You will then be asked to confirm the removal and if you would like to remove all photos received from this person.
. You will then be asked to confirm the removal and if you would like to remove all photos received from this person.
Add person
To allow a new person to send you photos, simply tap the add friend button  and share the presented code in whatever way you prefer.
Display and slideshow
Timer
Define the duration a photo should be displayed.
Show caption
Sets whether or not to display the captions that your friends have sent with the photo. Check to display captions. Uncheck to hide captions.
Fill frame
Sets the default frame photo setting. Check to set default to fill which makes the photos fit the device screen according the most important part of the photo. Uncheck to make the photo fit inside the screen of the device, adding blurred bars on the sides or top/bottom
Photo display order
Sets the order in which your photos are displayed on the frame.
- By date: Photos are shown newest to latest.
- Shuffle: Photos are shuffled and shown in a random order.
Brightness level
Adjust the brightness level of the screen.
Notification volume
Adjust the volume level for notification sounds on the frames, e.g. for received new photo notification.
Autoplay
Enables/disables autoplay of videos in the slideshow. Videos can always be manually started regardless of this setting.
Video playback
Determines how videos should be played when autoplay is enabled.
- Loop videos: The video will loop until the slideshow timer is up.
- Play once: The video will play once and show it's thumbnail until the timer is up.
- Play once and continue: The video will play once and continue to the next photo, or video, once it completes.
Playback audio
Sets the default audio playback behaviour of videos in the slideshow to ON or OFF. Audio can always be manually enabled/disabled regardless of this setting.
Video volume
Adjust the volume level for video sounds on the frames.
Wi-Fi
Set which Wi-Fi the frame should be connected to. If you are connecting to a network with a captive portal a web browser icon should appear in top right corner of the screen. Use this to open a browser where you can enter credentials to access the network.
Backup and Restore
Backup frame to max 32GB microSD card.
Tap to make a backup of your photos, friends and settings. The time of latest successful backup will be displayed.
Any existing backup on the SD card will be overridden!
Automatic backup
If checked, your frame will automatically take a backup within 30 hours of you receiving new photos or making changes on your frame.
Restore from backup
Before you attempt to restore your frame, start by confirming that your backup is up-to-date. This is done by confirming the date under "Backup frame to external storage (e.g. microSD card)". If e.g. the last backup is too old or if no backup is made, then press the "Backup frame to external storage (e.g. microSD card)" button to make a new backup.
It is important to note that you cannot restore a backup to a new Frameo frame and keep the old frame operational at the same time.
If you wish to restore a backup on a frame that has already been setup, then you must first reset the frame. This is done by pressing the "Reset frame" button. This will delete all data on the Frameo and reset the Frameo to its setup screen.
On the setup screen you can select the "Restore from backup" button which will restore your frame according to the backup.
If the "Restore from backup" button isn't visible, then confirm that the external storage (e.g. microSD card) is correctly mounted.
Reset frame
Removes all data from your frame. This will permanently remove all your photos, friends/connections and settings.
About
Check for update
Check if an update is available for your frame.
Beta program
If checked the device will join the Beta program were it will receive updates more frequently and before normal release devices.
Help
Open source libraries
Opens a list of open source libraries used in the app and their licenses.
Share anonymous analytics data
Sharing anonymous analytics data helps us tremendously with improving the frameo software. We understand if you do not wish to share this data with us. Set checked if you wish to help us improve frameo. Set unchecked to deny the sharing of anonymous analytics data.
Guide
Opens the quick start guide, that was shown when you first started the frame.
Privacy
For more information regarding privacy, please visit http://privacy.frameo.net
Support
Please visit http://frameo.net/helpcenter for FAQ, support and to provide feedback.
Warranty, Compliance, Support and Safety information
For more information regarding warranty, hardware compliances, support and safety please refer to the material included in the package.
| Manufacturer's name or trade mark, commercial registration number and address | Shenzhen Run Sheng Feng Power Supply Techonolgy Co., Ltd commercial registration number: 91440300580068676U 3 Floor, 4 Building, Zone A Xinfu Industrial rd th Park, Chongqing Road, Fuyong Street, Bao'an District, Shenzhen, China |
| Model identifier | RSF-DY080-0502000EU |
| Input voltage | 100-240V |
| Input AC frequency | 50/60Hz |
| Output voltage | 5V |
| Output current | 2A |
| Output power | 10W |
| Average active efficiency | 78.79% at 115V 60Hz 79.09% at 230V 50Hz |
| Efficiency at low load (10%) | 79.37% at 115V 60Hz 76.55% at 230V 50Hz |
| No-load power consumption | 0.037W at 115V 60Hz 0.056W at 230V 50Hz |
Please notice - All products are subject to change without any notice. We take reservations for errors and omissions in the manual.
ALL RIGHTS RESERVED, COPYRIGHT DENVER ELECTRONICS A/S
www.denver-electronics.com

Electric and electronic equipment and included batteries contains materials, components and substances that can be hazardous to your health and the environment, if the waste material (discarded electric and electronic equipment and batteries) is not handled correctly. Electric and electronic equipment is marked with the crossed out trash can symbol, seen above. This symbol signifies that electric and electronic equipment should not be disposed of with other household waste, but should be disposed of separately. All cities have established collection points, where electric and electronic equipment can either be submitted free of charge at recycling stations and other collection sites, or be collected from the households. Additional information is available at the technical department of your city.
Hereby, Inter Sales A/S, declares that this model DENVER PFF-1 017 BLACK is in compliance with the essential requirements and other relevant provisions of Directive 2014/53/EU. A copy of the Declaration of Conformity may be obtained at: www.denverelectronics.com and then click the search ICON on topline of website. Write model number: PFF-1 017 BLACK. Now enter product page, and red directive is found under down-loads/ other downloads
Operating Frequency Range: 2412MHz-2472MHz
Max Output Power: 17dbm
DENVER ELECTRONICS A/S
Omega 5A, Soeften DK-8382 Hinnerup Denmark
www.facebook.com/denverelectronics

Documents / Resources
References
![www.denver-electronics.com]() Denver A/S
Denver A/S![www.denverelectronics.com]() denverelectronics.com is available for purchase - Sedo.com
denverelectronics.com is available for purchase - Sedo.comFacebook
![play.google.com]() Google Play
Google PlayFrameo on the App Store
Frameo on the App Store
http://privacy.frameo.net
Download manual
Here you can download full pdf version of manual, it may contain additional safety instructions, warranty information, FCC rules, etc.
Advertisement
Thank you! Your question has been received!


Need Assistance?
Do you have a question about the PFF-1017 that isn't answered in the manual? Leave your question here.