Advertisement
Quick Links
User Manual
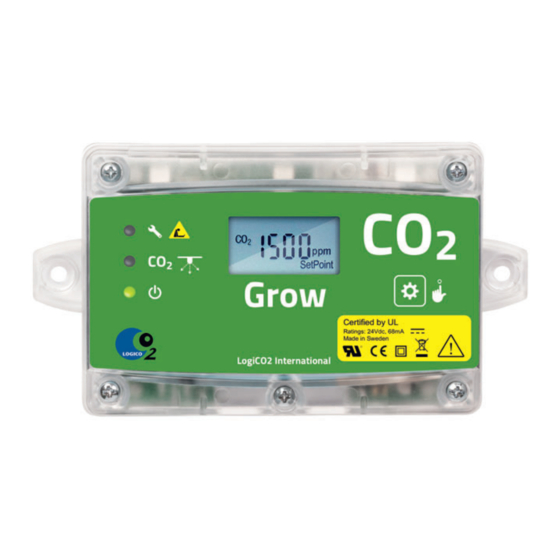
Grow CO2 Enrichment Controller
ENGLISH
Grow CO2 Enrichment Controller for grow room and
greenhouse.
!
WARNING!
Please read these instructions carefully prior
to start-up and use. These instructions should
be saved for future reference and passed on to
any subsequent owner. Failure to follow any of
these instructions could result in bodily harm
or death, and could void product warranties.
LogiCO2 International AB, its affiliates and third
party providers assume no responsibility for claims
arising from improper or careless use or handling
of its products. Retain this instruction.
LEGAL NOTICE
All persons responsible for the operation and
maintenance of this equipment must read and
understand the safety and operating information
contained in this guide. Installation and service
of this equipment should be performed only by
professionals. The function of the equipment
will be impaired if it is not properly installed.
Disconnection from supply source: When installing
the Grow CO2 Enrichment Controller to the power
net, please ensure that the fuse that the system
runs on is clearly marked. This makes it easy to
disconnect the power to the system, if needed.
It is very important to be aware that the Grow
CO2 Enrichment Controller does not function if
disconnected from power mains.
Testing set, BEFORE INSTALLATION
The different sets are delivered pre-connected in the
package. Always test the set before installation to
verify proper function!
1. Open the box and carefully take the components
out of the package.
2. Find the power supply in the package and attach
the correct mains-adaptor for your country's outlet,
then connect the power supply to the electrical
outlet. The set should now activate.
3. Check that all LEDs on the Grow CO2 Enrichment
Controller illuminate and that the built-in buzzers
beep. This is part of the selfdiagnostics program.
4. Now your product is tested and you can start the
installation.
Technical specifications
Power supply:
Mains power supply:
Power consumption:
Power consumption
with Enrichment Valve
(10 Watt):
Measurement range:
Altitude:
Pollution degree:
Serial communication: Modbus protocol over RS485
Automatic calibration: At regular intervals
Operating temperature: Calibrated for operating
Operating humidity:
Storage temperature: -40 to + 70˚C
24V DC
Transient overvoltages up to
the levels of overvoltage
category II. NOTE: These
levels of transient
overvoltage are typical for
equipment supplied from the
building wiring.
130 mA
Max 550 mA
0-5000 ppm CO2-
concentration
Calibrated for altitude up to
5000 m.
2
between 32 – 115F (Sensor
functions from -5F )
Calibrated for operating
between 0 to 45˚C (Sensor
works from -20°C) but values
valid only for 0-45°C).
0-95% RH non condensed
Advertisement

Related Manuals for LogiCO2 Grow CO2 Enrichment Controller

Summary of Contents for LogiCO2 Grow CO2 Enrichment Controller
- Page 1 3. Check that all LEDs on the Grow CO2 Enrichment ENGLISH Controller illuminate and that the built-in buzzers beep. This is part of the selfdiagnostics program. Grow CO2 Enrichment Controller for grow room and 4. Now your product is tested and you can start the greenhouse. installation.
- Page 2 Grow CO2 Enrichment Controller makes When it is dark, the Grow CO2 Enrichment Controller it possible to activate the CO2-control only when the will also stop the CO2 enrichment.
-
Page 3: Installation
0471 RCB box, fan control Installation Mount the Grow CO2 Enrichment Controller at the same height as the foliage of the plants, where the photosynthesis is taking place. If plant lighting is used in the greenhouse, make sure the plant light hits the Grow CO2 Enrichment Controller. -
Page 4: Connection Diagram
• The altitude setting (height over the ocean) Certified by UL Ratings: 24Vdc, 68mA Made in Sweden LED indications on the Grow CO2 Controller: LogiCO2 International • Red: Alarm - CO2 concentration over 5000 ppm RJ45 Splitter (blue) • Green: Adding CO2 gas • Green: Power on... - Page 5 1 2 3 4 5 6 7 8 1 2 3 4 5 6 7 8 Grow CO2 Enrichment Controller Function/Indication DIP-switch 1 Setting of Grow CO2 Enrichment Controller functions DIP-switch 2 Service mode, ABC calibration and ID settings LED red Alarm - CO2 concentration over 5000ppm...
- Page 6 Altitude adjustment height index table: Height index Meter Feet Height index Meter Feet H-00 H-13 2600 8530 H-01 H-14 2800 9186 H-02 1312 H-15 3000 9843 H-03 1969 H-16 3200 10499 H-04 2625 H-17 3400 11155 H-05 1000 3281 H-18 3600 11811 H-06...
- Page 7 CO2 Sensor, Altitude adjustment To change the altitude adjustment on the Grow CO2 Enrichment Controller please follow the simple instructions below. 1. Press the push button, the display 4. The display returns to normal view shows Alt. after 10 seconds. Finished.
- Page 8 DIP-switch settings DIP-switch 1: Dip 1-8, Functionality settings Functionality Dip1 Dip2 Dip3 Dip4 Dip5 Dip6 Dip7 Dip8 DIP-switch 1 settings Light sensor enabled 1 2 3 4 5 6 7 8 Light sensor disabled 1 2 3 4 5 6 7 8 Adaptive CO2- control disabled 1 2 3 4 5 6 7 8...
- Page 9 DIP-switch 2: Dip 1, 2 and 8, Functionality settings Functionality settings Dip1 Dip2 Dip8 DIP-switch 2 Service mode off 1 2 3 4 5 6 7 8 Service mode on 1 2 3 4 5 6 7 8 Automatic calibration disabled 1 2 3 4 5 6 7 8 Automatic calibration...
- Page 10 DIP-switch 2: Dip 3-7, Communication ID-number ID- address Dip3 Dip4 Dip5 Dip6 Dip7 DIP-switch 2 ID10 ID11 ID12 Plug-In Power Supply, Specifications Type: Model FJ-SW2401000N Input voltage: 100-240V AC, 50/60 Hz, max 0.5 A. Output: 24V DC, max 1.0 A Ambient temperature: 0-40°C (+32°F to +102°F) Dimensions (LxWxD):...
- Page 11 Connection: Enrichment valve 0475 The Enrichment Valve is pre-connected to the connection box and no extra wiring is needed. Red LED = Adding CO2 Connection diagram: Start fan via external relay with RCB Box 0471 Power to External Relay coil, via relay contact in the 0471 RCB Box.
- Page 12 The functionality of LogiCO2’s products are only 3. The Grow CO2 Enrichment Controller has no user warranted if connected to LogiCO2’s systems and serviceable parts. All service work should be products. LogiCO2 is not liable for the functionality performed by an authorized professional agent.
Need help?
Do you have a question about the Grow CO2 Enrichment Controller and is the answer not in the manual?
Questions and answers