Table of Contents
Advertisement
Quick Links
Advertisement
Table of Contents

Related Manuals for Trakm8 RoadHawk DVR4000

Summary of Contents for Trakm8 RoadHawk DVR4000
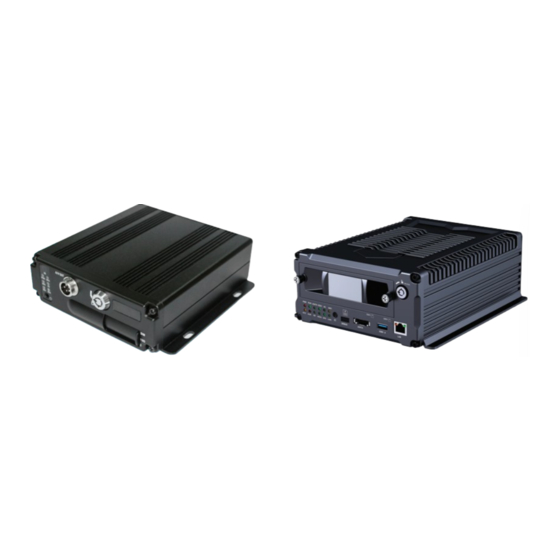
- Page 1 RoadHawk DVR4000/DVR8000 Set-up Guide OCT18015...
-
Page 2: Remote Layout
1 Remote Layout ① Go to menu ① Upward for MENU selection. ② Return ② ‘UP’ direction for PTZ control mode. Record ① Downward for MENU selection. ② ‘Down’ direction for PTZ control mode. Enter the sub-menu to set and confirm ①... - Page 3 2 Login First press and then press to enter the default password 6666. Then press to enter the main menu interface. To select ‘System’, ‘Disk’, ‘Record’, ‘Playback’, ‘Network’ and ‘Alarm’ options, please use the arrow navigation buttons on the remote control.
-
Page 4: Setup Menu
4 Setup Menu To select ‘Base’, ‘User’ , ‘Serial’, ‘PTZ’, ‘GPS’, ‘G-sensor’ and ‘NTP’ options, please use the arrow navigation buttons on the remote control. Pressing the ‘OK’ button will select the desired option. 5 Base Menu Set the System time, TV system, Language, etc. Date format: Offer 3 display methods like ‘y/m/d, m/d/y, d/m/y’... - Page 5 6 GPS Settings (see image) Set to UTC Set up the communication protocol with external equipment via the serial settings screen. ID Time zone: Different by countries, e.g: China for UTC+08. GPS Interval: GPS data upload interval, used with other system interface. 7 G-Sensor G Sensor-X: 2000mg (default value).
-
Page 6: Video Output
8 Vehicle Id Details of car number plate, route and driver code. Car ID: Can be showed by English, numbers or common symbols. A-person: Set up the driver for the vehicle. Line Num: The driving route and code. Driver ID: Set up the driver code information. -
Page 7: Camera Setup
10 Camera Setup The video files setting includes ‘codec’, ‘channel’ and ‘record plan’. 6.19 Codec Channel: Select the channel setting. The information of each channel can be set independently. Resolution: CIF/ HD1/ D1/ 960H/ 720p/ 1080p: The left column shows local storage information. -
Page 8: Recording Setup
12 OSD Setup Channel: Select the channel setting (the information of each channel could be set independently). Channel name: The name of each channel. OSD: Choose to add the character information or not. Copy to all: Copy to all channels. 13 Recording Setup Channel: Select the channel setting. -
Page 9: Sensor Setting
14 Sensor Setting Channel: Main channel. Optional alarm inputs. Enable: Turn on/off means. Sensor name: Name the alarm. Trigger level: High or low level trigger of the alarm. Linkage: Set up ON/ OFF video linkage function. OSD: Choose whether to overlay alarm information. - Page 10 15 Overwrite and Format Disk Name: Display the system-recognised HDD name. Overwrite: Choose on and off. Total Size: Display the total size of HDD. Free Size: Display the remaining capacity of HDD. Free record time: An estimate of your recording time availability. Format: Format HDD (only format the head files of HDD).
-
Page 11: System Information
17 Playback The video is in date and time order in the menu, Select the tome range and press search ,then press ‘Play ‘button to replay the video. DVR player file attributed: File format suffix ‘_P’ is power off video file , suffix ‘_S’ indicates an alarm trigger video files, suffix ‘_T’... -
Page 12: Password Change
20 Password Change Disk Name: Display the system-recognised HDD name. Overwrite: Choose on and off. Total Size: Display the total size of HDD. Free Size: Display the remaining capacity of HDD. Free record time: An estimate of your recording time availability. Format: Format HDD (only format the head files of HDD). - Page 13 Notes...
- Page 14 RoadHawk c/o Trakm8 4 Roman Park, Roman Way, Coleshill, Birmingham, West Midlands, B46 1HG Tel. +44 (0) 330 333 4120 Email. info@roadhawk.co.uk Web. www.roadhawk.co.uk OCT18015...
Need help?
Do you have a question about the RoadHawk DVR4000 and is the answer not in the manual?
Questions and answers