Table of Contents
Advertisement
Quick Links
Advertisement
Table of Contents

Summary of Contents for GasQuip GQ-CWS
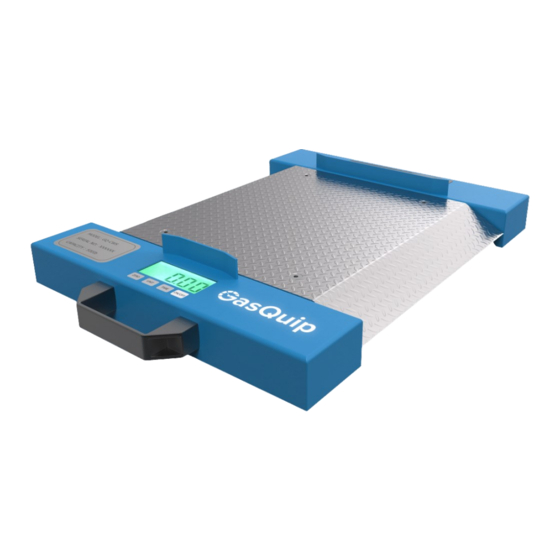
- Page 1 CYLINDER WEIGHT SCALE GQ-CWS INSTRUCTIONS...
-
Page 2: Table Of Contents
TABLE OF CONTENTS 1.MECHANICALCONSTRUCTIONS 1.1 Outline dimensions 2.BATTERY INSTALLATIONINSTRUCTIONS 3.ELECTRICAL CONNECTIONS 4.KEY FUNCTIONS 4.1 Tare/Zero/lb to kg conversion FUNCTION 5.MENU 5.1 Structure of the Menu 5.2 Access to Main Menu 5.3 Change numeric parameter 5.4 Change Maximum capacity of the Scale ...10 5.5 Settings 5.6 Calibration Settings... -
Page 3: Mechanicalconstructions
MECHANICALCONSTRUCTIONS 1.1 Outline dimensions All Dimensions are in Inch[mm] Rev 0 Group Four Transducers 22 Deer Park Drive, Phone : (800) 419 1444 E. Longmeadow, MA 01028 Fax : (413) 525 -6182 www.groupfourtransducers.com sales@group-4.com... -
Page 4: Battery Installationinstructions
BATTERY INSTALLATIONINSTRUCTIONS Remove battery cover as below image. Verify battery polarity as labeled in battery holders. Lithium-Ion 3.7V button-top rechargeable 18650 Batteries are recommended. https://www.18650batterystore.com/products/samsung-35e-button-top Rev 0 Group Four Transducers 22 Deer Park Drive, Phone : (800) 419 1444 E. Longmeadow, MA 01028 Fax : (413) 525 -6182 www.groupfourtransducers.com sales@group-4.com... -
Page 5: Electrical Connections
ELECTRICAL CONNECTIONS Use only provided battery charger to charge the Lithium-Ion 18650 rechargeable batteries. Using other charger or power supply can cause damages to the scale. Rev 0 Group Four Transducers 22 Deer Park Drive, Phone : (800) 419 1444 E. -
Page 6: Key Functions
KEY FUNCTIONS Below table describe the basic functionality of the scale keypad when they are using in the two main Weighing Display Menu Display functionality functionality Menu/SELECT Move to Menu Select an item Move UP. ZERO/ UP Set Scale ZERO When entering number, the key is used to increase the number by 1 Move DOWN. - Page 7 that available in the menu. Set the system zero - this function will crea - this function will return the zero point to that which was , will return the Set the tare point - this function will activate the net weighing function, by storing the current the net weighing mode, and restores the current zero.
-
Page 8: Menu
MENU 5.1 Structure of the Menu Rev 0 Group Four Transducers 22 Deer Park Drive, Phone : (800) 419 1444 E. Longmeadow, MA 01028 Fax : (413) 525 -6182 www.groupfourtransducers.com sales@group-4.com... -
Page 9: Access To Main Menu
5.2 Access to Main Menu In weighing window, by pressing the Menu button it allows to access to the scale menu and button functionality has been changed to reach menu functionalities as below. 5.3 Change numeric parameter When changing the values stored in parameters, it is required to enter some numbers. Once reached to that kind of function the keypad has been changed as below. -
Page 10: Change Maximum Capacity Of The Scale
Initially, there are six zeros displayed in this section, and one of them is flashing. The flashing zero is a changeable digit. /> right digit and begins blinking that digit. The value of the blinking digit can be c Using the "Select"... - Page 11 tton Enter the maximum capacity including buttons times for back to normal weighing mode Maximum capacity set as 550.0 lb. Rev 0 Group Four Transducers 22 Deer Park Drive, Phone : (800) 419 1444 E. Longmeadow, MA 01028 Fax : (413) 525 -6182 www.groupfourtransducers.com sales@group-4.com...
-
Page 12: Settings
5.5 Settings Backlight Sets the operation of the backlight, to save power set this parameter to 10S, 40S or 60S. no any motion on Scale. I Note:- Once in menu mode, the Backlight stays turned-on until return to weighing mode. Options: 10S Backlight will be Turn-Off after 10 seconds 40S Backlight will be Turn-Off after 40 seconds... - Page 13 Factory Default Settings The following settings can be reset to factory default using this setting. The password (123456) should be enter to enable this setting. Settings Factory Default Setting Backlight N.OFF Auto power off N.OFF Gross/Net Maximum Capacity 999999 Minimum Capacity -999999 Zero range Display Step Size...
-
Page 14: Calibration Settings
5.6 Calibration Settings Calibration Settings are password protected. Default password (123456). Quick Calibration Set DP Set the decimal point position - this allows the decimal point to be positioned anywhere between leftmost 3-digit .Permitted values are 1, 2 and 3. Set AG This is the reference point for the calibration under load. - Page 15 Display Step Size This allows the output to step up or down by a unit other than 1. Options: 1 Display output count step up or down by 1 2 Display output count step up or down by 2 5 Display output count step up or down by 5 10 Display output count step up or down by 10 20 Display output count step up or down by 20 50 Display output count step up or down by 50...
-
Page 16: Filters And Motions
5.7 Filters and Motions Filter Settings The parameter exists for set the digital filter via the Filter value setting, and this filter can be adjusted to eliminate most unwanted disturbances. Note that this filter is positioned immediately after the A/D Converter, therefore have an effect on all aspects of weigher operation. - Page 17 Motion Settings The Motion Detection facility provides a means of disabling certain functions whenever a condition of cannot fluctuate by No Motion Range This is the range within which the weighing signal is allowed to fluctuate and 65535. Default 1 No Motion Time This is the time parameter that defines the period during which the output must not are between the lower limit of 0 and the upper limit of 65535.
-
Page 18: Functions
5.8 Functions Tare Mode This setting sets the tare mode. The tare modes are defined in the option table below. Options: Tare Mode Allow tare of negative values T.Mod1 T.Mod2 Default T.Mod1 Zero Tracking This function set the zero track band in divisions (d). Zero tracking will be performed only on results less than +/-(0.5 * Zero Tracking) at a rate of 0.4 d/sec where d = display step size. -
Page 19: Calibrationprocedure
CALIBRATIONPROCEDURE Step1 Select Quick Calibration Step Step3 Enter the decimal point that need to set (0 3) Step Step5 Enter the weight value that going to be used for calibration Step Step7 Select the unit of the weight that Step8 Verify, there is no any weight Step 9 Keep the weight on the scale that going... -
Page 20: Accessories
Accessories 7.1 Battery Charger The device is 4 stages smart battery charger by Microprocessor controlled with solid 4 LEDs charging indicator. 4 Stage Charging Process Stage 1: Pre-charge the battery through small current, Charger enters this stage if it detects battery deep discharge. - Page 21 Troubleshooting Problem Error Code Possible Causes Suggested Solution Charger Does Not Work No Indicator lights on No AC Power Check AC connections and make sure Power Point is switched ON No DC Output 4 LEDs Indicator Output is short circuited Check DC connection flashing simultaneously Reverse polarity...