Table of Contents
Advertisement
Quick Links
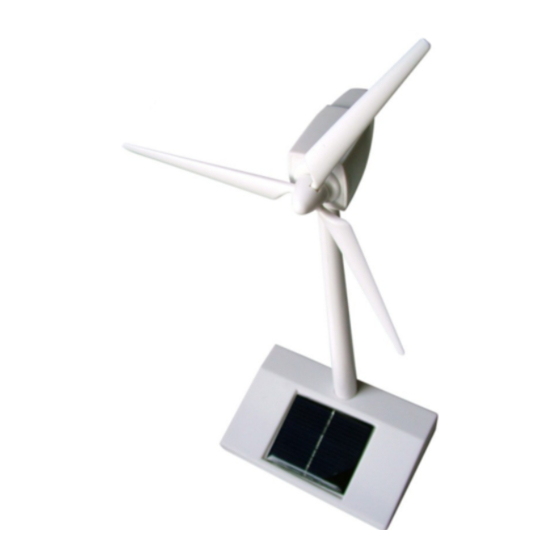
A Pedestal with integrated photovoltaic cell
B Column
C Motor housing (gondola) and rotor blade holder
D Blades
E Rotor Cover
NO GLUE OR TOOLS NEEDED
Startingdateand Before mounting this kit, please read and understand these instructions and save the manual future reference.
Follow the installation instructions step by step and in a very short time and be very easily assembled this scale wind turbine. Your new
and original design make it easy be assembled without tools or glue.
Samblás Once in place the model behind a window, so that the photovoltaic cell receives direct sunlight and small motor will spin the
blades
ASSEMBLY
1
Open the bottom plate of the pedestal (A) and remove the blades (3 x D) and rotor cover (E)
2
Pass the cord completely through the column, so that the connector protrudes through the wider end of it.
Insert the bottom pivot of the nacelle (engine housing) at the narrow end of the column.
WIND GENERATOR
WITH SOLAR MOTOR
C-0221B
BOX CONTENTS
All small parts can be found within the pedestal. To
remove them, turn the stand down, press the nail of the
bottom cover and lift the lid.
1 piece
1 piece
1 piece
3 piece
1 piece
Advertisement
Table of Contents

Summary of Contents for Cebekit C-0221B
- Page 1 WIND GENERATOR WITH SOLAR MOTOR C-0221B BOX CONTENTS All small parts can be found within the pedestal. To remove them, turn the stand down, press the nail of the bottom cover and lift the lid. A Pedestal with integrated photovoltaic cell...
- Page 2 Plug the motor cable into the socket inside the pedestal. Pay attention to small plug slots, because only fits into the correct position Insert the widest part of the column (B) in the pedestal (A). The two tabs on the end of the column should fit into the two slots in the pedestal Insert the three blades (D) in the grooves of the rotor, entering it from the front.
Need help?
Do you have a question about the C-0221B and is the answer not in the manual?
Questions and answers