Advertisement
Quick Links
Advertisement

Summary of Contents for Omni Bead Ruptor Cryo Cooling Unit
- Page 1 Bead Ruptor Cryo Cooling Unit User Manual...
- Page 2 This product is warranted to be free from defects in material and workmanship for a period of ONE YEAR from the date of delivery. OMNI International, a PerkinElmer company will repair or replace and return free of charge any part which is returned to its factory within said period, transportation prepaid by user, and which is found upon inspection to have been defective in materials or workmanship.
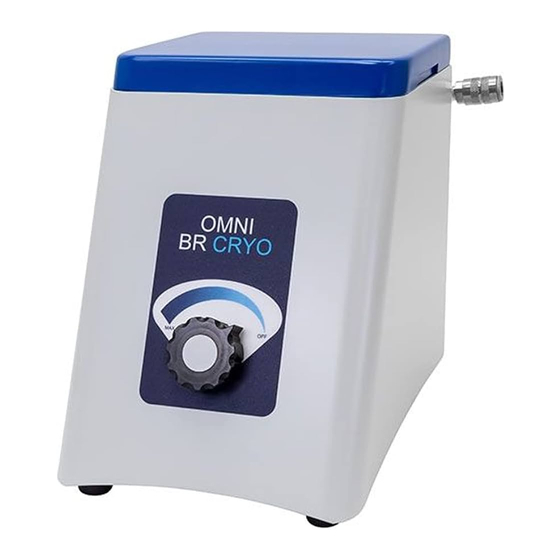
- Page 3 6. Compressed Air Input 3. Insulated Cryo Hose 7. Compressed Air Hose 4. Bead Ruptor Cryo Lid 8. External Thermometer The Bead Ruptor Cryo Cooling Unit consists of the following: Description Quantity Bead Ruptor Cryo Cooling Unit Insulated Cryo Hose...
-
Page 4: Installation
Installation Removing the Bead Ruptor Bead Mill Homogenizer Lid Locate Lid Hinges. Lift Lid and remove 4 screws using the provided Allen Key. Remove Lid Replace with Bead Ruptor Cryo Lid (Black) Align black Cryo lid onto the Bead Ruptor Replace the four screws and tighten using the provided Allen Key. - Page 5 Installation Install the External Thermometer Thermometer probe wire Couple clip Thermometer probe Position the Thermometer Probe under the Bead Ruptor lid as shown, using the Couple Clip to secure the thermometer probe wire under the Bead Ruptor lid. Place remaining Couple Clips as shown. Guide the thermometer probe wire through the clips.
- Page 6 Installation Install Intake and Output Hoses NOTE: Compressed ISO8573 Class 2 or better air is required to use the Bead Ruptor Cryo unit: Total oil < 0.1 mg/m , vapor pressure dew point < -50oC. The compressed air hose can be fitted to a standard medical air regulator using a 3/8” hose clamp.
-
Page 7: Operation
Operation Liquid Nitrogen Pre - Cooling WARNING: Wear eye, face, hand and skin protection when working with liquid nitrogen. Operate in a well ventilated area. PRE-COOLING - follow pre-cooling procedure before homogenizing samples. NOTE: Do not load samples into the Bead Ruptor processing chamber prior to pre-cooling. - Page 8 Operation Liquid Nitrogen Homogenizing Samples Ensure that the knob of the Bead Ruptor Cryo is in the off position and all hoses are connected correctly. - Load samples into the Bead Ruptor Homogenizer. - Install Finger Plate - Set the desired time, speed dwell and number of cycles on the Bead Ruptor Homogenizer.
- Page 9 Operation Liquid Nitrogen Homogenizing Samples Turn Airflow control knob counter clockwise to begin cooling. Allow air to flow until the External Thermometer reads 0oC. Once the temperature has reached 0oC, press RUN on the Bead Ruptor to begin homogenization. When the cycle has ended: - Turn off compressed air supply - Turn off Bead Ruptor Cryo...
- Page 10 Operation Dry Ice Pre-Cooling Liquid nitrogen will provide the best results. However, dry ice and ethanol may be used. WARNING: Wear eye, face, hand and skin protection when working with Dry Ice. Operate in a well ventilated area. PRE-COOLING - follow pre-cooling procedure before homogenizing samples. NOTE: Do not load samples into the Bead Ruptor processing chamber prior to pre-cooling.
- Page 11 Operation Dry Ice Homogenizing Samples Ensure that the knob of the Bead Ruptor Cryo is in the off position and all hoses are connected correctly. - Load samples into the Bead Ruptor Homogenizer. - Install Finger Plate - Set the desired time, speed dwell and number of cycles on the Bead Ruptor Homogenizer.
- Page 12 Operation Dry Ice Homogenizing Samples Turn Airflow control knob counter clockwise to begin cooling. Allow air to flow until the External Thermometer reads -5oC (23oF) Once the temperature has reached -5oC, press RUN on the Bead Ruptor Homogenizer to begin homogenization. When the cycle has ended: - Turn off compressed air supply - Turn off Bead Ruptor...
-
Page 13: Troubleshooting
Trouble Shooting Problem Possible Cause Action 1. Check that the air The cooling system source is open. is not supplied with compressed air. 2. Check that there are no leaks in the hoses. Cold air is not flowing into the Bead Ruptor 1. - Page 14 DO NOT: attempt to service the Bead Ruptor Cryo Cooling Unit in a manner other than those discussed in this manual. For any issue that is unsuccessfully corrected using this guide, please contact your authorized dealer or call OMNI International, a PerkinElmer company at 1-800-776-4431.
- Page 15 This page was intentionally left blank...
- Page 16 935 Cobb Place Blvd. NW Kennesaw, GA 30144 800.776.4431 • 770.421.0058 www.omni-inc.com PN: 19-8026 Rev. H...
Need help?
Do you have a question about the Bead Ruptor Cryo Cooling Unit and is the answer not in the manual?
Questions and answers