Table of Contents
Advertisement
Quick Links
Advertisement
Table of Contents

Summary of Contents for Ritzviva S500C
- Page 1 RITZVIVA S500C User Manual...
-
Page 2: Table Of Contents
1 Safety & Notice ......................4 2 Your Phone ....................... 5 2.1 Battery ......................5 Remove and install of the Battery. ............ 5 2.1.1 Battery charging .................. 5 2.1.2 ATTENTION: ........................5 2.2 Connect network ..................... 6 SIM card .................... 6 2.2.1 ... - Page 3 4.14.1 How to dial a number? ................. 1 4 4.14.2 Dial by using Bluetooth devices ............ 1 4 4.15 Setting ......................15 4.15.1 Wi-FI ....................... 1 5 4.15.2 Bluetooth .................... 1 5 4.15.3 Data usage .................... 1 5 4.15.4 More ...................... 1 5 4.15.5 ...
-
Page 4: Safety & Notice
1 Safety & Notice WARNING: Please pay attention to these guidelines, not following them may be dangerous and illegal. SWITCH OFF IN RESTRICTED AREA Switch the device off when near mobile phone use is not allowed or when it may cause interference or danger such as near the fuel tanks, chemicals, Aircraft or blasting areas. -
Page 5: Your Phone
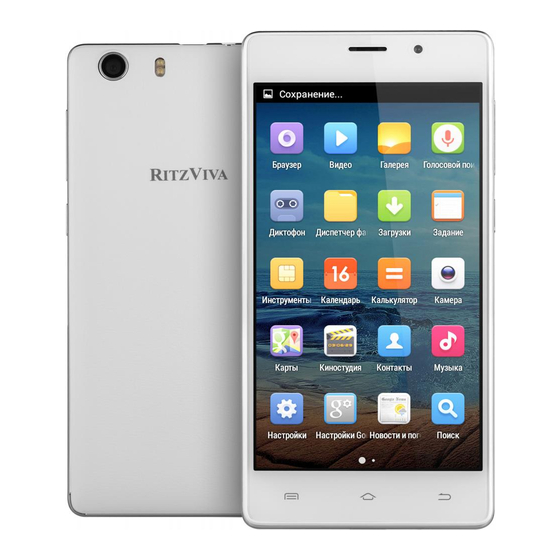
2 Your Phone The pictures in this manual are only for reference, If individual picture does not match with the product in kind. Please refer to the customer care. . Get Started ! Important: This device is designed to be used with a SIM card, use of incompatible SIM cards may result in the device not working and could cause damage to the device or SIM card. -
Page 6: Connect Network
Connect network 2.2.1 SIM card Before using your phone, you must first insert a valid and active SIM (Subscriber Identity Module) card in the phone from your network provider. Your phone will not work with invalid SIM. Warning: Do not connect any electrical wires to the SIM card metal slots 2.2.2 Insertion of the SIM Card ... - Page 7 In addition to the diagram shown in the shortcut icon of the Home screen, need to add or delete a folder, other shortcuts or widgets. When idle space after use, you can slide horizontally on the screen to open the home of the extension interface and add the desired content.
-
Page 8: Function Menu
3 Function Menu Using the mobile phone memory card as USB mass storage 1. Use USB line will be mobile phone connected to the computer. The status bar will show the notification icon. 2. Open the notice panel. 3. In the notification panel, touch “USB connected”, and then touch "turn on USB storage". -
Page 9: Bluetooth
wireless network can be used in the status bar shows the icon( 4. Touch one of the WLAN network to connection. When you select open network, mobile phone will be connected to the network. If selected is WEP, WPA/WPA2 encryption network, it must first corresponding input password, and then the touch connection NOTICE: When the phone is connected to a wireless network, the status bar will display the WLAN icon (... -
Page 10: Application
Application Browser Through a web browser, you can connect to the internet, Internet settings are default to MTN SIM card. 4.1.1 Open Browser Touch Brower can open the browser. Interface as shown in the diagram: In the browser, you can open the page by the following methods: 1. -
Page 11: Video Recorder
to take photo; 3. After taking photos will auto save to camera folders in picture; 4. Click “ ” return to camera interface. 4.4.2 Video recorder The mobile-phone supports shoot function, the extent of film restrict according as current memory space. 4.4.2.1 Recorder 1. -
Page 12: File Explorer
need to use the name generate itself], and save Settings, enter the mailbox options to write and receive mails. Note: Different email accounts communications business agreement may be different, communication protocol choose wrong can lead to you can send and receive E-mail. Selectable settings as below:... -
Page 13: Send Mms
4.11.2 Send MMS 1. Messaging ->Compose new message. 2. In the recipient field, enter the recipient number. You can also click “ ” Select recipients from your contacts. 3. Press the Tip: add a picture,videdos,Audio,Calendar files. You also can choose capture picture, capture video, record audio and slideshow inserted into MMS attachments. -
Page 14: Set Music Use As Ringtone
4.12.6 Set music use as ringtone 1. Open the music. 2. Choose songs/play list tag page. 3. The music files to choose and long press until pop-up shortcut menu. 4. Click used as phone ringtone. 4.12.7 Set sound effects 1. Open the music. 2. -
Page 15: Setting
4.15 Setting 4.15.1 Wi-FI To turn on the wifi the can scan the network to browse wap page or other apps; Wi-Fi: select on or off. Wi-Fi settings: Set up and management wireless access points, etc. Wi-Fi Direct settings: Set up and management WLAN Direct. -
Page 16: Storage
Font size: to set the phone’s font size; 4.15.7 Storage SD card: view SD card total space and available space. Mount SD card: After unloading SD card SD card will not display. Erase SD card: Remove the SD card all the data. ... -
Page 17: Date & Time
time, will be set according to the switch machine operation and executive boot or shutdown action. 4.15.15 Date & time Automatic: Use networks offer a time and date. Set date: Manually edit date. Select time zone: Manually choose time zone. ... -
Page 18: Enjoy Video
4.17.2 Enjoy video Choose the video files to play, and click open. Play interface click " " stop playing video, click on the" " Play video. - Page 19 FCC WARNING Any Changes or modifications not expressly approved by the party responsible for compliance could void the user's authority to operate the equipment. This device complies with part 15 of the FCC Rules. Operation is subject to the following two conditions: (1) This device may not cause harmful interference, and (2) this device must accept any interference received, including interference that may cause undesired operation.
- Page 20 Specific Absorption Rate (SAR) information SAR tests are conducted using standard operating positions accepted by the FCC with the phone transmitting at its highest certified power level in all tested frequency bands, although the SAR is determined at the highest certified power level, the actual SAR level of the phone while operating can be well below the maximum value, in general, the closer you are to a ...
Need help?
Do you have a question about the S500C and is the answer not in the manual?
Questions and answers