
Related Manuals for Wahsega WL-SPKR-SMT-2R


Summary of Contents for Wahsega WL-SPKR-SMT-2R
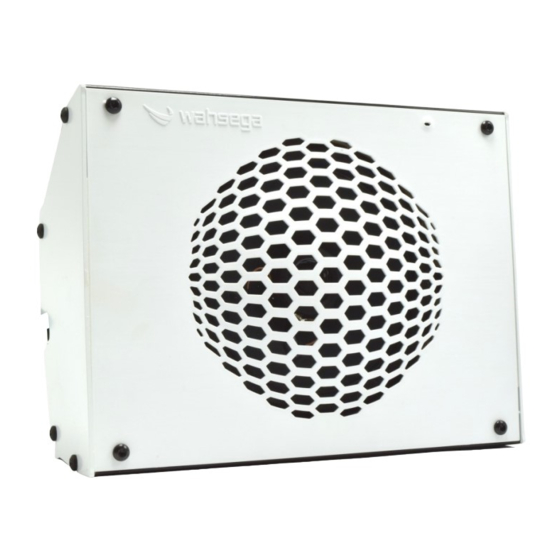
- Page 1 Wall Mount Second Room Speaker Installer’s Guide Getting Started This step-by-step guide will help you install your Wahsega Wall Mount Second Room Speaker.
-
Page 2: What's In The Box
What’s In the Box Speaker assembly Mounting bracket Mounting hardware (4) #6-32 Screws (4) #6 lock washers (8) #8-32 Screws (8) #8 lock washers Wall Mount 2R Speaker Installation Guide Page 2 10.25.2020... -
Page 3: What You Will Need
What You Will Need Wahsega primary speaker Compatible models: WL-SPKR-SMT-CAR WL-SPKR-22-CAR WL-SPKR-SMT-INF WL-SPKR-22-INF Network cable Cat 5e or Cat 6 straight cable Screwdrivers Small flat head screwdriver Phillips head screwdriver Wall Mount 2R Speaker Installation Guide Page 3 10.25.2020... - Page 4 Connecting Your Wahsega 2R Speaker Primary Speaker (-CAR or -INF) Sound Reinforcement Wallplate Input (WL-SPKR-RSR-W) Line Out + Line Out – LED 1 LED 2 Input 1 Input 2 Input 3 Relay 2: NO Mic In + Relay 2: COM Mic In –...
- Page 5 PRIMARY SPEAKER The -2R speaker receives its power and data from a Wahsega primary speaker. Connect a Cat5e or Cat6 straight cable to the primary speaker up to 20m away. Do not use a crossover cable. Compatible models: WL-SPKR-22-CAR, WL-SPKR-22-INF, WL-SPKR-SMT-CAR or WL-SPKR-SMT-INF ...
- Page 6 LINE OUT + Consumer line input level (-10dBV) LINE OUT - Consumer line input level (-10dBV) LED 1 Unused LED 2 Unused Contact closure to ground (12 V RTN). INPUT 1 Connect a Panic/Call Button using Input 1 and 12 V RTN (GND).
-
Page 7: Mounting And Installation
Mounting and Installation Mount included bracket to the front of a standard two-gang electrical backbox (preferred), using (4) included #6-32 screws and lock washers. If mounting bracket to a solid surface rather than to an electrical backbox, use the appropriate bolts and anchors for that surface. Wall Mount 2R Speaker Installation Guide Page 7 10.25.2020... - Page 8 Attach speaker to bracket using included (8) #8-32 screws and washers. Wall Mount 2R Speaker Installation Guide Page 8 10.25.2020...
- Page 9 Cable access is available through rear opening or side panel knockout. Wall Mount 2R Speaker Installation Guide Page 9 10.25.2020...
- Page 10 Dimensions Front Side Wall Mount 2R Speaker Installation Guide Page 10 10.25.2020...
- Page 11 Rear Wall Mount 2R Speaker Installation Guide Page 11 10.25.2020...
- Page 12 Standards Compliant This product is designed and manufactured in the USA. ROHS compliant Temperature rating -40C to +60C. Wall Mount 2R Speaker Installation Guide Page 12 10.25.2020...
- Page 13 Wahsega Wall Mount Second Room Speaker WL-SPKR-SMT-2R Installation Guide Wall Mount 2R Speaker Installation Guide Page 13 10.25.2020...
Need help?
Do you have a question about the WL-SPKR-SMT-2R and is the answer not in the manual?
Questions and answers