
Related Manuals for Renau T-2268

Summary of Contents for Renau T-2268
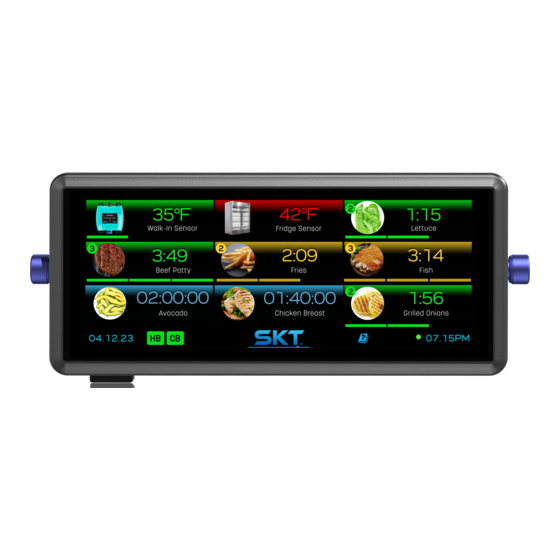
- Page 1 SMART KITCHEN TIMER 6.8” SMART KITCHEN TIMER T-2268 INSTRUCTION MANUAL 2023 We Do More Than Design, We Invent...
- Page 2 Smart Kitchen Timer (SKT) Instruction Manual Safety and General Information The Kitchen Accessing the Configuration Tool Creating a Group Timer of the Creating an Item Duty Cycles Explained Future Has Sending Configuration to the SKT Arrived Creating Job Aids Messages Custom Icons Pairing SKTs Creating Transferable Items...
-
Page 3: Safety And General Information
Configuration Warning: You must use the included power supply and WiFi dongle, or a Renau Tool. When on this screen, the SKT will broadcast its SSID and allow connection to the approved replacement. -
Page 4: Creating A Group
Config Tool with the SKT remaining on the SSID Screen until after you have sent your configuration to device. To help familiarize yourself with the Configuration Tool, follow the Tutorial at the bottom of this page. You can also find instructional videos on renau.com. - Page 5 Creating an Item Creating an Item (cont.) Daily Based Timer: This creates a timer for which an alert will be displayed every day at the specified The SKT allows for the programming of up to 1000 items on a single device, and up to 8 duty cycles and time.
- Page 6 Duty Cycles Explained Sending Configuration to the SKT Within a single item, you can add up to 8 duty cycles with corresponding action messages. Once you are finished creating your items, you will need to create the Device and arrange the Duty cycles are useful for processes that require more than one step to complete.
- Page 7 Creating Job Aids Messages The SKT allows for the programming of up to 200 Job Aids, which can be anything from build The Messages tab on the Configuration Tool is used to add translations for alert messages. cards to equipment cleaning or troubleshooting instructions. Included below is a diagram You can also delete and make changes to existing messages in this area as well.
-
Page 8: Custom Icons
Once visible, tap “Pair.” You will receive a message on the screen(s) of the additional SKT(s) once pairing has been successful. Tap “Next” on all SKTs and assign them Tip: Renau offers the service of creating custom Icons for your SKT. to the corresponding stations. Tap “Next,” then “Save and Exit”. -
Page 9: Uploading/Downloading Configuration Files
Creating a Transferable Item Uploading/Downloading Configuration Files It is highly recommended that once you have finished programming your SKT you create a 1. Connect to the Configuration Tool with the primary SKT and create separate Groups backup Configuration File of your programming. Creating a copy of your configuration is also for the transferable Items. - Page 10 Adding a Gateway and Wireless Sensor Modules Adding a Gateway and Wireless Sensor Modules (cont.) The SKT allows for the pairing of up to 64 Wireless Sensor Modules (WSM’s) per unit. Adding Wireless 4. To add an alert for this probe, click “+ Add Alert,” input the desired message, and select Sensor Modules to the SKT adds the ability to monitor and set alerts for temperature and/or the “Condition”...
- Page 11 Accessing and Navigating the SKT Menu Instead of traditional channels, the Smart Kitchen Timer utilizes Tiles. Tiles contain an item’s icon, To access the menu on the SKT, hold the Renau logo for a few seconds until prompted to name, time/values and item instance.
-
Page 12: Mounting Bracket Installation
Accessing and Navigating the SKT Menu Mounting Bracket Installation (cont.) SKT Mounting Bracket Installation: The SKT can be mounted horizontally or vertically to SETUP cont. match the GUI menu orientation (Please refer to the System Configuration section on page 21 to rotate GUI interface). The three-piece bracket design with two of the smaller bracket Update Firmware: There are two ways to update the SKT’s firmware, either through this menu pieces is already mounted to the back side of the SKT. - Page 13 Mounting Bracket Installation Mounting Bracket Installation (cont.) (cont.) To adjust the angle, unscrew both knob fasteners completely while holding the SKT. Then pull the arms of the larger bracket apart to clear alignment pins from the alignment holes on both sides.
-
Page 14: Frequently Asked Questions (Faqs)
A. You will need to perform a forced factory reset on your SKT. First, download the Factory Reset file SKT menu to view Firmware version information. (force_factory_reset) from renau.com, load it onto a blank flash drive, and insert into the SKT. Once the SKT has rebooted you may remove the flash drive. -
Page 15: Specifications
3. The Limited Warranty shall not apply to any Products unless Renau has been paid in full by Customer for those Products within 30 days after the Products are shipped to Customer. If Renau is not timely paid by Customer, there will be no warranty of any kind, express or implied, for Renau’s Products 4. - Page 16 MERCHANTABILITY AND FITNESS FOR A PARTICULAR PURPOSE WHICH EXCEED THE AFORESAID OBLIGATION ARE HEREBY DISCLAIMED BY RENAUAND EXCLUDED FROM THIS LIMITED WARRANTY. 12. Renau may cancel or change the terms of this Limited Warranty on 30 days prior notice for all products not yet shipped to customer.
Need help?
Do you have a question about the T-2268 and is the answer not in the manual?
Questions and answers