Advertisement
Quick Start
1. Connect power cable at the back of the charger unit.
2. Flip power switch to the on position ('|' is on, 'O' is off). All LEDs will cycle red – yellow – green as a part of the
power on sequence.
3. Insert battery packs and charging will begin.
Notes
1. If a battery pack is inserted when the charger is powered off, the charger will not drain the battery – it is
perfectly acceptable to do this.
2. If a battery pack is inserted during the charger power on sequence, the charger LEDs will still follow the red –
yellow – green cycle and charging will begin as normal when the power on sequence is completed.
3. If a fully charged pack is inserted, the charger will still initiate a timed 30 minute constant voltage top-off charge
(flashing green) at some very small charge current.
Specifications
Mains Power Supply Unit
AC input voltage
DC Output voltage
Output current (max load)
Output current (min load)
Short Circuit Protection
Charger
Input voltage
Max Bat input voltage
Output (4 bays)
All manuals and user guides at all-guides.com
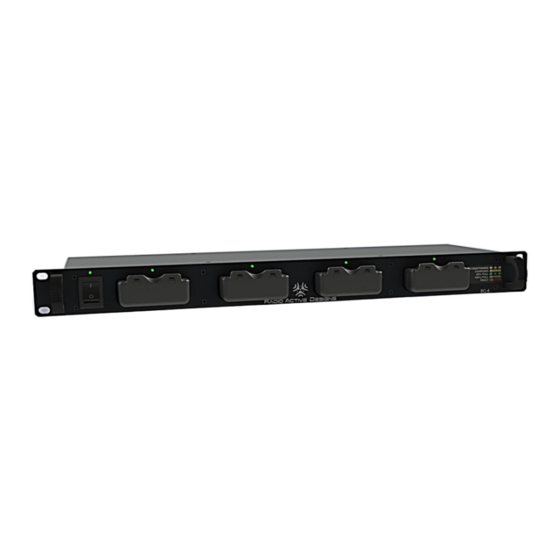
BC-4 Battery Charger
100 – 240VAC
18V
5.5A
0.00A
Yes
18V
12.6V per bay
Smart Charging for 12.6V 3350mAh
Advertisement
Table of Contents

Summary of Contents for Radio Active Designs BC-4
- Page 1 All manuals and user guides at all-guides.com BC-4 Battery Charger Quick Start 1. Connect power cable at the back of the charger unit. 2. Flip power switch to the on position (‘|’ is on, ‘O’ is off). All LEDs will cycle red – yellow – green as a part of the power on sequence.
- Page 2 All manuals and user guides at all-guides.com Normal charge current 1.6 A Trickle charge current 160 - 0mA Maximum charge time ~3 Hours Over- temperature detect Battery fault indicator DC connection jack 6.4mm x 2mm C+ locking General Operating temperature 10°C –...
Need help?
Do you have a question about the BC-4 and is the answer not in the manual?
Questions and answers