Table of Contents
Advertisement
Quick Links
Advertisement
Table of Contents

Summary of Contents for Denver DPF-407
-
Page 1: Denver Dpf-407
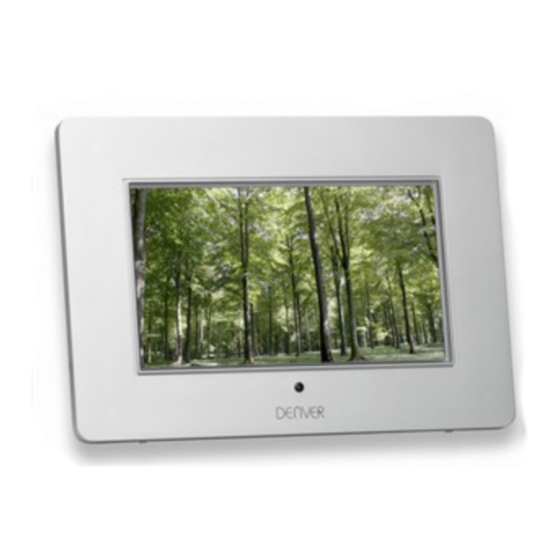
DENVER DPF-407 Digital Picture Frame User Manual... -
Page 2: Table Of Contents
CONTENTS : DENVER DPF-407 .......................... 1 Digital Picture Frame ........................1 User Manual ............................ 1 CONTENTS : ................... 2 FEATURES: ..................... 3 MAIN UNIT BUTTONS: ................ 4 REMOTE: ....................5 USER OPERATION GUIDE: ..............6 1. F ..........................6 UNCTION SELECT 2. -
Page 3: Features
Features: • Playback photo, music, or video files stored in data storage devices through dual High-Speed USB 2.0 or various card- reader port. • Supported data storage devices included USB disk, memory card, MP3 player etc. • Supports up to 8000x8000 mega pixel image files (JPEG format) •... -
Page 4: Main Unit Buttons
Main unit buttons: Up button: a) Move up the cursor at the menu b) Open brightness/contrast/color adjustment at playing the JPEG file Choose the files after press ENTER to confirm the play mode d) Shift down when zoom in picture Down button: a) Move down the cursor at the menu b) Choose the files after press ENTER to confirm the... -
Page 5: Remote
Remote: DOWN LEFT RIGHT Enter Confirm Selected items Turn on/off the Function bar Mute Mute ON/OFF Vol + Audio volume plus Vol - Audio volume minus Exit Zoom Zoom in the picture AV output (Press the AV button on the remote to select to AV output when the screen on the Exhibit 2 - Function select menu) Mode... -
Page 6: User Operation Guide
User Operation Guide: Assemble the Multimedia Digital Photo Frame bracket to prop the unit up, insert the adaptor DC plug into the Digital Photo Frame player first, then plug the AC/DC adaptor into the wall outlet.Press the POWER switch to “I” position to turn on the unit. Then the screen will display“LOADING…”interface(Exhibit 1). -
Page 7: Card Or Usb Select Menu
Exhibit 2 - Function select menu 2. Card or USB select menu In the Card/USB select menu, you can press to select to the highlight icon which shows the card or USB is inserted. ( Exhibit 3.)Press ENTER to shown the file list in the card or USB, press ENTER button again to start playback. -
Page 8: File List Screen
3. File List Screen The USB device/Memory CARDs rightly inserted into the socket on the main unit, In the function select menu,Press the Edit mode, Press Enter two times, volume label list on displays. (Exhibit 4) Actions: a) Press to return to previous directory. b) Press to select a volume label (file/folder), then press ENTER to enter the file list and start playing. - Page 9 Exhibit 5 - File Play List To copy a selected file from card to USB: 1) In the function select menu, Press to Edit mode, Press Enter to the Card/USB select menu 2) To copy a file from CARD to USB, Move highlight icon to SD/MMC, Press Enter.
- Page 10 which you want to delete, Press ,A* marking will appeared in the from of the file name to indicating the file has been selected. 3) Press OSD, then press to select the delete mode, press enter, Selected file from card or USB is deleted ,Press enter to confirm and return to volume label list (Exhibit 4).
-
Page 11: Playback Screens
4. Playback screens Actions: During Playback, press OSD and function bar displays on the screen. Then select a function item by pressing / , and press ENTER to confirm the corresponding function. (Exhibit 8) Press OSD to turn off the function bar 4.1 Movie playback screen Exhibit 8 - Video Playback with function Bar... - Page 12 Function bar: 1. Status indicator 2. Playback time 3. Play/Pause 4. Stop 5. Previous movie clip 6. Fast backward 7. Fast forward 8. Next movie clip 9. Show file info 10. Zoom 11. Sub-title switch...
-
Page 13: Picture Display Screen
4.2 Picture display screen Exhibit 9 - Picture Playback with function Bar Function bar: 1.Status indicator 2.Play/Pause 3.Stop 4.Picture rotate 5.Zoom 6.Previous picture 7.Next picture... -
Page 14: Music Playback Screen
4.3 Music playback screen Exhibit 10 - Music Playback with function Bar Function bar: 1.Status indicator 2.Play/Pause 3.Stop 4.Previous song 5.Fast backward 6.Fast forward 7.Next song 8.Show file info 9.ID3 tag display 10.Play mode (Standard, Repeat, Directory repeat) -
Page 15: Calendar
5. Calendar Exhibit 11. Calendar Screen Calendar/Clock set/Alarm set: a) Press ESC to return to select menu. Set highlight icon at set up,Press enter press until clock set appear,Press to year,Press to selected year.Press month,Press to selected month.Press to day,Press to selected day.Press to hour,Press slected hour.Press... - Page 16 Display Information: • Monthly calendar display • Time display • Alarm display...
-
Page 17: Alarm Screen
6. Alarm screen Exhibit 12 - Alarm Screen When alarm on, the screen displays current date and time. (Exhibit 12) Press Enter to return to the previous mode. -
Page 18: Setup Menu
7. Setup Menu Press ESC to return to select menu. Set highlight icon at set up, Press enter . (Exhibit 13) Exhibit 13 - Setup Screen The setup items are shown as below: :Menu language setup. :Picture setup, it includes the speed of automatic slide show, picture play mode two items. - Page 19 All rights reserved Copyright Denver Electronics www.denver-electronics.com...


Need help?
Do you have a question about the DPF-407 and is the answer not in the manual?
Questions and answers