Table of Contents
Advertisement
1. DIAGRAM FOR SET UP ..................................................................1
2. INTRODUCTION..............................................................................1
3. POWER ON SEQUENCE.................................................................1
4. EDIT MODE OPERATION..............................................................2
5. PRINT MODE OPERATION. ........................................................10
6. ERASE FORMAT............................................................................11
7. ERASE ALL FORMAT ...................................................................11
8. SPECIAL FEATURES OPERATION ............................................12
Appendix A. Pin Assignment ................................................................12
Appendix B. Font Expansions ..............................................................14
Advertisement
Table of Contents

Related Manuals for Output Solutions KP-200

Summary of Contents for Output Solutions KP-200
-
Page 1: Table Of Contents
1. DIAGRAM FOR SET UP ...1 2. INTRODUCTION...1 3. POWER ON SEQUENCE...1 4. EDIT MODE OPERATION...2 5. PRINT MODE OPERATION..10 6. ERASE FORMAT...11 7. ERASE ALL FORMAT ...11 8. SPECIAL FEATURES OPERATION ...12 Appendix A. Pin Assignment ...12 Appendix B. Font Expansions ...14... -
Page 2: Diagram For Set Up
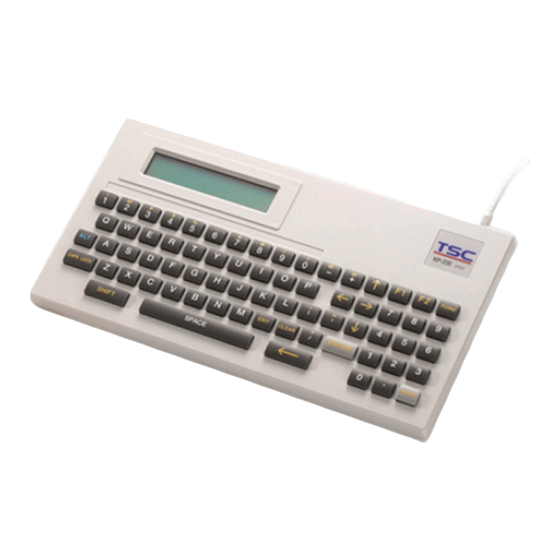
Erase entire contents of interchangeable memory module. 3. POWER ON SEQUENCE Connect the KP-200 keyboard to the EZ-2 or EZ-4 9 pin RS232 port with the interface cable provided. Power on the printer display show Product name and Version number. The LCD... -
Page 3: Edit Mode Operation
There are four operation modes (as described in the introduction) that may be selected. The keyboard operator can select the desired mode of operation by highlighting it with the cursor keys and then pressing ENTER” or Press 1 to select EDIT MODE. Press 2 to select PRINT MODE. - Page 4 You may use the cursor keys to highlight the desired printer type or you may key in 2 to select the EZ-2 or 4 to select the EZ-4. Press ENTER to accept your selection. (C) SELECT PAPER TYPE. The LCD display will show: Label - Self adhesive label with gap mounted on backing sheet.
- Page 5 lebel height (b) The distance Between Black mark (including itself). lebel height (F) ENTER TOP LENGTH LCD display will show: ENTER TOP LENGTH The TOP LENGTH is defined as follows: X will be the distance from the edge of the black registration mark to the next tear line along the paper feed axis.
- Page 6 (G) ENTER BLACK LENGTH The diagram of BLACK LENGTH is defined as follow: The BLACK LENGTH in millimeters, then press “ENTER” key, KP-200 will go to step(I). (H) ENTER FEED LENGTH FOR FAX PAPER. LCD display will show: Enter Feed Length in mm and press ENTER to accept your selection.
- Page 7 (K) SELECT SELF STRIP FUNCTION. LCD display will show: If your printer has the stripper option, you can enter Y to enable the stripper sensor. Press ENTER to accept your selection. NOTE: Default value is N. (L) FIELD PROGRAMMING. LCD display will show: The maximum number of fields available on one label format is eighteen.
- Page 8 (N) ENTER BLANK LINE. The LCD display will show: Line space is defined as the distance from this field to the next in mm. Enter desired dimension (0~99mm) and press ENTER to accept your selection. NOTE: Default value is 0. (O) VARIABLE FIELD? The LCD display will show: For variable data press Y.
-
Page 9: Enter Data
2. Wide bar ratio. The LCD display will show: Enter wide bar width in dots(4 to 12) Press ENTER to accept your selection. NOTE: The default value is 5. 3. Barcode height. The LCD display will show: Enter Barcode Height(1 to 7). Press ENTER to accept your selection. NOTE: The default value is 3. - Page 10 (S) HOW TO SET UP DATA FIELD AS A VARIABLE. 1. If the data field is to be a variable, then the LCD display will show: A variable field allows the operator to input variable field data while the keyboard is in the PRINT MODE enter DATA LENGTH(1~34, Dependent upon Font size &...
-
Page 11: Print Mode Operation
6. LCD display will show: Press N to setup field with normal data, press ENTER to accept your selection. The Keyboard will automatically revert to menu K. Press Y to setup field with a incrementing counter, press ENTER to accept your selection. Note : N is the default value. -
Page 12: Erase Format
Type in variable text data and press ENTER to accept your selection. Type in variable barcode data and press ENTER to accept your selection.(d) LCD display will show: Enter label quantity and press ENTER to print selected label. 6. ERASE FORMAT This operation allows the operator to erase one of the formats saved in the memory module. -
Page 13: Special Features Operation
8. SPECIAL FEATURES OPERATION (a) TAB KEY TAB1 = 1 SPACE. TAB2 = 8 SPACES. (b) PROCEDURE FOR DELETING A DATA FIELD If the operator wishes to delete a data field in a label format, use the cursor keys to highlight the unwanted field. - Page 14 KP-200 (9 PIN FEMALE) SIGNAL (TXD) (RXD) (GND) (VCC) Baud Rate : 4800 BPS Data Length : Stop Bit : Parity :...
-
Page 15: Appendix B. Font Expansions
Font Expansions Appendix B.
Need help?
Do you have a question about the KP-200 and is the answer not in the manual?
Questions and answers