Advertisement

SPECIFICATIONS
| Lumens | Motion Detection Range | Motion Detection Angle | Auto Shut Off | Weatherproof | Ideal Mounting Height | Input Voltage |
| 3900 | up to 50 ft | 180º | 1-10 min | UL Wet Location | 8-10 ft | 100-120v |
OPERATING MODES

Test Mode Use during setup and adjustment to quickly check motion operation. Light sensor is disabled and duration is set to 5 seconds.
Auto Mode Motion will activate the light from dusk to dawn based on the adjustable settings.
On Mode Light is continuously on and all adjustable settings are ignored. For using the home light switch to control.
D2D Mode (Dusk to Dawn) Light is on from dusk to dawn based on the adjustable settings. 'Range' and 'Duration' are ignored.

Remote Override Temporarily changes light mode from 'Auto' to 'On' until mode is disabled or reverts automatically at dawn. Cycle power twice [Off/On, Off/On]* using home wall switch to enable and disable.
*Cycling must be completed in more than 1 sec & less than 3 seconds for the light to register. Should nothing happen, adjust your cycling speed.
ADJUSTABLE SETTINGS
| Min | Max | ||
| Range | 10 ft | 50 ft | Reduce range to minimize false activations. |
| Dusk | Late dusk - early dawn | Early dusk - late dawn | Adjust to determine preferred dusk and dawn setting. |
| Duration | 1 minute | 10 minutes | Adjust illumination period after motion activation. |
RISK OF FIRE OR ELECTRIC SHOCK
This product must be installed in accordance with the applicable installation code by a person familiar with the construction and operation of the product and the hazards involved
Disconnect power at the fuse or circuit breaker before installing.
NOTICE: Do not connect this light fixture to a dimmer switch or timer.
NOTE: Any changes or modifications to this unit not expressly approved by the party responsible for compliance could void the warranty.
CONTENTS
Lighting fixture and mounting hardware included:

Additional materials needed:
Philips screwdriver
Ladder
Safety goggles
Voltage tester
Silicone sealant
Work gloves
PLEASE READ FULL INSTRUCTIONS BEFORE INSTALLING.
BEFORE INSTALLATION
- Determine the mounting location. The recommended mounting height is 8-10 feet. The location must have an accessible junction box to install the light.
- Cut power to the junction box by turning off the power breaker. Confirm there is no power by using a voltage tester.
INSTALL STEPS
- Cut power to the junction box by turning off the power breaker. Confirm there is no power by using a voltage tester. Align the mounting bracket (A) to the screw holes in the junction box.
note: Attach the ground wire from your home to the ground screw inside the junction box.
![Mr Beams - MB12983 - Install - Step 1 Install - Step 1]()
- Insert one mounting bracket screw (B) on each end of the bracket with a Philips screwdriver.
![Mr Beams - MB12983 - Install - Step 2 Install - Step 2]()
- If mounting to an eave, the motion sensor must be positioned in front of the light heads (as shown above) for optimum motion detection. Before mounting, with the light facing you and the sensor centered and at the bottom, push the sensor up and rotate it 180 degrees so the dials are facing up.
note: Dials should always face down when the light is mounted.
![Mr Beams - MB12983 - Install - Step 3 Install - Step 3]()
- Pair the white (neutral) wire from the junction box with the white (neutral) wire from the light fixture and connect the ends with a wire nut (D). Pair the black (live) wire from the junction box with the black (live) wire from the light fixture and connect the ends with a wire nut.
note: gently tug the wires to ensure they're secure and tuck inside junction box.
![Mr Beams - MB12983 - Install - Step 4 Install - Step 4]()
- Align the light fixture's base to the junction box. Put the mounting screw (C) through the hole in the center of the fixture, and drive the screw through the center hole of the mounting bracket. Be sure that the wires are not pinched during this step.
![Mr Beams - MB12983 - Install - Step 5 Install - Step 5]()
- Insert the silicone cap (F) into the screw hole. Use appropriate exterior silicone sealant to seal around the outside of the fixture between the canopy and the house.
![Mr Beams - MB12983 - Install - Step 6 Install - Step 6]()
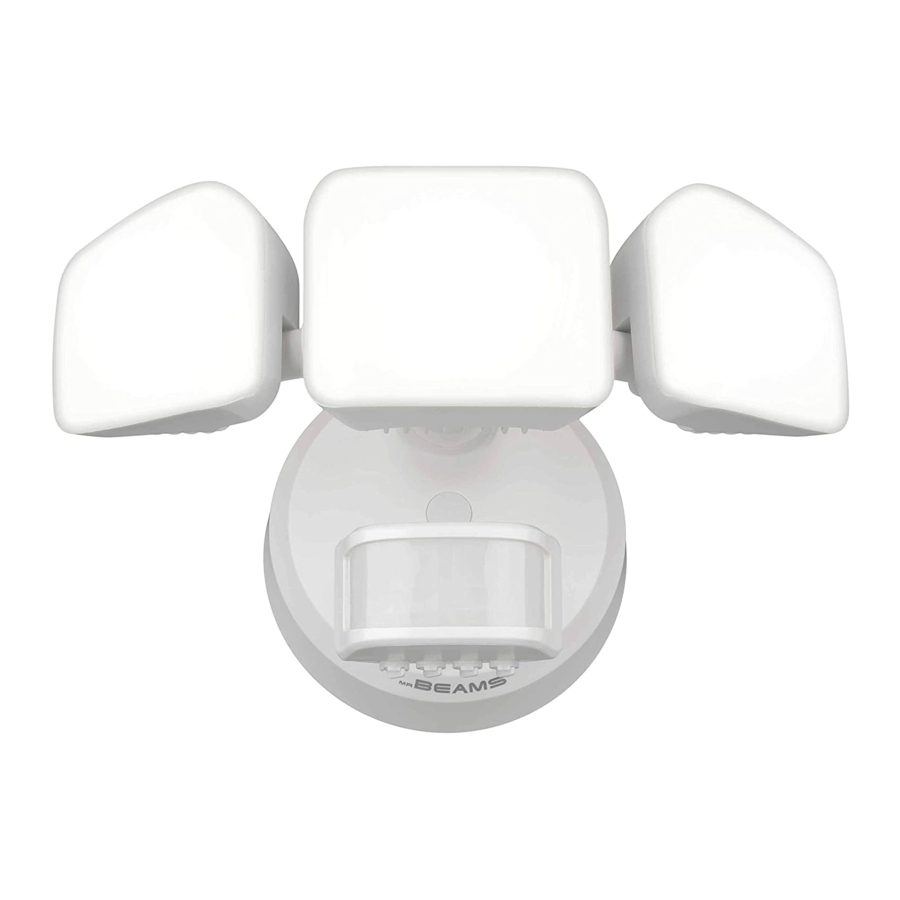
- Adjust the spotlight heads and motion sensor into the desired positions.
![Mr Beams - MB12983 - Install - Step 7 Install - Step 7]()
- Adjust the light settings to your preference. See the operating modes and adjustable settings sections for additional details and instructions.
![Mr Beams - MB12983 - Install - Step 8 Install - Step 8]()
Customer Support
9 a.m. - 5 p.m. EST
(877) 298-9082
customerservice@mrbeams.com
Mailing Address
Mr Beams U.S.
600 Beta Drive, Unit 100
Mayfield Village, OH 44143

Documents / Resources
References
Download manual
Here you can download full pdf version of manual, it may contain additional safety instructions, warranty information, FCC rules, etc.
Download Mr Beams MB12983 - Pro 3-Head Motion Flood Light Manual
Advertisement


Need help?
Do you have a question about the MB12983 and is the answer not in the manual?
Questions and answers