
Summary of Contents for JAYDEN CREATION TVSBSD0453
- Page 1 ITEM NO. TVSBSD0453 NOTE: This brochure contains IMPORTANT safty info. Please read and keep for future reference. 1/16...
- Page 2 MAINTAINANCE AND WARNING Keep furniture away from heat. Do not clean furniture with harsh cleansers or polish. Do not use detergents, Solvents, abrasives, spray packs or leather cleaner. Use non-color mild soap with warm water clean spills(Mix 1:10 soap to water) Do not place furniture under direct sunlight, material will possibly fade over time.
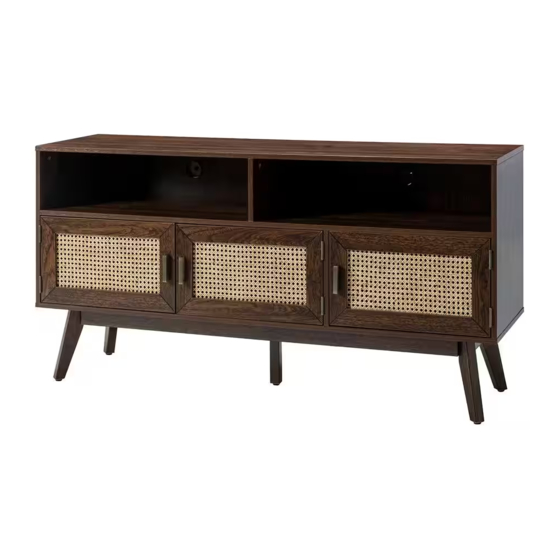
- Page 3 PARTS LIST...
-
Page 4: Explosive View
Explosive View... - Page 5 HARDWARE LIST SPARE Be sure to check all packing material carefully for small parts, which may have come loose inside the carton during shipment.
- Page 6 ASSEMBLY IN STRUCTION S Prepare the part 4, 5 and middle leg. 1)Assemble the middle leg. Align the hole in part 16 and the screw hole in part 15, screw in and tighten the screw K by allenkey P. 2)Align the hole in part 4, 5, insert the wooden dowel D into the hole by hand; screw in and tighten the cam bolt A by screwdriver W Connect part 3 to the part 4 and 5.
- Page 7 Connect the part 6 to the finished part in step 2. 1) Insert the wooden dowel D into the part 4, 5 and 6 by hand. 2) Align the hole in part 6, insert the wooden dowel D in part 3 into the part 6, then screw in and tighten the screw C by allenkey P.
- Page 8 Prepare the part 1 and part 17. 1) Align the hole in part 1, screw in and tighten the cam bolt A by screwdriver W. 2) Align the hole in U to the hole in part 17, screw in and tighten the screw E by screwdriver W.
- Page 9 Prepare the part 3. 1) Turn over the finished part in step 6. 2) Align the hole in part 3, 4 and 5 and insert the wooden dowel D into the hole by hand as the picture show. 3) Align the hole in part 3, screw in and tighten the cam bolt A by screwdriver W. 4) Align the hole in part U ,screw in and tighten the screw E by screwdriver W as the picture sho w.
- Page 10 Slide the part 10 and 11 into the groove in part 3,4,5,7 and 8. Attach the part 2 to the finished part in step 9. 1) Insert the wooden dowel D in part 4,5,7,and 8 into part 2, then 2)Align the hole in part 2 to the hole in part 4,5,7, and 8, screw in and tighten the screw C by allenkey P.
- Page 11 J*12 Attach the leg frame. 1) Align the hole in part 12 and 13 to the hole in part 2, screw in and tighten the screw J by allenkey P. DO NOT FULLY TIGHTEN! 2) Align the hole in part 16 to the hole in part 12, screw in and tighten the screw I by allenkey P.
- Page 12 Assemble the legs. 1) Align the hole in part 14 to the hole in part V, screw in and tighten the screw L by allenkey P. 2) After check the all screw in right position, fully tighten the screws I, J E in sequence.
- Page 13 Attach the part 17 to the finished part in step 14. 1) Assemble the part U in the part 2 as the picture show. 2) Align the hole in part N to the part 4, 5 and 8, screw in and tighten the screw E by screwdriver W as the picture show.
- Page 14 Use the adjustable nail to keep the cabinet level in case the cabinet is wabbling. Now your cabinet is ready to use. 14/16...
- Page 15 1. Mark the position on the wall, this should be same as the position of R where are on the back of panel 1; Drilled and insert the expandable screw T by hammer; 2.Assemble the part R on the wall. Align the hole in the part R to the expandable screw T, screw in and tighten by screwdriver;...
Need help?
Do you have a question about the TVSBSD0453 and is the answer not in the manual?
Questions and answers