Advertisement
Quick Links
Advertisement

Subscribe to Our Youtube Channel
Summary of Contents for KAMEP Bell J7
-
Page 3: Warranty Service
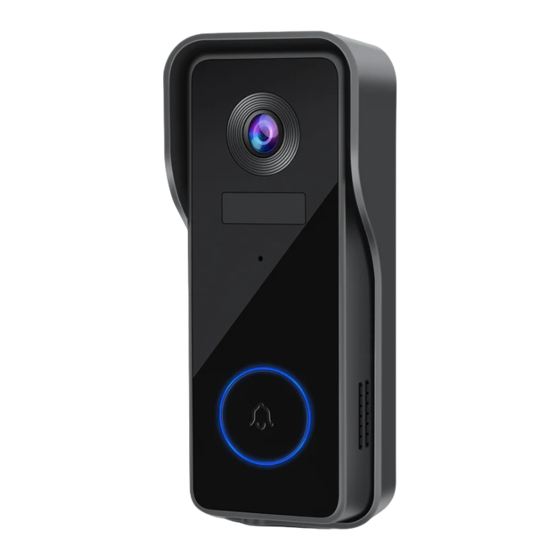
We distinguish ourselves by an unrelenting commitment to excellence in terms of our reliable quality, robust design and whole-hearted service. All items you bought from KAMEP enjoy life-time warranty service. Should you have any questions in using our products, please feel free to contact us by e-mail. A reply email with solution will reach you within 24 hours. - Page 5 1. Meet the doorbell Camera ON/Off Switch PIR Motion Sensor Microphone Doorbell Button LED Indicator Reset Button Memory Card Slot Speaker Li-ion Battery Built-in Charging Indicator Micro USB Port (for battery charging) Security Screw Doorbell comes with a 4,500mAh rechargeable Li-ion battery.
- Page 6 2. Meet the chime (optional) Settings Volume Control Select Ringtone Red indicator Blue indicator Micro USB Port (DC5V power port) AA Batteries Chime can be powered either by AA batteries or a Micro USB compatible phone charger Please mind the battery polarities when installing.
- Page 7 3. Charge your doorbell Prior to the doorbell installation, please charge up your doorbell for about 8-10 hours till the charging LED turns BLUE from RED. LED STATUS INDICATION Solid red Battery charging Solid blue Fully charged Compatible charger ( not provided USB compatible phone charger (DC 5V 1A~2A).
-
Page 8: App Download
4. App download Search ‘Cloudot’ in the App stores or scan below QR codes to download the App. 5. Set up doorbell Switch on power for your doorbell, and you will see the LED indicator flashes red (once per second). Start setting up your doorbell following the in-app instruc- tions. - Page 9 Tips • Please operate the setup near your Wi-Fi router. • Make sure your phone is connecting to a 2.4GHz Wi-Fi. • Make sure the doorbell is turned on, and its indicator LED is flashing red. If not, press and hold RESET for 5 seconds.
- Page 10 6. Pair with chime (optional) Click the SETTING button on the chime, and the chime will be in pairing mode for 20 seconds, with its red LED flashing. Settings Flashing Red Press the doorbell button to send a pairing signal, and your chime will sound to react, together with its blue LED flashing.
- Page 11 Chime settings. Ringtone selection. Click to change ringtone (4 ringtones available). Volume control button. Click to control volume: level 1: 110 dB; level 2: 100 dB level 3: 90 dB; level 4: 80 dB Settings. Click to enter/quit pairing mode; Press &...
- Page 12 7. Install Your doorbell Select location for your doorbell. Select a location. It is suggested to mount the doorbell at least 4 feet (120 cm) above the ground for optimal angle of view and best motion detection performance. (OPTIONAL) Install at an angle. You can purchase the following angled brackets so as to point your doorbell to a specific view angle.
- Page 13 Standard installation.
-
Page 14: Tamper Alarm
8. Tamper Alarm Anti-theft Tamper Alarm. You can also enable the anti-theft alarm in doorbell settings. Tamper Alarm Trigger Tamper Alarm On With tamper alarm on, your doorbell detects disassem- bly by the trigger on its back, and then a 30-second siren alarm will be triggered. -
Page 15: Troubleshooting
9. Trouble Shooting Q1: Is the video doorbell powered by battery? A1: Yes, there is a Li-ion battery built-in. Thanks to the low power consumption technology, a full charge lasts for more than 2-3 months in our lab test environment. (Lab test condition: 10 events per day, 15 seconds video recording per event) Q2: Does it support legacy hardwire power source?
Need help?
Do you have a question about the Bell J7 and is the answer not in the manual?
Questions and answers
what sise is the secrurity screw for the euki j7 doorbell camera
The size of the security screw for the KAMEP Bell J7 doorbell camera is not specified in the provided information.
This answer is automatically generated
what sise is the secruity screw for the euli j7 doorbell
The size of the security screw for the KAMEP Bell J7 doorbell is not specified in the provided context.
This answer is automatically generated