Advertisement
What is in the Box
Clear a work area.
Ensure the packaging is the right-way up.
Open the packaging carefully.
Lift out each item, identify it, and carefully place it to one side.
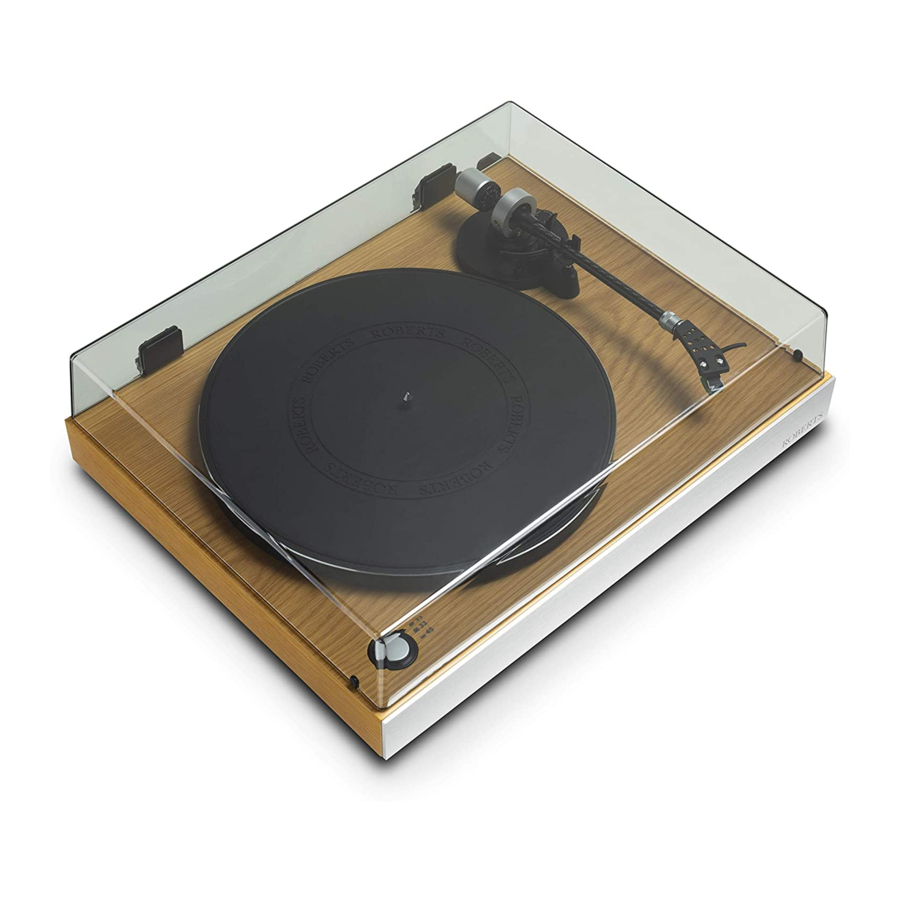
Dust cover
Base unit with tone-arm
Turntable platter
Rubber mat
Head-shell with cartridge
Counterweight for the tone-arm
Hinges x 2
Cables x 3,comprising
USB cable (type-A - type-B)
Stereo phono plugs - Stereo phono plugs
Stereo phono sockets - 3.5mm stereo plug 4
5 r.p.m. adaptor holder with screws x 2
45 r.p.m. adaptor
Mains power adaptor with EU and UK pin options
We recommend that all packaging is kept to allow the turntable to be safely transported in the future.
Features

STEP 1 - Assembling your turntable
Connect the head-shell to the tone-arm
Unwrap the base unit and take care not to put pressure on the tone-arm or the cueing lever. Do not assemble the platter on to the base just yet.
- Lock the Tone-arm with the securing clip.
![]()
- Take the Head-shell and identify the locating pin. Do not remove the stylus cover at this time.
![]()
- Align the Locating pin on the head-shell with the slot in the socket at the end of the tone-arm. Gently push.
![]()
- Rotate the Locking ring (anti-clockwise when viewed from the front) to pull the two parts together. Only tighten by hand.


Attach the counterweight to the tone-arm
- Slide the Counterweight on to the Tone-arm.
- Rotate the Counterweight anti-clockwise (when viewed from the front) until it engages and some slight resistance is felt.
Note: The scale rotates freely. The counterweight itself must be rotated in order to engage correctly with the tone-arm.

Balance the tone-arm
- Set the Anti-skating control to zero, raise the Cueing lever and unclip the Tone-arm so that it moves freely.
![]()
- Hold the Head-shell. It is currently unbalanced and will drift upwards.
- Rotate the Counterweight so that it moves further onto the Tone-arm.
- Check the balance and lower the Cueing lever to see if the tone-arm falls, rises or remains level.
- Adjust the Counterweight so that it moves in or out until the Tone-arm is balanced and remains level when the cueing lever is lowered.
![]()
- Carefully remove the Stylus cover and adjust the Counterweight again until the tone-arm is balanced.
![]()


When removing the stylus cover, do not touch the stylus. Damage caused to the stylus by mishandling is not covered by the guarantee. When balancing the tone-arm it is important that the stylus never contacts the turntable platter, mat or base.
Set the tracking weight
- When the Tone-arm is balanced, place it on its rest using the securing clip. Carefully replace the Stylus cover.
![]()
- Keeping the counterweight in place, rotate the Scale on the front of the counterweight to zero.
![]()
- A tracking weight of 2.0 grams is recommended for the supplied cartridge. The tracking weight should not exceed 2.5 grams.
- Rotate the Counterweight and Scale together so that the counterweight moves further towards the tone-arm pivot until the scale reads 2.0 grams.
- Adjust the Anti-skating control so that it also reads 2.0 grams. This should normally match the chosen tracking weight.
![]()


Note: An incorrect tracking weight can have a significant effect on the quality of the audio when playing records. If the tracking weight is set too low or too high then excessive wear to the stylus or damage to the surface of the record may be caused.
Attach the platter and mat
- Unpack the Platter. Place the Platter on the Spindle.
- Slowly rotate the platter by hand to ensure that it moves freely.
- Place the Rubber mat on to the Platter.
![]()

Attach the dust cover
- Fit the two Hinges onto the Dust cover.
- Locate the other end of the Hinges in the two Sockets at the rear of the turntable base.
- Lower the Cover into place over the platter and tone-arm.
![]()

Attach the adaptor holder
- Attach the 45 r.p.m. Adaptor holder onto the rear of the turntable using a cross head screwdriver. Do not overtighten screws.
- Place the 45 r.p.m. adaptor into the holder for storage.
![]()

STEP 2 - Connecting
Audio connection
Note: In order to play music the turntable must be connected to a device providing amplification and one or more loudspeakers.

OR

Mains adaptor
- Assemble either the UK or EU pins on to the Mains power adaptor to suit the mains sockets installed at your location.
- The AC adaptor should be disconnected from the mains supply and from the turntable when not in use.


Switch on
- Plug the DC lead from the mains adaptor into the DC input socket.
- Plug the adaptor into a suitable mains socket.
- Switch on the mains socket and then switch the Power On/Off switch On.


STEP 3 - Playing a record
- Ensure the record is clean and dust free. Use a record cleaner if required.
- Carefully place the record on the platter and set the Speed switch to 33 or 45 r.p.m. as needed for the record.
![]()
- Remove the Stylus cover, unclip the Tone-arm and raise the Cueing lever.
![]()
- Position the Tone-arm so that the stylus is centred above the lead-in area of the record. The record should now rotate.
![]()
- Lower the Cueing lever. The tone-arm will drop slowly and the stylus should then settle into the groove at the start of the record which will then start playing.
![]()
- You may wish to gently lower the dust cover while the record is playing. Do not let it close suddenly to avoid a sudden jolt to the tone-arm and stylus.
- You will be able to listen to the record through your connected equipment.


Note: Always use the cueing lever to lower and raise the tone-arm and stylus in order to minimise the risk of damage to either the stylus or the record's surface. When playing records it is important to ensure that the stylus never contacts the turntable platter, mat or turntable base. Damage caused to the stylus by mishandling is not covered by the guarantee.
- At the end of the record, the turntable will switch off. Note: The automatic switch off feature is dependent on the placement of the run-out-groove at the end of the record and may take a few seconds to operate. If the turntable switches off prematurely, you will need to set the Auto Stop switch to Off.
![]()
- Raise the Cueing lever and return the tonearm to its rest. The platter may rotate briefly during this step.
![]()
- Lock the tone-arm in place with the securing clip.
![]()
- If not playing another record for a while it is recommended to close the dust cover, switch off the turntable and switch off the mains supply to the turntable.
- If you wish to stop playing a record before it has finished, use the cueing lever to raise the stylus from the record before returning the tone-arm to its support.


Electro-magnetic compatibility advice
In the event of a malfunction due to electrostatic discharge, mains power supply transients or short interruptions, remove the power for 30 seconds and then re-apply power to resume normal operation.
If the product is used in an environment with any ESD Immunity / Radiated Immunity / Conducted Immunity disturbance, the product may malfunction. It will automatically recover to normal when the ESD Immunity / Radiated Immunity / Conducted Immunity disturbance is stopped.
Specifications
| Mains | AC 100 240 volts, 50/60Hz (adaptor) (Use only the supplied adaptor) |
| Operating temperature range | +5°C to +40°C |
| Cartridge | Moving magnet type Audio Technica AT-95E Load impedance 47kΩ |
| Tracking weight | 2.0 - 2.5 grams |
| Replacement stylus | Audio Technica ATN-95E |
The company reserves the right to amend the specification without notice
To clean the turntable use a soft lint-free cloth, ideally made from natural fibres in order to prevent a build-up of static electricity which can attract dust. Do NOT use polish or any solvent based cleaners. To remove dust from the mat on the platter, use a slightly damp lint-free cloth, removing the mat first if needed. To clean records, only use a purpose designed record cleaning brush with the record on the platter.
For support with using the recording function and for general troubleshooting, please visit our website at www.robertsradio.com

Documents / Resources
References
Download manual
Here you can download full pdf version of manual, it may contain additional safety instructions, warranty information, FCC rules, etc.
Advertisement

Need help?
Do you have a question about the RT200 and is the answer not in the manual?
Questions and answers