Table of Contents
Advertisement
Quick Links
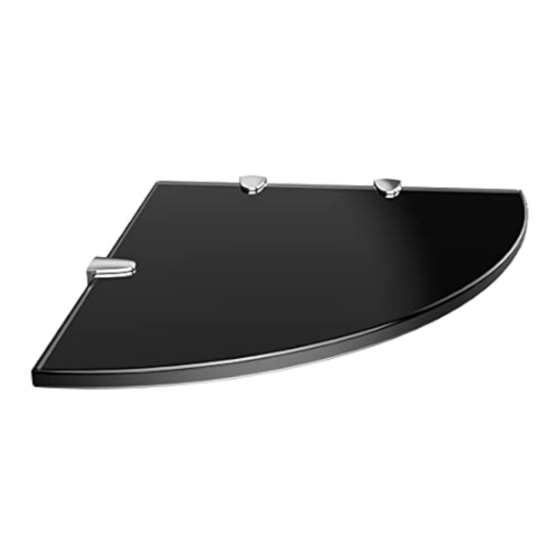
Corner Shelf Instruction Manual
V1.0(A)
Model: PGCS02
Thank you for choosing this Perlegear product! At Perlegear we strive to
provide you with the best quality products and services in the industry.
Should you have any issues, please don't hesitate to contact us at
Technical Support:
(US/CA)1-800-456-5231 Mon-Fri 8am - 8pm(CST)
(UK)44-808-196-4165 Mon-Fri 2pm - 10pm(UTC)
Other Info:
support@perlegear.com
Advertisement
Table of Contents

Subscribe to Our Youtube Channel
Related Manuals for Perlegear PGCS02

Summary of Contents for Perlegear PGCS02
- Page 1 Corner Shelf Instruction Manual V1.0(A) Model: PGCS02 Thank you for choosing this Perlegear product! At Perlegear we strive to provide you with the best quality products and services in the industry. Should you have any issues, please don't hesitate to contact us at...
- Page 2 Do not use damaged or defective parts. lf you require replacement parts, please contact our customer service at support@perlegear.com. • Carefully read all instructions before attempting installation. If you do not understand the instructions or have any concerns or questions, please contact customer service at support@perlegear.com.
- Page 3 Step 2 Find the Proper Installation Location of the Glass Shelf There are total 3 brackets. Please attach a brackets on one edge of the glass shelf while attaching the other two brackets to the other edge. To achieve the stability, make sure each brackets is installed in V2.0 the in installable range of the...
- Page 4 3A-2 1 37/64 in (40mm) Phillips Screwdriver [Not Included] 5/64 in (ø2mm) For wood studs,drill 2 pilot holes using a 5/64 in (ø2mm) diameter drill bit. Make sure the depth is not less than 1 37/64 in (40mm). For the drywall, screw the anchor [D] into the drywall.
- Page 5 3B-2 Phillips Screwdriver [Not Included] Screw the anchor [D] into the drywall. 3B-3 The bolt points to down Secure the brackets [B] on the wall by tightening the lag screws [C] using a phillips screwdriver. Step 3C for solid concrete and concrete block walls installation 3C-1 Position and level the glass shelf [A] at your desired height,...
- Page 6 1 49/64 in (45mm) 3C-2 9/32 in (ø7mm) For Wall Anchor Drill 3 pilot holes using a 9/32 in (ø7mm) diameter drill bit. Make sure the depth is not less than 1 49/64 in (45mm). 3C-3 Use the hammer to knock concrete anchors [E] into the wall.
- Page 7 Step 4 Secure the Glass Shelf [A] into the Brackets [B] Note: The product is designed for showing the shiny side up. Install the glass shelf [A] into the brackets. Tighten the bolt [S] only until they are pulled firmly against the glass shelf. DO NOT over-tighten the [S].
- Page 8 Thank you again choosing this Perlegear product! All of us at Perlegear do appreciate your product purchase. We hope that you are as happy with your product as we designing and manufacturing it for you. We strive to provide you with the best quality products and services in the industry.
Need help?
Do you have a question about the PGCS02 and is the answer not in the manual?
Questions and answers