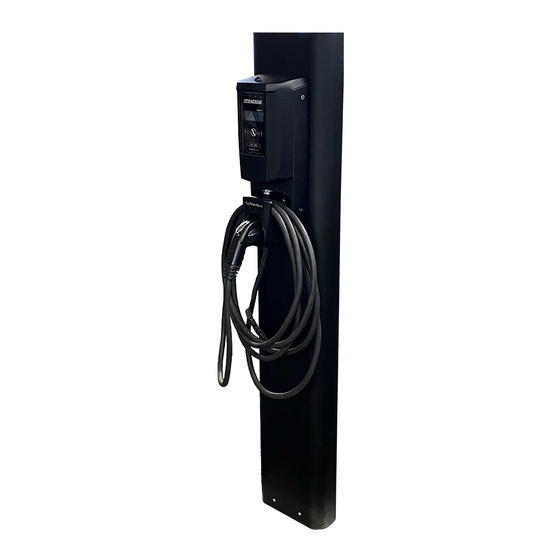
Summary of Contents for RAB Design EVP5 Pro
- Page 1 PEDESTAL – INSTALLATION STEPS • Remove the top cover and base of the pedestal. (Not fastened to pedestal for quick disassembly)
- Page 2 PEDESTAL – INSTALLATION STEPS • Remove the required rubber plugs and attach screws and washers (hardware by others) for mounting the charger.
- Page 3 PEDESTAL – INSTALLATION STEPS • Attach an appropriate strain relief and secure it from inside the pedestal (Tool access through top).
- Page 4 PEDESTAL – INSTALLATION STEPS • Hook the charger to the pedestal using the top mounting screw and secure it in place using the bottom screw. Top Mounting Screw Bottom Mounting Screw...
- Page 5 PEDESTAL – INSTALLATION STEPS • Use a cable of atleast 5’ length and connect one end of the cable to the charger terminals and feed the other end through the strain relief into the pedestal.
- Page 6 PEDESTAL – INSTALLATION STEPS • Attach the pedestal mounting plate on the ground with provided anchor bolts. • Pull the power line through the bottom of the pedestal and connect it to the cables coming from the ground.
- Page 7 PEDESTAL – INSTALLATION STEPS • Slide the Pedestal over the base and fasten using 4 screws provided. • Attach the top cover using the 8 screws provided...
- Page 8 PEDESTAL – INSTALLATION STEPS • Attach the charger cover using the Charger hardware.

Need help?
Do you have a question about the EVP5 Pro and is the answer not in the manual?
Questions and answers