Advertisement
Quick Links
Advertisement

Related Manuals for Renew REN Series


Summary of Contents for Renew REN Series
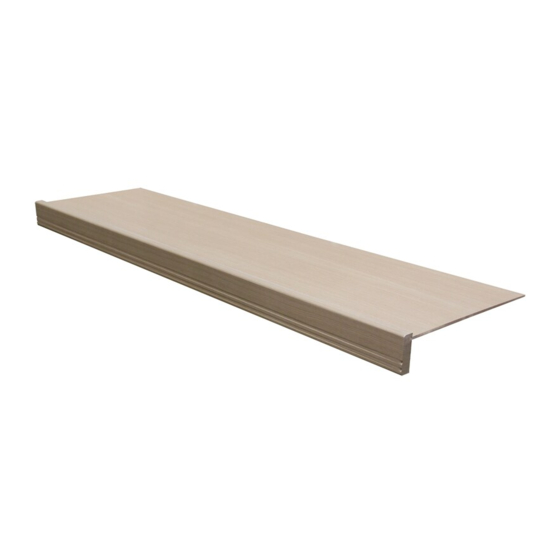
- Page 1 Wire Shelf Cover REN-** REN-I...
-
Page 2: Parts List
Parts List 2.5 in. Rail 1.75 in. Rail 1 in. Rail Panel Clip Spacer 1.75 in. End Cap 2.5 in. End Cap Hardware List Required Tools 5/8in. Screw 3/8in. Screw Screw Driver Thank you for your purchase. For any product or installation questions, damages, replacement or missing parts please contact us at: 1.800.480.6985 service@johnlouishome.com www.johnlouishome.com... - Page 3 Step 1 - Select your rail size. 2.5 in. Rail 1.75 in. Rail 1 in. Rail (Used if hanger clearance is required) Step 2 - Attach mounting hardware to rail. Hardware used for shelving with wall end attachment. Hardware used for shelving without wall end attachment. Loosely assemble hardware.
- Page 4 Step 2 - Attach mounting hardware to rail (cont.). Insert assembled hardware into lower rail channel. Position hardware evenly on rail positioned at open spaces on wire shelf front. Align clip towards upper rail channel. Secure hard- ware with screwdriver.
- Page 5 Step 3 - Assemble panels & front rail. 20 in. Depth Shelf - 5 Panels 16 in. Depth Shelf - 4 Panels 12 in. Depth Shelf - 3 Panels Determine your shelf depth and the amount of panels required. Insert first panel into the upper channel on the front Attach the remaining panels by sliding each one rail.
- Page 6 Step 3 - Assemble panels & front rail (cont.). No End Caps Used Attach end cap to both front rail ends. NOTE: If adding another shelf cover next to existing shelf cover, do not attach end cap at end where new shelf cover butts up to. Step 4 - Attaching to wire shelf.
- Page 7 Step 4 - Attaching to wire shelf (cont.). Ensure clips are attached to the front/top of wire shelf and bend clips to secure. NOTE: In some instances the clip will be tight depending on wire shelf thickness and type. Cutting Wire Shelf Covers (If required) - In some cases your shelf length may not equal round mea- surements.
- Page 8 Installing Corners - Installing corners require the cutting of 1 interior corner rail. TOP VIEW TOP VIEW Step 1 Step 2 - Place required panels into the corner on - Follow normal installation steps for the 1st shelf. shelf cover on 2nd shelf ensuring cover is flush with panels on 1st shelf.
- Page 9 Installing Corners (cont.). TOP VIEW TOP VIEW Step 5 Step 6 - Install rail hardware and attach the rail to - Ensure the 1st shelf rail is flush with the rail shelf panels. face of the 2nd shelf and secure. Repeat the normal installation procedure for any remaining shelf dis- tances to cover.
Need help?
Do you have a question about the REN Series and is the answer not in the manual?
Questions and answers