
Related Manuals for Minix NEO J51-C8 Max


Summary of Contents for Minix NEO J51-C8 Max
- Page 1 NEO J51-C8 Max INTEL MINI PC WITH WINDOWS 11 PRO (64-bit) PRE-INSTALLED English User Guide Ultra Compact Jasper Lake Mini PC [Intel N5105 CPU]...
-
Page 2: Specifications
Specifications Processor Intel Quad-Core N5105 (Max Turbo Frequency 2.90 GHz) ® Intel UHD Graphics ® Memory 8GB DDR4 (upgradeable to 16GB) Memory Slot 2 x SO-DIMM slot, support dual channel Storage Pre-installed 512GB NVMe SSD Storage Expansion 1 x M.2 2280 KEY-M slot (Support M.2 PCle Gen3 x4) Wireless Connectivity 802.11ax Dual-Band Wi-Fi 6, Bluetooth 5.2 Operating System... - Page 3 Contents MINIX NEO J51-C8 Max 12V (3A) Power Adapter VESA Mount HDMI Cable...
- Page 4 Combining 512GB NVMe SSD pre-installed storage, 8GB of DDR4 memory and Windows 11 Pro (64-bit) ensures NEO J51-C8 Max is ready to run out of the box. A small solution packed full of big ideas. NEO J51-C8 Max can be easily mounted to a VESA compatible monitor, no tools are required for mounting once the included bracket has been installed.
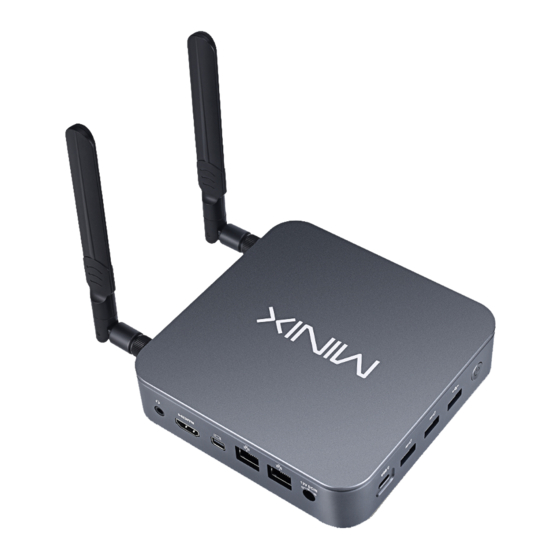
- Page 5 Overview Power LED - The LED glows blue when NEO J51-C8 Max is on. Power Button - To power on the NEO J51-C8 Max, press and hold the power button for 1-2 seconds until the power LED glows. To power off the NEO J51-C8 Max, press and hold the power button for 8 seconds.
- Page 6 HDMI Port - Connect the NEO J51-C8 Max via HDMI to a TV or PC monitor using included HDMI cable. Mini DP Port - Connect the NEO J51-C8 Max via Mini DP to a PC monitor. Please note, an active adapter is required to convert Mini DisplayPort output to HDMI/DVI output.
- Page 7 Control You may control NEO J51-C8 Max via one of the following input methods: 1. Wired mouse and keyboard 2. Wireless/Bluetooth mouse and keyboard...
-
Page 8: Basic Setup
Basic Setup NEO J51-C8 Max connects to your TV or PC monitor via either a Mini DP, HDMI or USB-C port. Mini DP and HDMI support both audio and video, USB-C only supports video output. Step 1 (if required): Place VESA mount bracket onto monitor. - Page 9 Step 4: Power on. Press and hold the power button for 1-2 seconds to power on NEO J51-C8 Max, the blue power LED should then glow. Step 5: Turn on TV/PC monitor and select the input. Simply turn on your TV or PC monitor, and select the...
- Page 10 MINIX Forum – www.theminixforum.com. NEO J51-C8 Max is fully compatible with our range of USB-C accessories, including USB-C to USB-C cable [NEO C-MUC] and USB-C to 4K @ 60Hz HDMI cable [NEO C-4K].
- Page 11 MINIX Technology Limited. MINIX and the MINIX logo are trademarks of MINIX Technology Limited. All other marks and trademarks are properties of their respective owners.
- Page 12 Note: This equipment has been tested and found to comply with the limits for a Class B digital device, pursuant to part 15 of the FCC Rules. These limits are designed to provide reasonable protection against harmful interference in a residential installation. This equipment generates, uses and can radiate radio frequency energy and, if not installed and used in accordance with the instructions, may cause harmful interference to radio...
- Page 13 Contact Us EMAIL: support@minix.com.hk WEBSITE: www.minix.com.hk MINIX FORUM: www.theminixforum.com FACEBOOK: www.facebook.com/minixtech www.minix.com.hk...
Need help?
Do you have a question about the NEO J51-C8 Max and is the answer not in the manual?
Questions and answers