
Related Manuals for Swing MARBLE


Summary of Contents for Swing MARBLE
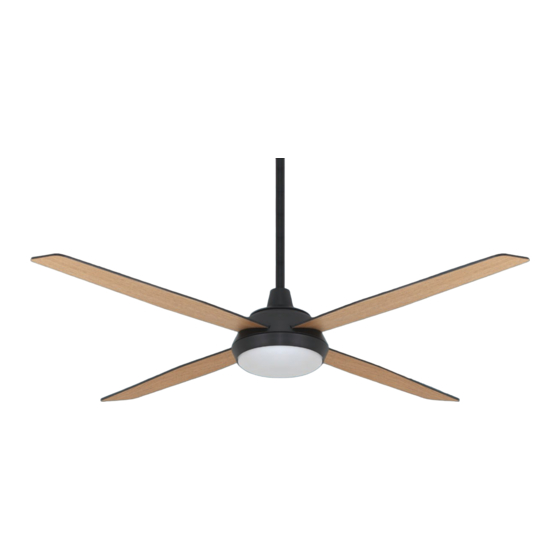
- Page 1 Installation manual for SWING ceiling fan MARBLE ref: 85122 | 85083 Year Warranty breeze...
-
Page 2: General Safety Instructions
- This ceiling fan is suitable for operation with a SWING LED GX53 light fitting. - SWING fans should only be installed and operated using SWING accessories, remote control, downrods, light fitting and blades. - This ceiling fan must be securely connected to a solid structure. Under no circumstances should the Hanging bracket be installed on plaster boards only! - Use all screws provided with the fan! Failure to use all screws poses a safety hazard and may result in serious injury. -
Page 3: Installation Instructions
- Before starting the installation verify that all the parts are present and available for use, including any accessories which may be required for the installation. Use only original Swing fan accessories. 2. Hanging bracket installation - Fix the hanging bracket to a flat surface using suitable fasteners, which should be fastened to a timber joist or concrete (the attached screws are intended for standard concrete. - Page 4 Attention! It is mandatory to tighten the 2 screws of the down rod to the fan motor housing. - Reassemble the ball-joint and ensure proper installation of the ball-joint pin and the ball-joint screw. Ceiling cover Down rod Ball-joint pin Ball-joint Down rod Fan motor SWING MARBLE Fan Installation Instructions | Version 1.22...
- Page 5 Ceiling cover screws Ball-joint Slot 8. Connecting the ceiling fan to the electricity supply After the ceiling fan is properly hung, connect the terminal plug connector (male to female). Connector terminal plug SWING MARBLE Fan Installation Instructions | Version 1.22...
- Page 6 11. Installing the light fitting - Insert and rotate the light fitting counterclockwise to lock in place. Summer Winter Reverse switch Winter Upwards airflow Summer Downwards airflow Clockwise rotation Counter clockwise rotation SWING MARBLE Fan Installation Instructions | Version 1.22...
-
Page 7: Setting Up The Remote Control
- The remote control comes with a dedicated wall holder which can be installed using two screws. - The indicator lights are not lit permanently, but are lit for one second, and then go off. SWING MARBLE Fan Installation Instructions | Version 1.22... -
Page 8: Troubleshooting
- If it is an "electric" noise which is mainly heard in the evening or in the early morning, it may be caused by electrical pulses which are sent over the electric lines. Attention! Some noises cannot be prevented and are not covered under warranty. SWING MARBLE Fan Installation Instructions | Version 1.22... -
Page 9: Warranty Conditions
Warranty Conditions - In the event of a product malfunction, SWING at its sole discretion, may decide whether to All SWING products are high-quality fans. The warranty applies to the motor, fan body, blades Repair of Product repair components or products, provide similar products as a replacement, or refund the Under Warranty and light fittings which are parts of the fans sold by SWING. -
Page 10: Warranty Form
How to contact us to use the warranty: immediately after the installation so that the information is recorded in the company's www.swingfans.com databases. The form can be filled out online at: www.swingfans.com SWING MARBLE Fan Installation Instructions | Version 1.22...
Need help?
Do you have a question about the MARBLE and is the answer not in the manual?
Questions and answers