Advertisement
Quick Links
Advertisement

Summary of Contents for AIRVINE WaveTunnel Q4
- Page 1 WaveTunnel Installation Guide Q4 2021...
-
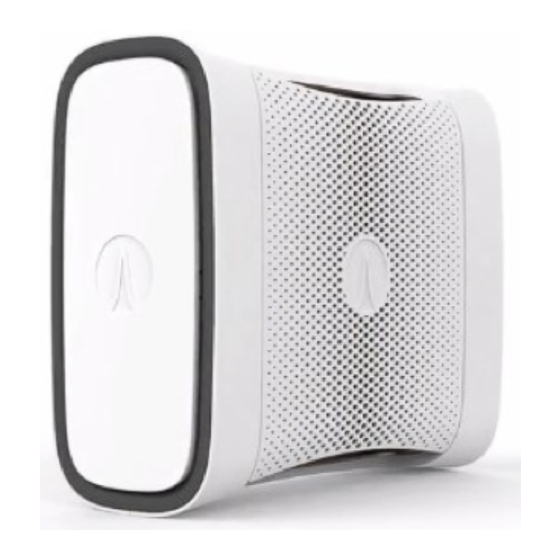
Page 2: What's Included
What’s Included WaveTunnel (WT) Ceiling Mounting Unit Bracket WaveTunnel Installation Guide... - Page 3 Attaching the Bracket to the Ceiling • Screw the bracket into the ceiling before attaching it to the WaveTunnel™ unit • Mounting hardware will depend on the type of building material • Options include acoustic (aka drop), sheetrock, concrete, wood, etc. •...
-
Page 4: Remove The Rear Cover
Remove the Rear Cover WaveTunnel Installation Guide... - Page 5 Attach the WT Unit to the Bracket The WaveTunnel unit is positioned with the screw heads lined up with the keyhole features in the mounting bracket. WaveTunnel Installation Guide...
- Page 6 Attach the WT Unit to the Bracket The WaveTunnel unit slides downward to engage the screw heads into the mounting bracket. WaveTunnel Installation Guide...
- Page 7 Attach the WT Unit to the Bracket Once the screw heads have slid all the way down, the locking mechanism will engage and prevent the unit from inadvertently being bumped off the mounting bracket. WaveTunnel Installation Guide...
- Page 8 Reattach the Rear Cover WaveTunnel Installation Guide...
- Page 9 Attach Power and Ethernet Cables • Once mounted, connect the power and Ethernet cables to the WaveTunnel unit • We are now ready to configure each unit (see configuration guide) WaveTunnel Installation Guide...
- Page 10 To Remove the WT Unit from the Bracket To remove the WaveTunnel unit from the mounting bracket, simply release the locking lever and slide the unit upwards. WaveTunnel Installation Guide...
- Page 11 Visit Us @ www.airvine.com more on the All-Wireless Enterprise...
Need help?
Do you have a question about the WaveTunnel Q4 and is the answer not in the manual?
Questions and answers