Advertisement
Quick Links
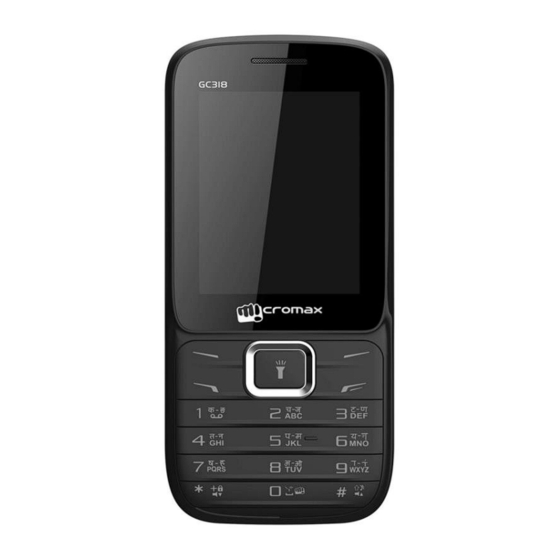
GC318
1. Technical Specifications
Particular
Key Matrix For Flashing
Chipset
Android Version
Frequency
Network Mode
GSM
CDMA
Internal SD Card memory
Expandable Memory
Factory mode code
Good Earpiece value in ohms
Good Loudspeaker value in ohms
Good Mic value in ohms
Good Vibrator value in ohms
Disassembly Procedure
Remarks
N/A
MTK6260A QSC1110
N/A
360Mhz
GSM 900/1800 CDMA 800
128 0Mb
128 32Mb
NO
8GB
*#629#
32Ω±15%
8Ω ±15%
1.0KΩ-2.2KΩ(test condition f=1KHZ,Pin=1Pa)
59Ω±15% ohms
At 25℃
Advertisement

Summary of Contents for cromax GC318
- Page 1 GC318 Disassembly Procedure 1. Technical Specifications Particular Remarks Key Matrix For Flashing Chipset MTK6260A QSC1110 Android Version Frequency 360Mhz Network Mode GSM 900/1800 CDMA 800 128 0Mb CDMA 128 32Mb Internal SD Card memory Expandable Memory Factory mode code *#629# Good Earpiece value in ohms 32Ω±15%...
-
Page 2: Disassembly Procedure
GC318 Disassembly Procedure 2. CAUTIONS I. Flashing & Servicing must be undertaken by qualified personnel only. II. Ensure all work is carried out at an anti-static workstation and that an anti-static wrist strap is worn. III. Use only approved Tools & components as specified in the parts list. - Page 3 GC318 Disassembly Procedure 2) Remove screws After removed the battery cover, remove the 6pcs screws circled in red by using screwdriver as shown. Battery cover 3) Remove A cover Remove A cover by using the disassembly piece along the bottom joint gap around the cover angles as shown.
- Page 4 GC318 Disassembly Procedure 4) Remove the keyboard and receiver Loosening the buckle of A cover, and take out the keyboard as shown. Keyboard Remove the receiver from the disassembly gap of side edge use the tweezers as shown. Receiver Main...
- Page 5 GC318 Disassembly Procedure 5) Remove the mainboard Loosen the buckle of the B cover, and then remove the mainboard. Remove the LCD Gently take off LCD from both sides by the plastic tweezers, and then weld down LCD from mainboard...
- Page 6 GC318 Disassembly Procedure Remove SPK BOX and Vibrator First remove the screw of the speaker bracket using screw driver, and then weld down the speaker BOX and Vibrator from mainboard using soldering iron as shown. SPK BOX...
- Page 7 GC318 Disassembly Procedure 9) Remove the MIC Weld down the MIC as shown. 10) Remove the LCD lens Remove the LCD lens using the jig and fixture. LCD lens...
- Page 8 Model Disassembly Procedure All parts have been dismantled through above disassembly steps. All parts as below. Thanks For any Query or suggestion, Please write to tech.help@micromaxinfo.com...


Need help?
Do you have a question about the GC318 and is the answer not in the manual?
Questions and answers