
Summary of Contents for OPTIX RVM703A
- Page 1 MODEL : RVM703A REARVIEW MIRROR 7.3” Wide LCD QUALITY PRODUCTS FOR THE PROFESSIONAL INSTALLER...
-
Page 2: Table Of Contents
MODEL : RVM703A TABLE OF CONTENTS INTRODUCTION Contents DEVICE INSTALLATION Wiring MODE MOUNTING QUICK START... -
Page 3: Introduction
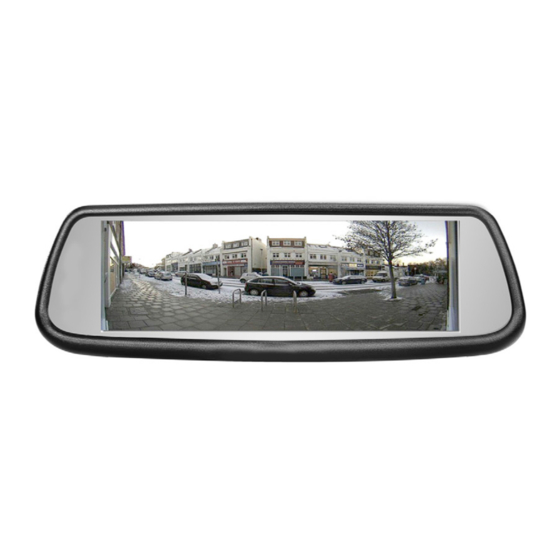
7.3-inch screen. You also get two additional video input for side cameras with trigger wires. The “RVM703A” Rearview Mirror gives you an amazing widescreen display essential for reverse and side cameras. -
Page 4: Device
MODEL : RVM703A DEVICE Includes: • 1 Rearview Mirror • 1 wire harnes NOTE: Make sure the Mirror has the corresponding mount to your make and model vehicle. -
Page 5: Installation
1. Determine installation location and verify if mount is compatible. Remove your stock rearview mirror and verify the mount is the appropriate one for your make and model vehicle. If mount is correct, place your new “RVM703A” on the existing glass mount. Run the cables down the pillar like the in the image below. -
Page 6: Mode
MODEL : RVM703A MODE A fascinating feature included in the “RVM703A” is the capability to view camera 3 (reverse) at all times with the press of a button. The button underneath the mirror will allow you to view behind while driving, ideal for people with horse trailers and other types of trailers. -
Page 7: Mounting
MOUNTING Different cars have different brackets, make sure your windshield mount matches the mount on the “RVM703A”. Once you have the appropriate mount slide the mirror down on the glass mount and tighten the screw with the tool provided. Do not put heavy force when sliding the mirror on the mount. -
Page 8: Quick Start
MODEL : RVM703A QUICK START Remove old Mirror carefully and Identify if bracket and mount are the same After identifying the correct mount, Slide the Mirror to the mount and tighten to secure its position. Fish out the cables from the headliner and run them down the “A”...