Table of Contents
Advertisement
Quick Links
Advertisement
Table of Contents

Summary of Contents for Meg Trident Series
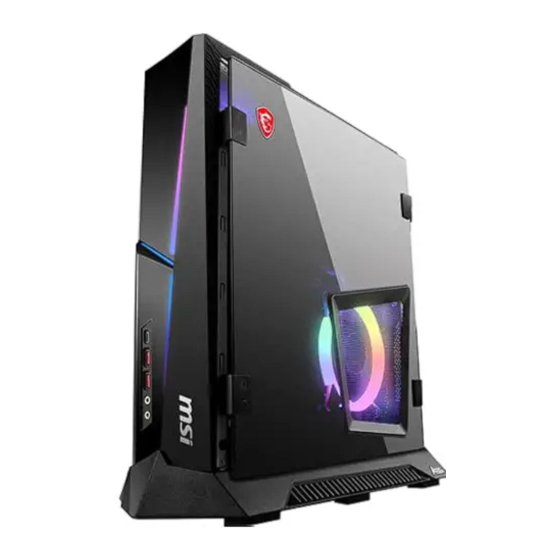
- Page 1 MEG Trident Series Personal Computer Trident B922 Service Guide...
-
Page 2: Table Of Contents
Contents How to Use this Service Guide ..................3 Necessary Tools ......................3 Safety Instructions ......................3 Other Notice ........................4 Upgrade and Warranty ....................4 Acquisition of Replaceable Parts ................4 Removing Side Covers ....................5 Right Side View ......................6 Left Side View ........................ -
Page 3: How To Use This Service Guide
How to Use this Service Guide This Service Guide is designed for MSI-authorized dealers or service centers. It provides in-depth illustration of disassembling/assembling the system. Since the topics in this guide may be related, it is recommended that you read it from cover to cover first. -
Page 4: Other Notice
∙ After reassembly, ensure that all screws are replaced and no stray screws remain inside the product. ∙ If this product comes with an adapter, use only the MSI provided AC adapter approved for use with this product. Other Notice The peripheral devices contained herein may vary depending on your actual system configuration. -
Page 5: Removing Side Covers
Removing Side Covers ⚠ Important ∙ Before you remove or install any components, make sure the system is not turned on or connected to the power. ∙ Follow the steps below in reverse order to install/replace the component if needed. 1. -
Page 6: Right Side View
Right Side View Graphics Card CPU Cooler, Motherboard 3.5” HDD Left Side View 2.5” HDD ⚠ Important Reference image only. Appearance will vary. Right Side View... -
Page 7: Removing Cpu Cooler Set
Removing CPU Cooler Set ∙ Follow the steps below in reverse order to install/replace the component if needed. 1. Unscrew the CPU cooler set and set the screws aside for later use. 2. Flip the CPU cooler set outwards to uncover the motherboard. Removing CPU Cooler Set... -
Page 8: Removing Cpu
Removing CPU ∙ Follow the steps below in reverse order to install/replace the component if needed. 1. Unscrew and remove the cooler to uncover the CPU. 2. Open the CPU load lever. 3. Lift the load lever and load plate up to fully open position. 4. -
Page 9: Removing Memory
Removing Memory ∙ Follow the steps below in reverse order to install/replace the component if needed. 1. Flip the slot clip outwards to release the memory module. 2. Gently remove the memory module from the slot. Removing Memory... -
Page 10: Removing M.2 Ssd (Optional)
Removing M.2 SSD (Optional) ∙ Follow the steps below in reverse order to install/replace the component if needed. 1. Locate the M.2 SSD and remove the screw. 2. Gently remove the SSD from the slot. Removing M.2 SSD (Optional) - Page 11 Removing Wireless Card ∙ Follow the steps below in reverse order to install/replace the component if needed. 1. Remove the wireless card clip. 2. Disconnect the antenna cables and remove the screw that secures the wireless card. 3. Remove the wireless card from the card slot.
-
Page 12: Removing Graphics Card
Removing Graphics Card ⚠ Important ∙ Reference image only. Graphics card appearance will vary. Follow the steps below in reverse order to install/replace the component if needed. ∙ 1. Unscrew the system bracket that secures the graphics card. 2. Flip the system bracket outwards. 3. - Page 13 4. Disconnect the graphics card power connector and release the power cable. ⚠ Important Avoid using any kind of power splitters when powering a GPU. ∙ ∙ Before powering on the system, make sure both ends of the GPU power cable have been fully inserted and fastened to the graphics card’s 12+4 pin PCIe connector and the PSU’s 12+4 pin slot.
- Page 14 5. Remove the screws from the graphics card support bracket to release the graphics card. ⚠ Important To better secure the graphics card to the motherboard during installation, make sure that you fasten the support bracket to the graphics card with screws. Removing Graphics Card...
- Page 15 6. Press the PCIE slot clip downwards to unlock the graphics card and simultaneously pull the graphics card off the PCIE slot. Removing Graphics Card...
-
Page 16: Installing 3.5" Hdd (Optional)
Installing 3.5” HDD (Optional) ∙ Follow the steps below in reverse order to replace the component if needed. 1. Locate the 3.5” HDD cage. 2. Insert and gently push the HDD into the cage until it locks in place. 3. Connect the power and signal cables to the HDD.
Need help?
Do you have a question about the Trident Series and is the answer not in the manual?
Questions and answers