Advertisement
Overview
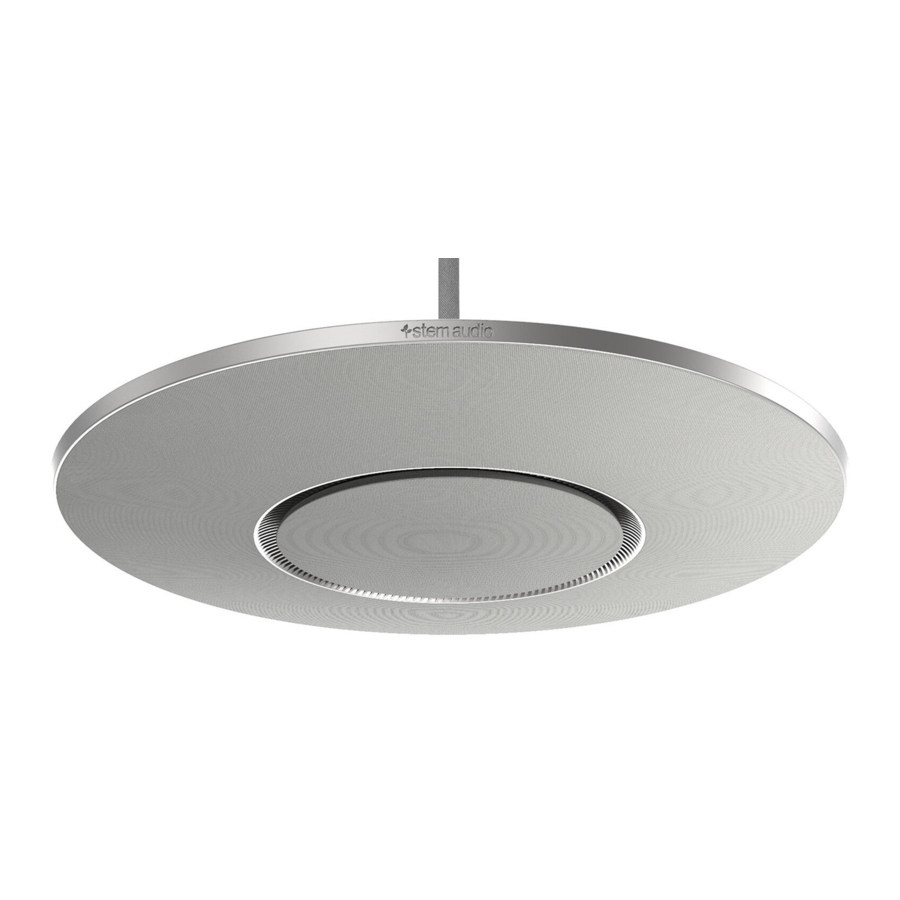
Stem Ceiling is a microphone array designed to be mounted above a conferencing space. Whether low profile mounted on a drop ceiling or suspended like a chandelier, Ceiling gives you the aesthetics you need with uncompromising performance. Ceiling's 100 built-in microphones and three array options (wide, medium, and narrow), focus on who's speaking so you can focus on your meeting.

Setting Up
All Stem endpoints can be used as solo standalone devices or in unison with other devices within the Stem ecosystem. If you plan on using this device as an individual unit, then follow the standalone setup instructions. If you plan on using multiple Stem devices in your room, then skip ahead to the multiple device setup instructions.

Standalone Setup (option 1)
 Note: Since Ceiling does not have speakers, standalone set up should only be used for audio capturing. If you plan on using this device for conferencing, please refer to multi-device set up so that you can utilize either another Stem device with speakers or install it alongside a Hub which will allow you to connect to external speakers.
- Mount the device in a desired location in the room.
- Using an Ethernet cable, connect the device to a network that supports PoE+. This connection provides the device with power, data, and other IoT and SIP capabilities.
![warning]() Note: If your network doesn't support PoE+, you should purchase a separate PoE+ injector or PoE+ enabled switch.
Note: If your network doesn't support PoE+, you should purchase a separate PoE+ injector or PoE+ enabled switch. - If you need video conferencing capabilities, use the USB type B cable provided and connect the device to your PC.
- Lastly, we recommend you complete setting up your room via the Stem ecosystem platform. For more information on setting up your room, you can visit stemaudio.com/manuals or stemaudio.com/videos
Note: The ecosystem platform is available on the Stem Control or in iOS, Windows, and Android apps. You can also access the platform through your web browser by typing in the product's IP address. - That's it! Your Ceiling is all set up to work as a standalone device.
Multi-Device Setup (option 2)
- Mount the device in a desired location in the room.
- Using an Ethernet cable, connect the device to a network that supports PoE+. This connection provides the device with power, data, and other IoT and SIP capabilities.
![warning]() Note: If your network doesn't support PoE+, you should purchase a separate PoE+ injector or PoE+ enabled switch.
Note: If your network doesn't support PoE+, you should purchase a separate PoE+ injector or PoE+ enabled switch. - When setting up multiple Stem devices in a room, make sure you have a Hub. All communications between the device and the far-end will be done through the Hub, so no USB connection is needed.
- Since Ceiling does not have speakers, make sure you're also utilizing either a Stem Wall or Stem Table in the room (both have speakers). Otherwise, you can connect external speakers to your Hub for sound.
- You must complete setting up your room via the Stem ecosystem platform. For more information on setting up your room, you can visit stemaudio.com/manuals or stemaudio.com/videos
![warning]() Note: The ecosystem platform is available on the Stem Control or in iOS, Windows, and Android apps. You can also access the platform through your web browser by typing in the product's IP address.
Note: The ecosystem platform is available on the Stem Control or in iOS, Windows, and Android apps. You can also access the platform through your web browser by typing in the product's IP address. - That's it! Your Ceiling is all set up to work within the Stem ecosystem.
Suspended "Chandelier" Mounting
- Connect the necessary Ethernet and optional USB cable to the device.
- Using the screw at the bottom of the suspension wire, screw in the wire to the device.
- Slide the connector cover and the cover cap over the suspension wire.
- Align the plastic connector cover with the indents and gently click it into place followed by the cover cap.
- Unscrew the ceiling bracket from the metal ceiling cap and connect the bracket to a weight-bearing structure.
- Feed all of the cables through the cable hole on the metal ceiling cap and connect the suspension cable by pressing up on the spring stopper and feeding the wire through.
- Now you can determine your desired suspension length for the cable.
- Lastly, screw in the metal ceiling cap into the ceiling bracket to complete the installation.
Low Profile Mounting
- First, make all of the appropriate connections on your Ceiling device.
- Then, using the provided center screw, secure the Ceiling device to the included straight bracket.
- Next, drop the Ceiling device with the secured straight bracket connected into the provided square mount.
- Then align the holes on the side of the mount with the holes on the side of the bracket on the side and use screws to connect the mount to the bracket.
- Once the unit is connected to the square mount, it's time to drop it into the suspended ceiling.
- After the device has been placed in the suspended ceiling, make sure to secure it to the structure by using the wire holes on the square mount corners and the provided gripple kit.
- That's it! Your Ceiling is now low profile mounted!
Light Guide
| Light Activity | Device Function |
| Slow red pulsing | Device is muted |
| Rapid red pulsing (approx. two seconds) | Device is being pinged |
| Solid red ring | Device error |
| Slow blue pulsing | Device is booting up |
| Slow blue pulsing then light turns off | Device is restarting |
| Blue light turning completely on & off repeatedly | Device is adapting & testing the environment |
| Dim solid blue light | Device is on |
| Rapid blue pulse | Device is finishing booting up |
Product Specs
Connections
- USB: USB Type B
- Ethernet: RJ45 connector (requires PoE+)
Specs
- Frequency response 50Hz – 16KHz
- Broadcast level (peak): 90dB SPL @ 1Khz from 1m (5 watts RMS)
- Noise cancellation > 15dB (without pumping noise)
- 100% full duplex – no attenuation (in either direction) during full duplex
- High-end performance conforms to ITU-T G.167
- Acoustic echo cancellation > 40dB with conversion speed of 40dB/sec
- Residual echo is suppressed to the environment noise level, preventing artificial ducking of signal
- 100 high-quality directional microphones
- Direction-finding algorithm (determines the presence and direction of a speaker)
- Automatic voice-level adjustment (AGC)
- Ceiling Tile Weight: 7.5 lbs. (3.4 kg)
- Ceiling Microphone Weight: 9lbs. (4.1 kg)
- Ceiling Tile Dimensions: Length: 23.5 in. (59.7 cm) Width: 23.5 in (59.7cm) Height: 1.25 in. (3.2 cm)
- Ceiling Microphone Dimensions: Diameter: 21.5 in. (54.6 cm) Height at edge: 0.5 in. (1.8 cm) Height at center: 1.75 in (4.4 cm)
- Power Consumption: PoE+ 802.3 at Type 2
- Operating Systems: Windows 98 and up / Linux / MacOS.
Complies with
- AS/NZS CISPR 32:2015
- EN 55032:2012/AC:2013
- VCCI 32-1
- FCC 15.109:2019
- FCC 15.109(g):2019
- ICES-003:2016 updated April 2017
The Ecosystem

Need Some Help?
Website: stemaudio.com
Email: customerservice@stemaudio.com
Telephone: (949) 877-STEM (7836)
Product Setup Videos: stemaudio.com/videos


Documents / Resources
References
Download manual
Here you can download full pdf version of manual, it may contain additional safety instructions, warranty information, FCC rules, etc.
Advertisement
Need help?
Do you have a question about the ceiling1 and is the answer not in the manual?
Questions and answers