Advertisement
Quick Links
C ATTENTION: DO NOT INSTALL the thermostat until you have all the
necessary network information. See the list in Step 1 for X-Series Wi-Fi
thermostat network information requirements.
A NOTE: These instructions are for X-Series Wi-Fi thermostats with
integrated (Wi-Fi 2.4 GHz 802.11 b/g/n) onboard radios. For older version
thermostats, use Document #240297.
STEP 1 GET YOUR NETWORK INFORMATION
To set up a CloudConnect™ configuration you will need the following
information for a Wi-Fi install.
● SSID
● Wi-Fi Password
● Security Type
Confirm your network information. If you do not already know this
information, you can log on to your router and retrieve it. The SSID and
Security Mode will be listed in the wireless settings and the DHCP range will
be listed in the DHCP settings area. Alternatively, the label on your router
may list the router's IP address, Security Mode, Password, etc.
STEP 2: INSTALL THE THERMOSTAT
Turn off the power to the HVAC unit and follow the detailed instructions
included with the thermostat. Make sure the wires are connected to the
correct terminals. Before continuing to the next step, make sure the
thermostat faceplate is properly installed according to the installation
instructions.
STEP 3 ENTER S
AP MODE - FIRST-TIME POWER-UP
OFT
On initial power-up or if the thermostat networking has not been configured,
the thermostat will start in SoftAP mode. It will remain in SoftAP mode until
the thermostat is rebooted with properly configured Wi-Fi credentials or no
activity is detected on the thermostat for 10 minutes. You will know if you are
in SoftAP mode when the following conditions are met:
Pg 1
© 2023 Network Thermostat All Rights Reserved
NetX™ CloudConnect™ Communications
Wi-Fi Step-by-Step Installation Guide
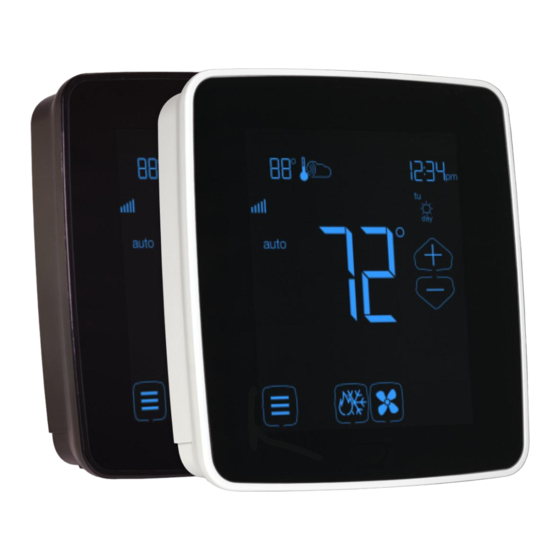
● The Dot Matrix display reads Join
NetX-XXXXXX where XXXXXX is the
last 6 characters of MAC ID
● The Wi-Fi icon and the lower right
button will be flashing in 1-second
intervals. (Green highlighted areas)
Pressing the lower right flashing button at
this time will exit the SoftAP mode
without saving any network
configurations.
A NOTE: If the thermostat is LOCKED, you will be required to UNLOCK
(either permanently or temporarily) the thermostat before SoftAP
commissioning is allowed. When LOCKED, none of the SoftAP
commissioning icons above are turned on and the thermostat continues to
operate 'normally'.
STEP 4: CONNECT TO THE WI-FI THERMOSTAT USING 'SOFTAP'
MODE & SETTING LOCAL WI-FI NETWORK
If your computer is connected to the internet with an ethernet cable, it is
recommended to temporarily disconnect this cable during this step. Using
any Windows PC, Apple Computer, or smartphone with a Wi-Fi radio and a
web browser, search for the Wi-Fi network with the SSID name NetX-XXXXXX
that matches the Dot Matrix Display.
Connect to the NetX-XXXXXX network. This is an open network and does not
have a password. It may take up to a full minute for your computer to
connect to the thermostat.
Use any current release browser (Chrome, Firefox, or Safari) to navigate to
192.168.7.1. This is the SoftAP address for the thermostat.
B TIP: For information on an extra step needed for using SoftAP on android
devices, click the link below.
https://networkthermostat.com/app-notes/soft-ap-android-tips
When the device connects to the thermostat, the screen below will be
displayed in the browser.
Join NetX-XXXXXX
240352-00
Advertisement

Summary of Contents for Network Thermostat NetX CloudConnect
- Page 1 B TIP: For information on an extra step needed for using SoftAP on android devices, click the link below. https://networkthermostat.com/app-notes/soft-ap-android-tips When the device connects to the thermostat, the screen below will be displayed in the browser. Pg 1 © 2023 Network Thermostat All Rights Reserved 240352-00...
- Page 2 A NOTE: If you experience either Wi-Fi or DHCP failure, refer to the Troubleshooting section at the B HINT: Use the Checkmark and Return end of these instructions. buttons are denoted by the red arrows. Pg 2 © 2023 Network Thermostat All Rights Reserved 240352-00...
- Page 3 Go to Step 10 for Configuration. A NOTE: Thermostats are automatically enrolled with free CloudConnect™ for 30 days. A NOTE: For more information on CloudConnect™ contact us at https://networkthermostat.com/contact for more information. Pg 3 © 2023 Network Thermostat All Rights Reserved 240352-00...
- Page 4 Dot Matrix - “DHCP Failed… “ on solid DCHP Failed ... Wi-Fi Icon blinking Bottom right button blinking The thermostat will reboot into SoftAP mode (Green highlighted areas are blinking) Pg 4 © 2023 Network Thermostat All Rights Reserved 240352-00...
Need help?
Do you have a question about the NetX CloudConnect and is the answer not in the manual?
Questions and answers