Table of Contents
Advertisement
Quick Links
N Gauge Society Kit 2
GWR Mink C
Box Van
NGSK0020
Kit contains plastic parts, plastic chassis,
and wheels to complete one wagon.
To complete this kit you will need: Liquid Plastic Cement,
Paint, Transfers & Varnish
This is not a toy. Only suitable for persons over the age of 14. May contain small
Parts and sharp edges. Keep away from small children.
The Prototype
The Great Western Railway built 425 Mink C vans between 1906 and 1907, all with vacuum brakes from new. They
were 21ft over headstocks and given diagram V7 to carry a load of 10 tons. The louvre panels made them useful for
fruit traffic, and the vacuum brakes meant that they could work in passenger trains as well as goods trains. Numbers
were 79366-795900, 82101-82200, and various in the 16200-16499 series.
Livery and Lettering
The following notes are a general indication only. For total authenticity, the modeller should refer to books on the
subject, in particular, 'A History of GWR Goods Wagons' by AG Atkins, W Beard, DJ Hyde, R Tourret.
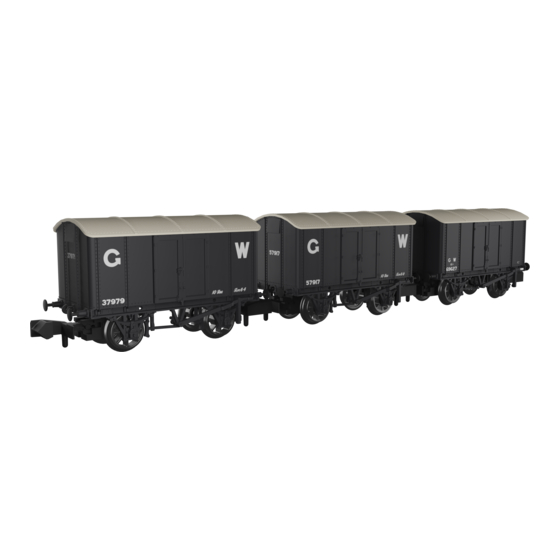
Livery was the usual GWR one of all-over grey (including the
Chassis) with white roof.
Initial lettering was a large 'G' and 'W' two thirds of the way up at
opposing ends, with 'VENTILATED' in the very middle over the
centre of the X-brace, and the number at the bottom left corner.
Over time, the GWR simplified the lettering on all its goods wagons
to reduce costs, starting with a smaller 'G' and 'W' until by the
1940s this was reduced to a small 'G W' over the number in the
bottom left corner.
Those vans that passed to British Railways ownership and received a repaint would have been painted bauxite (as
appropriate for fitted stock) with grey roof. Lettering would have been as economical and minimalist as the late GWR
period.
Getting Started
First, read the instructions thoroughly all the way through
and be sure you are confident that you have identified all
the parts. It is recommended that you adhere to the
suggested order of assembly, though with experience, you
may choose to deviate. The kit has been designed to
cover two types of van; decide before you start which one
you wish to build.
General Notes On Construction
Naturally, the N Gauge Society wants you to achieve the
best results you can. These simple guidelines should help:
Read the instructions through fully before you begin
Use a sharp knife to separate the parts from the
sprues
Clean off any flash or moulding pips with sharp knife
and wet 'n' dry sandpaper
Check fit before gluing
Use a small paint brush to sparingly apply liquid
plastic cement when joining parts
Photographs of the prototypes will help you
But above all .... TAKE YOUR TIME!!
Page 1 of 4
Advertisement
Table of Contents

Related Manuals for N Gauge Society GWR Mink C Box Van NGSK0020

Summary of Contents for N Gauge Society GWR Mink C Box Van NGSK0020
- Page 1 NGSK0020 you wish to build. General Notes On Construction Naturally, the N Gauge Society wants you to achieve the best results you can. These simple guidelines should help: Read the instructions through fully before you begin ...
- Page 2 N Gauge Society Kit 2 – GWR Mink C Box Van Parts Three sprues are packaged with this kit. Unpack the separately packaged Parkside chassis. Use the following photograph and table to identify all the parts. Keep all the parts in a container or re-sealable bag to avoid loss and only remove parts from the sprues as you need them.
- Page 3 N Gauge Society Kit 2 – GWR Mink C Box Van Chassis 5. Remove the moulding pip on the front face of the brake gear (Parts 11,12). The front face is the one with two dimples at the outer ends.
- Page 4 N Gauge Society Kit 2 – GWR Mink C Box Van interference fit; if it is slightly loose, apply glue very sparingly in order to avoid gluing the coupler to the coupler pocket. 16. Glue the assembled couplings under the floor of the wagon behind the headstock –...
Need help?
Do you have a question about the GWR Mink C Box Van NGSK0020 and is the answer not in the manual?
Questions and answers