Advertisement
Environmental damage
- Do not dispose of used batteries in the household waste.
![]()
- Defective lithium batteries must not be sent via air freight. For other types of transport the special regulation 188 of the ADR must be adhered to.
![]()
- Please read the instruction manual carefully and retain it for future use.
- Additional user information and information about planning is available at www.BUSCH-JAEGER.de or by scanning the QR code.


Intended use
The radio module serves for the wireless connection of up to 20 Busch-Smoke alarm detector ProfessionalLINE®/heat alarm products. If a radio-networked detector triggers an alarm, the radio module sends the corresponding data to all devices it is connected to.
EU declaration of conformity (simplified)
Busch-Jaeger herewith declares, that radio system type Radio module 6828 conforms to directive 2014/53/EU. The complete text of the EU declaration of conformity is available at the following Internet address:

Technical Data
| Power supply (permanently installed lithium battery): | 2,000 mA/h |
| Battery service life (years): | >10 |
| Radio frequency: | 868 MHz |
| Maximum radio range: | 100 m |
| Maximum number of networked devices: | 20 |
| Operating temperature: | 0°C to +40°C |
| Storage temperature: | -10°C to +60°C |
| Standards: | DIN EN 14604, DIN 14676 |
| Certification: | VdS G208016 |
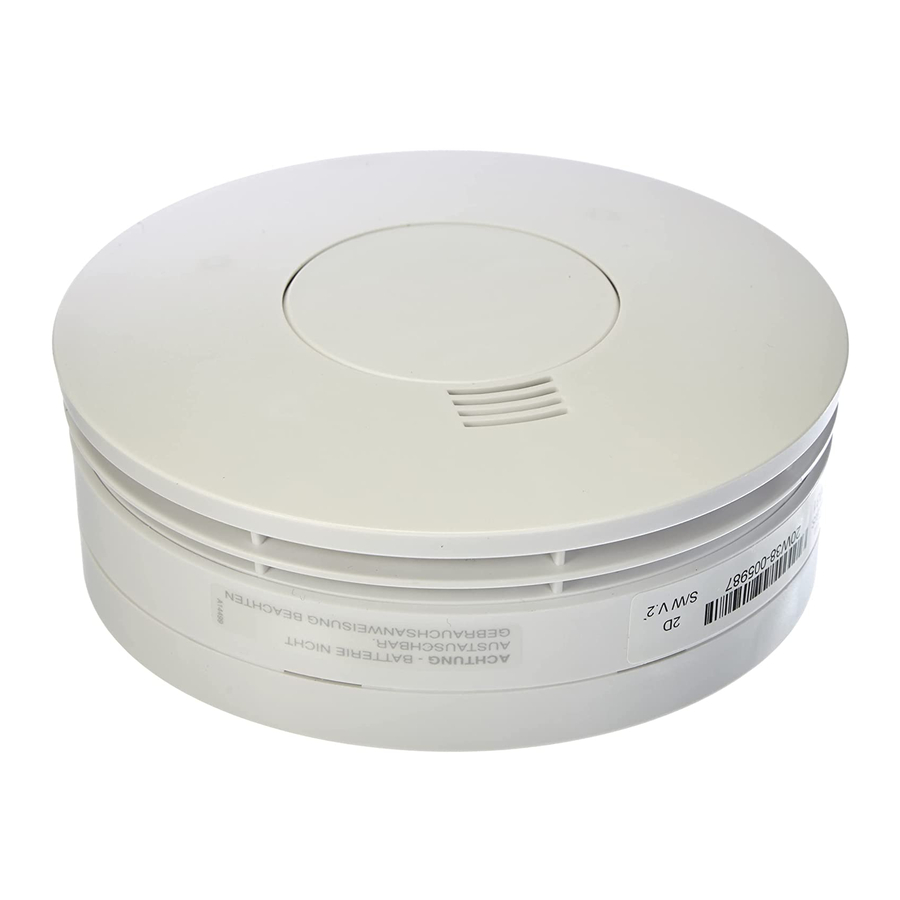
Product description

Radio module:
- Radio module
- Antenna
- LED (red)
- Coding button
- LED (blue)
Visible on the front of the detector. Lights up blue to show radio signals (lights up very weak through the housing).
Detector (not included in scope of delivery):
- Detector
- Mounting plate
- LED (red) of the detector
- Test button (triggers the alarm tone)
Mounting
- Remove the detector [F] from the mounting plate [G].
– The detector is inserted with a bayonet joint.
![]()
- Insert the radio module [A] into the recess of the detector [F].
– Ensure that the plug contact is correct and the antenna cable [B] is installed correctly in the detector housing.


Coding / radio network
- Before the start of coding ensure that all radio modules have been inserted into the detectors.
- The radio networking of the detectors is carried out via the activation of the coding mode.
Activating the coding mode
- Press the coding button [D] of the radio module and keep it pressed until the LED [C] on the radio module lights up red.
- Release the coding button [D] as soon as the LED lights up.
The LED [C] will then quickly flash consecutively several times. This indicates that the radio module is now in coding mode.
- Insert the detector into the mounting plate.
- The detector is equipped with a bayonet joint.
- The insertion activates the coding and the search for additional detectors for 30 minutes.
- When inserting the detector into the mounting plate, the red LED [H] of the detector briefly lights up just once.
- Set all the remaining detectors into the coding mode and insert them into the mounting plates in the same manner within 30 minutes.
The detectors remain in coding mode for 30 minutes before exiting it automatically.
Checking the networking (coding mode)
The networking is displayed via the blue LED [E].
- The blue LED [E] lights up rather weakly through the detector.
The check is best carried out in the dark. - It can take up to 30 seconds before the LED [E] of the detector lights up. During this time the detector searches for additional radio components.
The blue LED [E] indicates:
- That the detector is in coding mode,
- How many detectors have been recognized, which have 'learned' that they are part of the system.
Example: With 3 detectors in the system the LED [E] lights up blue briefly three times every 5 seconds.
- Ensure that the number of the blue light signals match the number of detectors in the system.
Ending the coding mode manually (ends the coding mode for the entire networked group)
- Remove one detector form the mounting plate and press the coding button [D].
- Press the coding button [D] and keep it pressed until the LED [C] on the radio module lights up red. Release the coding button [D] as soon as the LED [C] lights up. The LED [C] then lights up permanently. The radio module has now ended coding and sends a signal to the networked group to end the coding process of the entire system.
- Remount the detector onto the mounting plate.
- The LED [E] stops to flash blue.
- Check whether the LEDs [E] on the other detectors have ceased to flash blue.
Testing the radio network
- Test all the detectors in turn via the button [I].
- The alarm tone is activated with a press of the button.
- Check whether all detectors issue an alarm at the same time.
- The checks are to be performed at intervals of approx. 5 minutes each so that the devices can sequentially process all radio signals.
Deletion of coding
- Press the coding button [D] and keep it pressed until the LED [C] flashes once.
- Then release the coding button [D]. The LED [C] will now flash red once to indicate that the coding has been deleted.
Resetting the radio module to the factory settings
The radio module is reset to the original factory settings by keeping the coding button pressed until the red LED [C] lights up permanently, and then flashes slowly. This process takes approx. 10 seconds. This deletes the learned home codings.
Service
Busch-Jaeger Elektro GmbH - A member of the ABB Group,
Freisenbergstraße 2, D-58513 Lüdenscheid, Germany,
Tel.: +49 2351 956-1600;
www.BUSCH-JAEGER.de

Documents / Resources
References
Download manual
Here you can download full pdf version of manual, it may contain additional safety instructions, warranty information, FCC rules, etc.
Download Busch-Jaeger ProfessionalLINE 6828 - Smoke Alarm Manual
Advertisement


Need help?
Do you have a question about the ProfessionalLINE 6828 and is the answer not in the manual?
Questions and answers