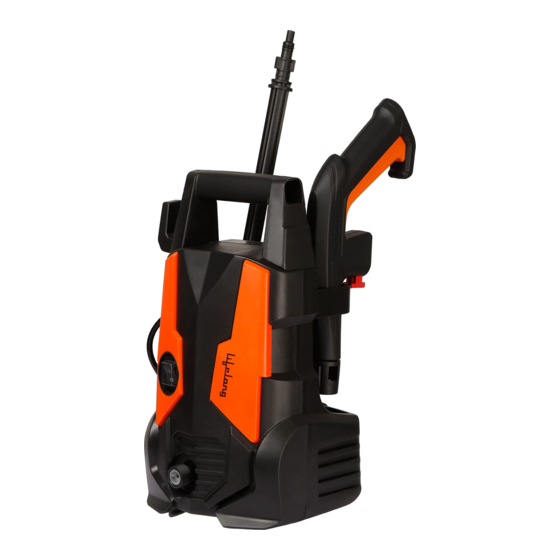
Summary of Contents for lifelong AquaWash LLHPW17
- Page 1 GLIDE CEILING FAN AquaWash High Pressure Washer 1 YEAR W A R R A N T Y 1700W 5 Meter High High Powerful Power Pressure Performance E ciency Motor Cord 135 Bar Copper Motor Spray Gun...
-
Page 2: Table Of Contents
We hope that the High Pressure Washer serves you and your family’s needs without any hassles. Thanks again for becoming a part of the Lifelong family. Enjoy using the product! Warm Regards,... - Page 3 MODEL OVERVIEW SAFETY ALERT SYMBOLS indicates “an imminently hazardous situation which, if not avoided, will result in death or serious injury.” indicates “a potentially hazardous situation which, if not avoided, could result in death or injury.” indicates “a potentially hazardous situa-tion which, if not avoided, may result in minor or moderate injury or in property damage incidents.”...
-
Page 4: Important Safety Instructions
IMPORTANT SAFETY INSTRUCTIONS When using this product basic precautions should always be followed, including the following: Model number LLHPW17 Read all the instructions before using the product. ■ To reduce the risk of injury, close supervision is necessary when a product is used near Model name AquaWash children. -
Page 5: Assembly Instructions
GROUNDING INSTRUCTIONS When connecting the water inlet to the water supply mains, local regulations of your water This product must be grounded. If it should malfunction or breakdown, grounding provides a company must be observed. In some areas the unit must not be connected directly to the path of least resistance for electric current to reduce the risk of electric shock. - Page 6 Install the water inlet connector to the unit’s water inlet. Note: Never attach the garden hose connector to the unit’s water inlet...
-
Page 7: Operating Instructions
Note: Make sure the connection nipple is aligned correctly. Check the connection by pulling on the high- pressure hose. Check the secure connection by pulling on the high-pressure hose STEP 2: Insert the spray wand of your choice into the trigger gun. Press in against the spring tension and twist into locked position. - Page 8 STEP 6: Plug the Ground Fault Circuit Inter-rupter (GFCI) into a receptacle. Press RESET button, indicator should be “ON”. Press TEST button, indicator should be “OFF”. Press RESET button for use. STEP 7: Unlock the trigger gun safety lock. Trigger the gun to eliminate trapped air, wait for a steady flow of water to emerge from the spray nozzle.
-
Page 9: Working With Detergents
STEP 2: WORKING WITH DETERGENTS Fill the Detergent Tank with the selected detergent. For best results see Cleaning Tips for specific information on how to clean different surfaces. Never use: - Bleach, chlorine products and other corrosive chemicals - Liquids containing solvents (i.e., paint thinners, gasoline, oils) - Tri-sodium phosphate products - Ammonia products - Acid-based products... -
Page 10: Shutting Down And Clean-Up
STEP 5: SHUTTING DOWN AND CLEAN-UP Cleaning up: Always draw fresh wa-ter through the detergent tank or siphon tube when done to flush any remaining detergents from the injection STEP 1: system. Turn the switch to OFF (0) position TAKING A BREAK ... fiveminutes or more STEP 1: Release trigger and engage gun safety lock. -
Page 11: Maintenance Instructions
STEP 6: STEP 4: Disconnect the high-pressure hose from the high-pressure outlet. Release trigger and engage gun safety lock. STEP 5: CARE AND MAINTENANCE INSTRUCTIONS Disconnect the garden hose from the water inlet on the unit. Cleaning the water inlet filter STEP 1: Pull out water inlet filter with flat-nose pliers. -
Page 12: Troubleshooting
STEP 2: TROUBLESHOOTING Rinse out water inlet filter in warm water STEP 3: Reinsert water inlet filter. The unit is maintenance free. - Page 14 (including any b. The product is not operated according to the quality performance, as well as easy installation and use. At Lifelong, we believe in warranty of satisfactory quality, merchantability or instructions given under the user manual.


Need help?
Do you have a question about the AquaWash LLHPW17 and is the answer not in the manual?
Questions and answers