Advertisement
Quick Links
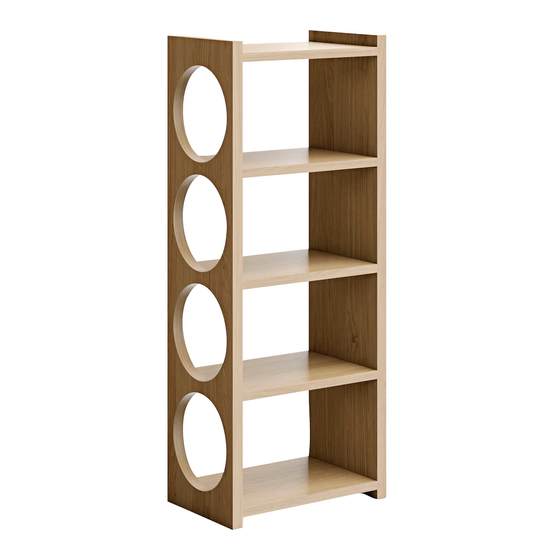
ART.65995557
Montageanleitung
Notice de montage
Handleiding voor de montage
Montážní návod
Szerelési útmutató
Montaj talimati
Reference no/Batch code:
Ver1H
Assembly Instruction
700 x 400 x 1600 (Lx W x H, mm)
Assembly instructions
Istruzioni di montaggio
Instrukcja montażu
Návod na montáž
Instrucţiuni de asamblare
Инструкция по монтажу
1/8
LKZ. Nr. 40923
Batch code:
Advertisement

Subscribe to Our Youtube Channel
Related Manuals for Woodman Bau 40923


Summary of Contents for Woodman Bau 40923
- Page 1 Assembly Instruction LKZ. Nr. 40923 ART.65995557 700 x 400 x 1600 (Lx W x H, mm) Batch code: Assembly instructions Montageanleitung Istruzioni di montaggio Notice de montage Handleiding voor de montage Instrukcja montażu Návod na montáž Montážní návod Szerelési útmutató Instrucţiuni de asamblare Montaj talimati Инструкция...
-
Page 2: Tools Needed
Dear Costumer ! Congatulations on your bew purchase. Follow this advice and get the best result when assembling the product. Read the instruction carefully before you start Get help, if two or more persons are required for assembly Make sure you have all parts on the total material list Work on a soft, flat surface to avoid any damage to the finish Follow the assembly instruction Tighten the furniture joints after a month... - Page 3 Ø8x35 Ø7x24 Ø15x13 Ø18 x1/x1 Ø24x3 Ø5x50 3mm/4mm Ø3x15 Ver1H...
- Page 4 Ø8x35 Ø7x24 Step 1 A2 x12 A2 x12 A3 x2 E x2 A3 x6 A x2 A3 x6 D x3 Ver1H...
- Page 5 Ø15x13 Ø18 Ø24x3 Ø5x50 x1/x1 3mm/4mm Step 2 A6 x2 A3 x2 A6 x2 A3 x2 A5 x2 A5 x2 Ver1H...
- Page 6 Step 3 Attaching brackets to wall - please remember you must source and supply the fixings for attaching to your particular type of wall including the wall screws and wall plugs. Warning : This Piece of Furniture Must Be Attached To The Wall Using The Wall Brackets Provided In order to pre ent o erturning this cupboard ust be attached to an adjacent all ith the etal all brac ets pro ided.
- Page 7 Ø3x15 Step 4 Ver1H...
-
Page 8: A Guide To - Wall Mounting & Fixings
A Guide to - Wall Mounting & Fixings Ver1H...
Need help?
Do you have a question about the Bau 40923 and is the answer not in the manual?
Questions and answers