Table of Contents
Advertisement
Quick Links
Advertisement
Table of Contents

Summary of Contents for RAYSTAR USB2CAN
- Page 1 Smart Display USB2CAN...
-
Page 2: Table Of Contents
Plug short USB cables to Connection Board ..................4 Connect to Smart Display ........................4 Connect to USB2CAN ........................... 5 Plug the "USB to MicroUSB Cable" to USB2CAN module pin housing..........5 Plug the USB header to PC USB socket ....................5 Power On ............................. 5 Start the Smart Display ........................ - Page 3 Smart Display Demo set checking list: Preface printing x 1. Smart Display x 1 Connection Board x 1 USB2CAN Dongle x 1 USB to MicroUSB Cable x 1 USB short Cable to smart display x 1 USB short Cable to Host x 1...
-
Page 4: Steps For Usage
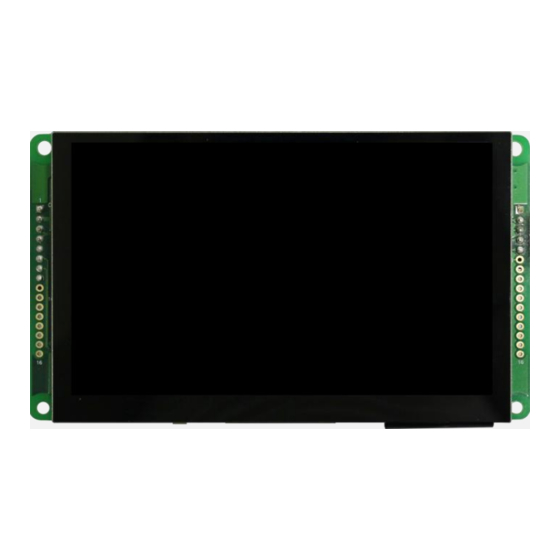
Steps for Usage Plug short USB cables to Connection Board Connect to Smart Display Plug the "USB short cable to smart display" to Smart Display pin housing. This pin has a foolproof socket showing the below photo. -
Page 5: Connect To Usb2Can
Connect to USB2CAN Plug the "USB short Cable to Host" to USB2CAN module pin housing. This pin has a foolproof socket showing the below photo. Plug the "USB to MicroUSB Cable" to USB2CAN module pin housing. Plug the USB header to PC USB socket Power On Connect the power line to POWER JACK. -
Page 6: Start The Smart Display
Start the Smart Display In the below photo you can see the current scenario when you power on. -
Page 7: Software For Usage
Software for usage Unzip the zip You can see the folder have two files like the below photo. (The file version according to current the latest version) Install the Driver Now enter the 『USB2CanDriver』 folder, the below photo, you can see these files. Executing the『stlink_winusb_install.bat』file to install driver. -
Page 8: Waiting For The Driver Install
Waiting for the driver install. Choose the install button to install STMicroelectronics. Choose the install button to install STMicroelectronics COM port. -
Page 9: Completing The Driver Installation Wizard
Completing the Driver installation wizard. Installing control APP for PC that executes the 『RaystarSmartDisplaySetup.vx.x.x.msi』 Choose the Next button to next install step. -
Page 10: Choose The Next Button Used The Default Installation Folder
2.10 Choose the Next button used the default installation folder. 2.11 Installation Complete. -
Page 11: Then You Can See The App Execution File On Your Desktop
2.12 Then you can see the APP execution file on your desktop. -
Page 12: Operating The App
Operating the APP Executing the APP choose Interface is CANopen or other interfaces if you have other interfaces. Then click the Start Master button to connect the device. Then you can start to control our Smart Display.
Need help?
Do you have a question about the USB2CAN and is the answer not in the manual?
Questions and answers