Advertisement
Quick Links
Advertisement

Summary of Contents for Otiom Starter Kit
- Page 1 Getting Started Guide Updatet d.05.03.20 Important information! We continuously improve Otiom. As such you may experience that the Otiom-app differs from illustrations shown in this guide. Visit www.otiom.com/installation to download the latest version of this guide.
- Page 2 Get started using Otiom. This guide will help you setup your Otiom Starter Kit. It is important that you complete all the steps in the guide to ensure Otiom is functioning properly. The setup procedure is complete only when you receive a text message informing you...
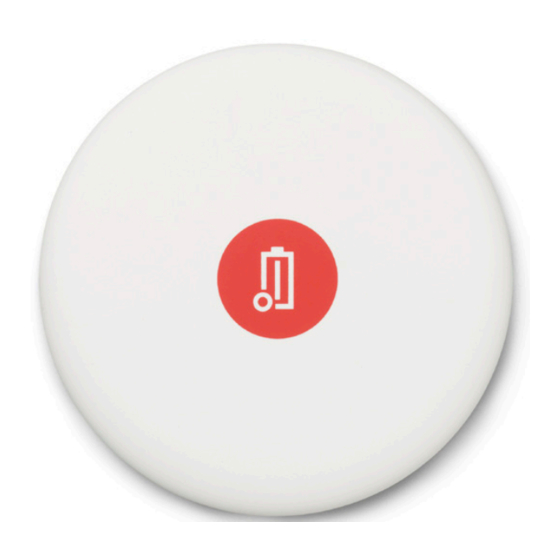
- Page 3 Contents of the Otiom Starter Kit Your Otiom Starter Kit contains one Otiom-tag, one Safety Neck Cord, one belt clip, one Otiom Wireless Charger, and one Otiom Home Base. There are two possible chargers and home bases. There is no difference in functionality.
-
Page 4: What You Will Need
An external power supply such as the charger for your smartphone or the USB port in your computer. Before you begin Have your Otiom-app login on hand. You received your login in an email when you ordered the Otiom Starter Pack. 2. Ensure that Bluetooth is enabled on your smartphone or tablet and that it has Internet access. -
Page 5: Welcome Message
1: Download the Otiom-app and login First Go to the App Store or Google Play and download the Otiom-app. 2. Open the Otiom-app on your smartphone or tablet. Note: If asked if Otiom is allowed to use your location, answer Yes / Allow all / Allow while using the app. - Page 6 Otiom alarm is activated. The number that was entered when ordering the Otiom Starter Kit is pre-typed. If you would like to use a different number, you can change it here. It must be a mobile number.
- Page 7 Option 1 Your Home Base is already active. No further action is needed. 2. Press Next. Option 2 Press and hold the button on the side of the Home Base for about 3 seconds. 2. A red light flashes quickly. 3.
- Page 8 Flip the Home Base upside down. You will see a a number on the back. 2. Find that same number in the Otiom-app. 3. Press the number. INFO: How to locate the number: Option 1: under the bar code - the last 4 digits.
- Page 9 Your Otiom Home Base is now ready. 2. Press Next. INFO: The Home Base should be placed somewhere around the middle of the premises, where the user (person with dementia) lives. For example high up on the wall or on a shelf in the kitchen or hallway.
- Page 10 6: Add Otiom-tag INFO: You are now ready to add your Otiom- tag. You will need: The Otiom Wireless Charger. 2. The cord. 3. Your own power supply. Plug in the Otiom Wireless Charger. 2. When the indicator light on the charger has flashed fast three times, press Next.
-
Page 11: Network Registration
If the Otiom-app reports errors, try the following steps: Ensure that there are no Otiom-tags are placed on chargers nearby. 2. Check that the Otiom-tag is placed in the middle of the charger. If the above doesn’t work, shut down the Otiom-App and try again. - Page 12 Once the Otiom-tag has received updated location data, you will see the message on the left. 2. You will receive another text message. This informs you that Otiom is now ready for use. 3. Press Exit. Note that Otiom is not operational until...
- Page 13 , for Refer to the tutorial ’Personal information on how the Otiom-app works, as well as how to change the safety levels and add more helpers. Download the tutorial from: www.otiom.com/en/installation Congratulations. Otiom is now activated and ready for use.
Need help?
Do you have a question about the Starter Kit and is the answer not in the manual?
Questions and answers