Advertisement
Operating instructions
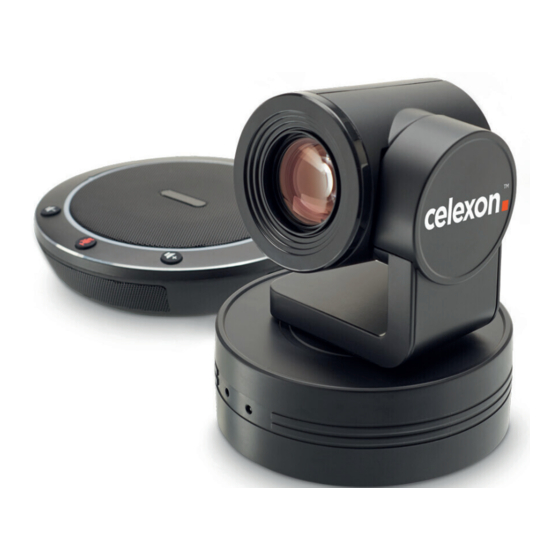
celexon PTZ Camera Full HD Video
Conference System VKS2040
Thank you for purchasing this product.
For optimum performance and safety, please read these instructions carefully before
connecting or operating this product. Please retain these instructions for future use.
Version: 32422_051
Advertisement
Table of Contents

Related Manuals for Celexon VKS2040

Summary of Contents for Celexon VKS2040
- Page 1 Operating instructions celexon PTZ Camera Full HD Video Conference System VKS2040 Thank you for purchasing this product. For optimum performance and safety, please read these instructions carefully before connecting or operating this product. Please retain these instructions for future use.
-
Page 2: Safety Instructions
SAFETY INSTRUCTIONS Please read and follow all the safety instructions below and on the product before connecting the camera to a power source. Failure to comply with the safety instructions may result in fire, electric shock, or personal injury, and could affect the safety features contained in the unit. - Page 3 Unauthorised maintenance of your camera can be dangerous and will invalidate the warranty. • Only use spare parts specified by celexon. Unauthorised spare parts could cause fire, electric shock or personal damage and will invalidate the warranty. • Follow these instructions to ensure image quality throughout the life of the camera.
-
Page 4: Camera Parameters
IN THE BOX 1x PTZ camera 1x IR remote control 1x 12V power supply unit 1x Microphone & Loudspeaker 2x USB 2.0 cable CAMERA PARAMETERS Zoom Image Sensor 1/ 2.8“ Exmor CMOS Pixels 2.7 Megapixel 72° 1920x1080@30fps // 1280x720 // 640x480 Resolution 640x360 // 352x288 // 320x240 Min. -
Page 5: Remote Control Functions
PTZ CAMERA IN DETAIL RS232 connector Lens USB 2.0 port IR receiver eye DC12V power connector On / Off indicator Mute Quieter Louder REMOTE CONTROL FUNCTIONS Power On / Standby P/T RST Camera starts alignment FLIP Camera image is rotated Camera Select Select the camera to be controlled... -
Page 6: Installation
INSTALLATION Always connect the camera in the same way, regardless of whether the camera is connected to a permanently installed PC or a mobile laptop. 1) Connect the camera to the DC12V power supply and plug it in to power. As soon as the LED (3) lights up, the camera is switched on and ready for operation. - Page 7 Products that are marked with the UKCA mark meet all requirements of the relevant UK directives. The UK declaration of conformity can be downloaded at the following address at: www.celexon.de/zertifikate The symbol indicates the separate collection of electrical and electronic equipment in EU countries.
Need help?
Do you have a question about the VKS2040 and is the answer not in the manual?
Questions and answers