Table of Contents
Advertisement
Quick Links
Advertisement
Table of Contents

Related Manuals for WELONDA BIO WASH

Summary of Contents for WELONDA BIO WASH
- Page 1 BIO WASH Installation Manual www.welonda.com...
-
Page 2: Table Of Contents
Index Product Overview ..............................................3 Piping Check ................................................4 2-seater ................................................4 3-seater ................................................4 4-seater ................................................. 4 Packaging ................................................... 4 2-seater ................................................5 3-seater ................................................5 4-seater .................................................5 Assembling instructions (2-3-4-seater) ....................................6 Arm-rest installation ............................................ 6 Shampoo tray installation.......................................... 9 Installation of drawers .......................................... -
Page 3: Product Overview
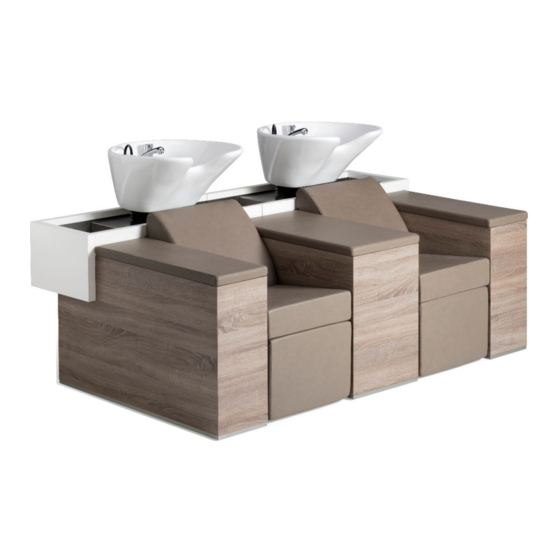
Arm-rest Middle* Arm-rest Middle* Arm-rest Right Arm-rest * A Bio Wash 3-seater with electrical leg-rest & massage is used to explain the product. Bio Wash 2-seater Bio Wash 4-seater Middle Middle has not a Shampoo tray has two Shampoo trays... -
Page 4: Piping Check
Piping Check 2-seater 3-seater 4-seater 02-01-2019 || K. Kuiper || Version 1.1... -
Page 5: Packaging
Packaging 2-seater Right Middle Left Arm-rest Arm-rest Arm-rest A two-seater Bio Wash is packed on three pallets. 3-seater Right Middle Middle Left Arm-rest Arm-rest Arm-rest Arm-rest A three-seater Bio Wash is packed on five pallets. 4-seater Right Middle Middle Middle... -
Page 6: Assembling Instructions (2-3-4-Seater)
Assembling instructions (2-3-4-seater) Arm-rest installation Right’’ Disassemble ‘’Arm-rest from Pallet 1 !! Re-use these countersunk bolts to connect the arm-rests !! Middle’ Disassemble ‘’Arm-rest from Pallet 2 !! Re-use these countersunk bolts to connect the arm-rests !! Middle’’ Right’’ Connect ‘’Arm-rest to the metal parts of ‘’Arm-rest with the countersunk bolts Middle’’... - Page 7 Middle’’ Disassemble ‘’Arm-rest from Pallet 3 !! Re-use these countersunk bolts to connect the arm-rests !! Middle’’ Middle’’ Connect ‘’Arm-rest to the metal parts of ‘’Arm-rest with the countersunk bolts Middle’’ Mount to ‘’Arm-rest Middle’’ Mount to ‘’Arm-rest Middle’’ 10. REPEAT Step 6 until 9 but disassemble ‘’Arm-rest from Pallet 4 02-01-2019 || K.
- Page 8 Left’ Unpack the ‘’Arm-rest from the pallet 5 Left Middle’ 12. Connect ‘’Arm-rest ‘’ to the metal parts of ‘’Arm-rest with the countersunk bolts Left’ 13. Mount to ‘’Arm-rest Left’’ 14. Mount to ‘’Arm-rest 15. If necesarry: Fixation to the floor 02-01-2019 || K.
-
Page 9: Shampoo Tray Installation
Shampoo tray installation 16. Unpack Shampoo trays 17. Remove drawers from shampoo trays Tip: Pull drawer upwards to disconnect the drawer from its drawer guides 18. Put all Shampoo trays in correct position 19. Connect all ‘’Shampoo trays’’ to ‘’Arm rests’’ 20. - Page 10 23. Secure water pipes at the correct side !! Screw & mount the P-clips with the water hoses ONLY when the wash basin is in the ultimate forward tilt position !! 24. Install Drain Tip: Make the end of the ‘Drain’ wet 25.
-
Page 11: Installation Of Drawers
Installation of drawers 26. Position all drawers Explanation 27. Place baskets & bins within drawers Keep this manual for future reference 02-01-2019 || K. Kuiper || Version 1.1...