Advertisement
Dimension:
190mm
Installation Steps:
1
2
Cut Ceiling Hole
Connect Wiring
3
Retract the 2 Snap Clamps on the speaker
into their open position.
Then push the speaker up through the
ceiling opening.
When Clamp Arms press against the
ceiling, the Snap Clamps will rotate and
clamp down closed to the ceiling surface.
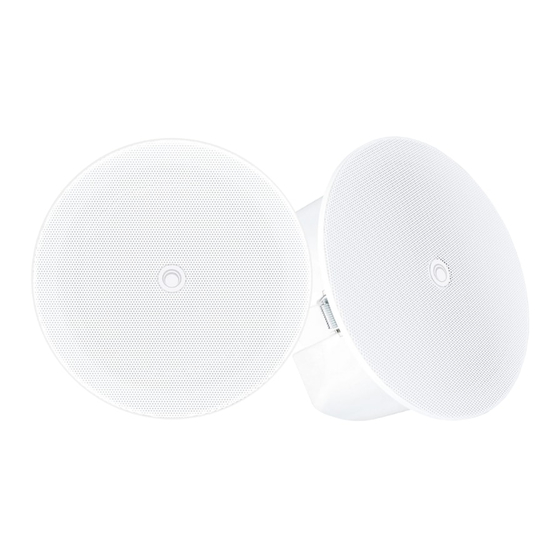
CEILING SPEAKER CSI-06
105mm
163mm
DO NOT USE IN POSITION
8Ω ON A 100V SYSTEM,
OR DAMAGE WILL OCCUR.
RED WIRING: SIGNAL(+)
BLUE WIRING: COM(-)
4
When inserted correctly, both 2
SnapClamps will be in the snap down
position,thus securing the speaker
securely into position in the ceiling.
CSI-06
Ceiling Speaker
User's Manual
Advertisement
Table of Contents

Summary of Contents for SoundVision CSI-06
- Page 1 CEILING SPEAKER CSI-06 Dimension: 105mm 163mm CSI-06 190mm Installation Steps: DO NOT USE IN POSITION 8Ω ON A 100V SYSTEM, OR DAMAGE WILL OCCUR. RED WIRING: SIGNAL(+) Cut Ceiling Hole BLUE WIRING: COM(-) Connect Wiring Ceiling Speaker User’s Manual Retract the 2 Snap Clamps on the speaker When inserted correctly, both 2 into their open position.
- Page 2 Our speakers are widely used in such places as schools, gymnasiums, square halls, CSI-06 6-inch ceiling speaker 6Watts is ideal for indoor applications requiring high-quality parks, parking lots, railway stations, airports, villa communities and mall supermarkets, sound.


Need help?
Do you have a question about the CSI-06 and is the answer not in the manual?
Questions and answers