
Subscribe to Our Youtube Channel
Related Manuals for Anviz IntelliSight iCam-B2 Series


Summary of Contents for Anviz IntelliSight iCam-B2 Series
- Page 1 IntelliSight iCam-B2 Series Installation Guide V1.1 AI IR Outdoor Mini Bullet Network Camera...
- Page 2 Warning Store the Anviz product in a dry and ventilated environment. Avoid exposing the Anviz product to shocks or heavy pressure. Do not install the product on unstable poles, brackets, surfaces or walls. Use only applicable tools when installing the Anviz product. Using excessive force with power tools could cause damage to the product.
-
Page 3: Packing List
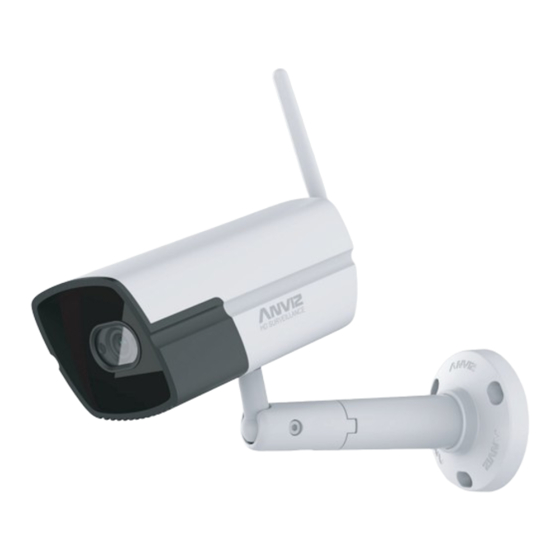
Packing List ① Camera x1 ② Mounting Bracket x1 ③ Antenna x1 ④ Waterproof Jacket x1 ⑤ Inner hexagon spanner x1 ⑥ Expansion pipes and screws x3 IntelliSight iCam-B2 Series Installation GUIDE V1.1 ⑦ Mouting Plate x1 ⑧ Installation Guide x1... -
Page 4: Product Interface
Product Interface Reset RJ45 Network Jack (PoE Support) 1/4 inch screw thread Power Connect Jack Micro SD (Input DC 12V) Card Slot Microphone Connection Status Indicator Connection Indicator Status The Network is Disconnected Red Light Network Connection In Progress Green Light Blue Light Network Connected... -
Page 5: Installation
Installation Step 1 Connect the wifi antenna to the camera and tighten it. Step 2 Use expansion pipes and screws to fix the bracket on the wall. If it is mounted on a wooden board, just use the screws. Step 3 Tighten the camera onto the bracket, turn the camera to adjust the angle of view. - Page 6 Step 4 Tighten the nuts on the bracket with a Inner hexagon spanner, then connect the cables. Step 5 (Optional) Part 4 Part 3 Part 2 Part 1 Waterproof jacket(RJ45) assembly instructions: Insert the screw cap(part 1) into the RJ45 plug. Insert the rubber barrel ring (part 2) into the RJ45 plug.
-
Page 7: Install Micro Sd Card
Install Micro SD card 1. Loosen the screw on the lower cover. Remove the lower cover and you can see the Micro SD card slot which is show in the picture of dimension. 2. Insert a Micro SD card into the slot ,the card slot is elastic so it only needs to press slightly to install the Micro SD card. - Page 8 Thank You Purchasing our product. Please do not hesitate to contact us if there are any questions or requests. This guide is designed to be a reference instruction for using Anviz product. Download & Install IntelliSight App...
- Page 9 ©2022 Anviz Global Inc. Anviz and identifying product names and numbers herein are registered trademarks of Anviz Global Inc. All non-Anviz brands and product names are trademarks or registered trademarks of their respective companies. Product appearance, build status and/or...
Need help?
Do you have a question about the IntelliSight iCam-B2 Series and is the answer not in the manual?
Questions and answers