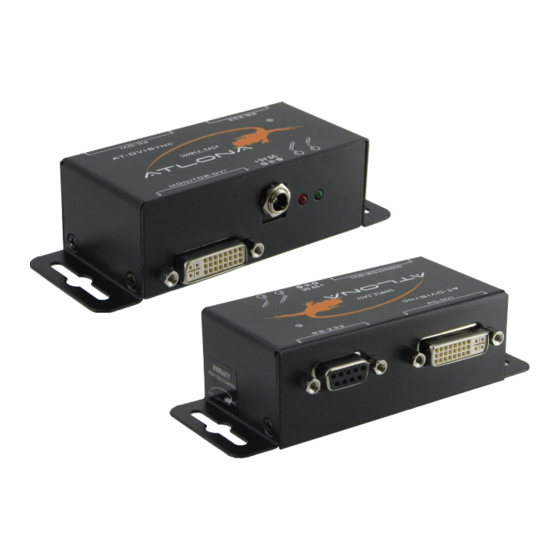
Summary of Contents for Atlona AT-DVISync
- Page 1 DVI EDID Recorder/Writer with Serial Control AT-DVISync User Manual Toll free: 1-877-536-3976 www.atlona.com Local: 1-408-962-0515...
-
Page 2: Table Of Contents
3. Package Contents 4. Specifications 5. Panel Description 5.1. Front Panel 5.2. Rear Panel 5.3. Bottom Panel 6. DIP Switch 7. Installation 8. Software Operation 9. Safety Information 10. Warranty 11. Atlona Product Registration Toll free: 1-877-536-3976 www.atlona.com Local: 1-408-962-0515... -
Page 3: Introduction
INTRODUCTION Atlona Technologies AT-DVISync EDID Reader/Writer is able to emulate the EDID (Extended Display Identifica- tion Data) information. This unit will both store and recall a default EDID setting in non-volatile memory, thus allowing your computer to boot directly from the EDID Reader/Writer. This unit also has the ability to read and store the EDID of your display, as well as allows you to modify the EDID and upload the modified EDID to the desired display, all while maintaining optimum DVI Video resolutions. -
Page 4: Specifications
20~90% RH [no condensation] PANEL DESCRIPTION 1. Front Panel 1. Monitor-DVI: Connect your display to AT-DVISync here 2. 5V DC power jack 3. Red LED: Red Light indicates unit is powered ON 4. Green LED: Green Light indicates unit is in the process of... -
Page 5: Rear Panel
Note: To avoid initiating undesired errors during switching between modes (e.g. changing from Recording mode to Connection mode might overwrite the EDID of the display in the AT-DVISync by the default EDID), please unplug the power cord before changing one of the above modes. Plug in the power cord after you have changed the position of the DIP switches. -
Page 6: Installation
1. Set the DIP switches at the button of AT-DVISync to: (1-off 2-on). 2. Connect desired monitor to the AT-DVISync and plug in the 5V DC power cord. 3. Remove the 5V DC power cord when the green LED turns off. - Page 7 2. While finishing editing the EDID content, you can click on “Write EDID” button [6] to write the EDID infor- mation to EDID Re/writer. After the write action is completed, the following message window will show up. Toll free: 1-877-536-3976 www.atlona.com Local: 1-408-962-0515...
- Page 8 “Load File” [2] button 2. Click on “DVI Monitor Write” [7] button, and wait for the following message showing up. When the EDID update is successfully done with, you can see the following message window show up. Toll free: 1-877-536-3976 www.atlona.com Local: 1-408-962-0515...
-
Page 9: Safety Information
It may also cause damage to your AT- DVISync. Opening the product will void the warranty. Do not attempt to service the unit. Disconnect the product and contact your authorized Atlona reseller or con- tact Atlona directly. -
Page 10: Warranty
To the maximum extent permitted by applicable law, in no event shall Atlona Technologies or its suppliers be liable for any damages arising out of the use of or inability to use this product, even if Atlona Technologies has been advised of the possibility of such damages. Such damages include but are not limited to: special, inciden- tal, consequential, or indirect damages for personal injury, loss of business profits, business interruption, loss of business information, or any other pecuniary loss. -
Page 11: Atlona Product Registration
ATLONA PRODUCT REGISTRATION Thank you for purchasing this Atlona product. - We hope you enjoy it and will take an extra few moments to register your new purchase. Registration creates an ownership record if your product is lost or stolen and helps ensure you’ll receive notification of performance issues and firmware updates.

Need help?
Do you have a question about the AT-DVISync and is the answer not in the manual?
Questions and answers