Table of Contents
Advertisement
Advertisement
Table of Contents

Summary of Contents for Gecen SF-790G
- Page 1 User's Manual 1 / 13...
-
Page 2: Safety Use
Safety use: ①. Consumers who using the product for the first time should read this manual carefully. ②. Don not touch the LCD screen. ③. Don not place heavy items on the device. ④. Don not lay the device closes to heating source, in the sunshine, in place with strong mechanical vibration or full of dust. -
Page 3: Chapter 2 Introduction Of Panel Function
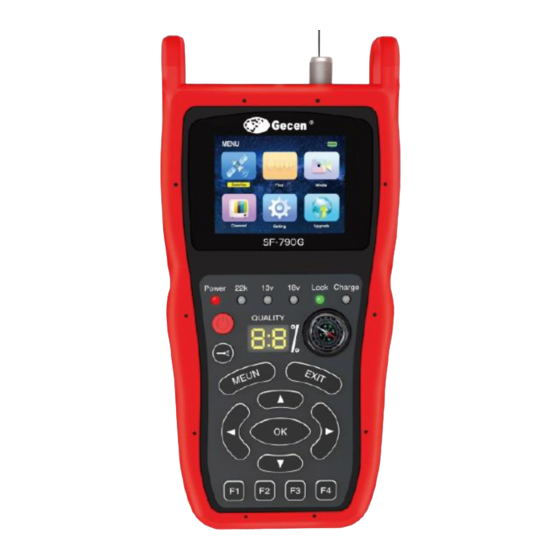
Chapter 2 Introduction of panel function 2.1 Panel introduction Description Function Cover The battery cover LNB IN Connect to satellite antenna cable LCD Screen Video display USB Port Connect to USB flash disk DC Slot Connect to Adapter Input Power Power indicator light 22KHz 22KHz indicator light... -
Page 4: Chapter 3 Detail Operation Guide
Torch Torch EXIT EXIT Special function keys. Different function definitions in different menus Chapter 3 Detail operation guide When you turn on the device, you can see the menu which consists of Satellite, Find, Setting, Channel, Media and Upgrade. 3.1 Satellite Enter the satellite option you see the following interface . - Page 5 3.2.1 Finding Move cursor to“Finding ’’and press“OK’’ ,then you can enter the“Finding’’ interface. ■ The interface display content including C/N , BER, FEC, MER, Elevation, Azimuth, etc. ■Press“OK’’ on the Satellite option, then you can see the following window. Press[▲/▼] to select the existed satellite and you can press “OK’’...
- Page 6 ■This panel can quickly set satellite parameter and TP parameter. ■When a frequency with signal is detected (not locked yet), the signal strength bar will also be displayed on LCD. ■When the signal is locked, the buzzer will sound with the repetition. The signal quality bar will also be displayed on the LCD.
-
Page 7: Angle Calculation
■Press[◀/▶]to move cursor to select frequency, the signal strength of the selected frequency will be displayed on the right-top corner. Press "OK" to scan the current frequency point blindly 3.2.3 Angle Calculation. Move cursor to“Angle Calculation ’’and press“OK’’ , then you can enter the“Angle Calculation’’... - Page 8 ■Press [▲/▼] to move cursor to choose“Analyze by Frequency’’ and press“OK’’ , then you can see this interface. ■Press [◀ / ▶]to select satellite and you can see the Transponder changes correspondingly. ■Press [◀ / ▶]to select Transponder and you can see TP frequency, Symbol Rate and Polarity change correspondingly.
- Page 9 ■Press“RETURN’’ and press [▲/▼]to move cursor to choose“Analyze by Program’’ and press“OK’’ , then you can see this interface. ■Under Constellation Analyzer interface (by Program), press [◀ / ▶]to switch between all the searched program. ■When a frequency with signal is detected(not locked yet), the signal strength bar will be displayed on LCD.
- Page 10 3.5 Media Move cursor to“Media’’ and press“OK’’ , then you can enter the“Media’’ interface. ■Press[▲/▼] to select the item you want to get into and press“OK ’’ to select the file you want to play. ■You can play Music, Video, Picture, etc. ■Press[▲/▼] to select Record Files and press“OK’’...
-
Page 11: System Information
3.6.1 System Information ■Press [▲/▼] on the system, and then press "OK", you can get the product's hardware and software version information 3.6.2 Factory Reset ■Press[▲/▼]on Factory Reset and press“OK ’’, then you can see the following menu. ■Press“OK’’ to get into the Factory Reset (the default password is 0000) . 3.6.3 Software Upgrade ■Press[▲/▼]on Software Upgrade and press“OK ’’, then you can see the following menu. -
Page 12: Chapter 4 Technical Specifications
■Press[▲/▼]on Upgrade Type and Press [◀ / ▶]to select upgrade Type. If you need to upgrade by USB, select “USB Upgrade ’’, or you Need to save your software to USB, select “Dump” is crucial. ■Press[▲/▼]on Section and Press [◀ / ▶]to select upgrade section, include All, App, and User. -
Page 13: Physical Specification
Battery 7.4V/2600mAh Battery charging time Battery standard discharging 3-4H time 1*USB 2.0 slot Compatible for Host Transport Stream MPEG-2/4,H.264 Physical Specification LCD Display 2.3 inch Size[W*H*D] 160 x80x 40(mm) Net Weight 0.5Kg ℃ ℃ Operating Temperature ~ + 45 ℃ ℃...
Need help?
Do you have a question about the SF-790G and is the answer not in the manual?
Questions and answers