Table of Contents
Advertisement
Quick Links
Advertisement
Table of Contents

Summary of Contents for Fitas Progresso Crie Sua Fita
- Page 1 MANUAL DE INSTRUÇÕES INSTRUCTION MANUAL...
-
Page 2: Table Of Contents
A2: 2003, IEC 61000-4 -2: série 2008, UL 60950-1, 1ª Edição, 2007-10-31, CSA C22.2 No. 60950-1-03, 1ª Edição, 2006-07, CFR 47, Parte 15 WARNING This is a class A product. Crie sua Fita into a domestic enviroment may cause radio interference that the user should requires to take an appropriate measures. -
Page 3: Security Instructions
SECURITY INSTRUCTIONS Please, read carefully the following instrucions. Keep the printer in a clean and airy place, away from dust and moisture; Use only genuine supplies; Before connecting the device to an outlet, check power supply voltage; Make sure the printer is turned off before plugging the power connector into the outlet;... -
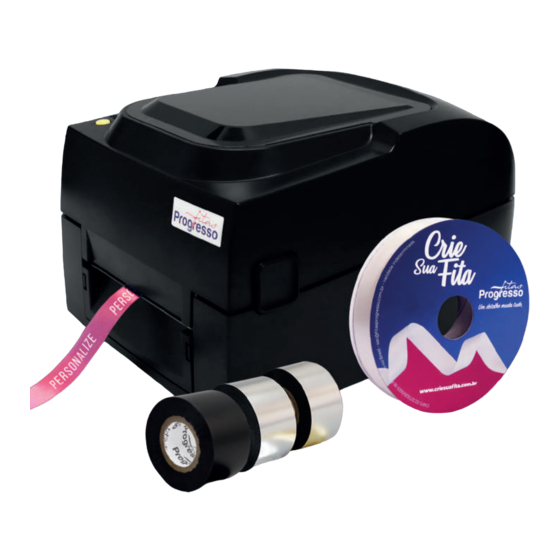
Page 4: Crie Sua Fita Printer
CRIE SUA FITA PRINTER CONTENTS OF THE BOX Please check if all the following components are inside the box. Printer Axle (2 units) Empty ribbon core Power Adpater AC Adpater Supply Axis USB Cable Axle support plates (2 units) RIBBON GUIDES... -
Page 5: Knowing The Printer
KNOWING THE PRINTER SUPERIOR COVER lED Indicator Feed button Removable cover Cleaning/ Maintenance Top cover release button BACK VIEW Ribbon feed option Network Connection USB port Switch Feed On/o AC adapter input... - Page 6 LABEL HUB SUPPLY Guide plates (2 units) Removal Film Mechanism Adjusting screw (left) Screw to adjust the pressure Adjusting screw (right) of head printer (left) Screw to adjust the pressure of head printer (right) Head printer locks (right) Head printer locks (left) Printer mechanism Adjust Screw the print line...
-
Page 7: Printer Setup
PRINTER SETUP Place the printer on a flat surface. Open the cover pressing the release buttons on the both sides and lifting it up. Pressing the Pressing the button button Release buttons Release buttons to open the printer cover. Lift the printer cover to the back... -
Page 8: Mechanism
MECHANISM Open the printer pressing simultaneously the printer head latches. Lift the printer mechanism Axle Film Core Film exit direction Axis for delivery mode Put the empty ribbon core on the lm rewind axis... -
Page 9: Install The Film On The Printer
Axis for withdrawal mode The picture below illustrates how to place correctly the paper roll to remove the lm. Correct removal for the lm discarded after printing Correct output for lms with both colors Fix with adhesive tape INSTALL THE FILM ON THE PRINTER With the printer head raised, passe the supply tube of the film under it, according to the picture below. -
Page 10: Putting Ribbon On The Printer
Satin ribbon fee module installation. Put the ribbon roll Crie Sua Fita on the feed axis. Center the guide plater to assist the alingment. Bring the guide plates to the ribbon roll Crie Sua Fita at the center of the axis. - Page 11 PUTTING RIBBON ON THE PRINTER Satin ribbon feed module installation Put the ribbon roll, lift the printer head, pull the ribbon under the head and insert the guide. Return with the guide and ribbon, snapping on the side locks Position sensor must stay at the center Completed the assembly process, close the printer and start the computer setup.
-
Page 12: Connecting The Printer With The Computer
CONNECTING THE PRINTER WITH THE COMPUTER Please, make sure the printer is turned off; Connect the power cable to the AC adapter and turn the printer on; Connect the USB cable / Parallel to the printer computer (USB is the cable type / parallel depends the printer you buy). Start the printer. -
Page 13: Crie Sua Fita Software Installation
You just need to ask your during your attendence. Also on the website, we have an images and template data base ready for you to start your work with the Crie Sua Fita. Crie Sua fita. Images data base / Training Videos Find several options for images already prepared to facilitate your work. - Page 14 1) Enter on the web site www.criesuafita.com.br and click on "Access": 2) Insert your login and password;...
- Page 15 Access on "Customer Area". Download the software Crie Sua Fita and follow the installation steps.
- Page 16 The installation may be interrupted if the computer is not available or inactive the Microsoft .Net Famerwork 3.5. In this case it is necessary to install and/or activate the same.
-
Page 17: Operation And Printing With Crie Sua Fita
OPERATION AND PRINTING WITH CRIE SUA FITA When completed the installation, a shortcut will be created on the desktop. Open the program. When opening, setup the ribbon measurements, specifying the length and width. - Page 18 After defining the area where the printing artwork will be prepared add the images and texts as needed. Click on the images and position in the defined area. Open the window to orientate and select the desired image.
- Page 19 Go to the desired folder - select the image and then click open. Go to the previous screen with image preview, then click ok.
- Page 20 With the adjusted image, add text by selecting the highlighted icon in the image below. Click on the text icon and place in the defined area and click.
- Page 21 When the next window opens, type the desired text and then select. Use the side tools to align and distribute the elements.
- Page 22 With the artwork already defined, firstly set the print settings. In the print setup window, select the Printer Interface tab. On the USB port, with the printer connected and turned on, find the first 6 digits referring to the printer model. Select automatically detect the printer connected during startup, then click save.
- Page 23 Open the print setup window again and select the template of printer according to the purchase made. Enter the temperature from 8 to 12 (above or below may have an unsatisfactory result), in the ribbon direction, keep 270 degrees, number of ribbons and repeats that will be printed.To reach this number, follow the rule as example for 50 meters: 50/0.100 = 500 that we must insert in fix number.
- Page 24 www.criesuafita.com.br...
Need help?
Do you have a question about the Crie Sua Fita and is the answer not in the manual?
Questions and answers