Advertisement
Quick Links
Advertisement

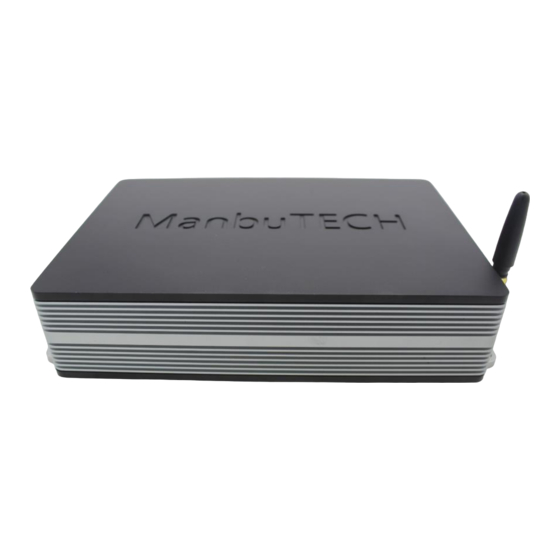
Summary of Contents for MANBUTECH AMP-ACCORD-16-18
- Page 1 安徽 AMP-ACCORD-16-18...
-
Page 2: Safety Instructions
Make sure to always stop your vehicle in a safe place before and controlling options of this MANBUTECH amplifier. Please read this manual carefully, operating these functions. There is a risk of causing an accident. - Page 3 2. Remove the headunit from the dashboard and disconnect the main wire. Oct. slope for Front, Rear and Subwoofer channel 3. Find a place for the AMP-ACCORD-16-18 and connect the provided (or ◼ Time Alignment in cm (0 – 420 cm) for front, rear and subwoofer channel optionally available car-specific) wire to the amp.
- Page 4 WIRING DIAGRAM AMP-ACCORD-16-18 If you want to use just the DSP function of the AMP-ACCORD-16-18 with a separate high performance amplifier, connect the line out of the AMP-ACCORD-16-18 with the RCA input of your amplifier. SPEAKER ACC-in Rem-out GROUND (-)
- Page 5 APP INSTALLATION AMP-ACCORD-16-18 For FUNCTIONS Android phones only: Connection to the smart mobile 1. Download the MDA.5.31 in Play store “Connect” button. After the connection procedure is Start the app and touch the done successfully, the app downloads the current settings from the amplifier.
- Page 6 If required, you can choose independent equalizer preferences for the front and EQ Settings rear channels and even for each channel separately. Simply use the slider Front or In the EQ menu you can build your sound Rear. When you want to do one setting for according to your settings.
- Page 7 Gain Phase Crossover In this menu you can make the following In this menu you can assign a frequency settings for each individual channel: sound band to the connected speakers that cor- level, mute and phase. The sound level set- responds to their recommended operat- tings are made in the field above and under ing range.
- Page 8 Time Alignment Press the „Time Alignment“ button to go to the menu. In this menu you can apply a time delay to the speaker signal to simulate an ideal listening position. Note the distance between your listening position and each speaker. Choose the most distant speaker as the reference for the other speakers.
- Page 9 Installation guide STEP2: Take out 2 silver panel near the gear box. STEP3: Use the special screw driver to take out the STEP2: Take ou thte 2 screws by screws driver. 2 screws inside the dashboard. – 16– – 17 –...
- Page 10 STEP4:Take out the plastic part as the picture shows. STEP5:Take out 2 screws as the picture shows and take out the head unit. –18 – 19 –...
- Page 11 STEP6:Put the cable through the dashboard as the picture shows. STEP7:Put the cable inside and put it under the passenger seat. STEP8:Plug in the cables of the head unit and the car. –20 – 21 –...
- Page 12 STEP9:Plug in the amplifier and put in under the seat. –22 – 23–...
- Page 13 –22 – 23–...
Need help?
Do you have a question about the AMP-ACCORD-16-18 and is the answer not in the manual?
Questions and answers