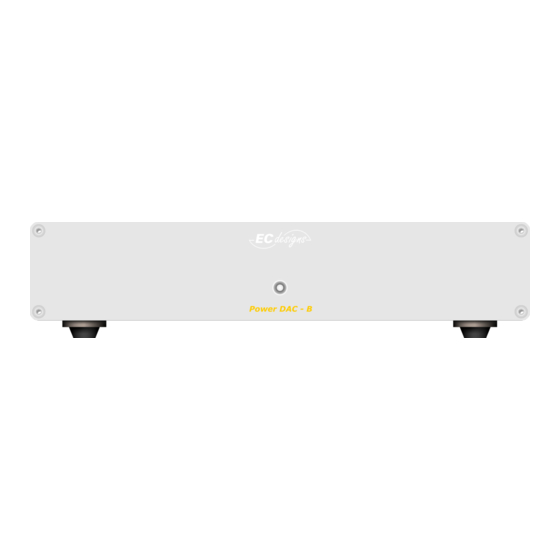
Summary of Contents for ECdesigns PowerDAC-B
- Page 1 PowerDAC-B User Guide 1 15 © 1990-2022 - All Rights Reserved - ECdesigns...
- Page 2 Balanced power-supply and resistor attenuator are used to generate the output signal. The PowerDAC-B can be used with an amplifier or with headphones using a (resistor based/ passive) volume control connected to the two RCA connectors on the back.
- Page 3 Theory of operation - Block diagram 3 15 © 1990-2022 - All Rights Reserved - ECdesigns...
- Page 4 7 + 15 = 22 switches in total. This way we can generate highly accurate and consistent audio signals on the RCA output without requiring any active conversion, amplifier or buffer circuit. 4 15 © 1990-2022 - All Rights Reserved - ECdesigns...
-
Page 5: Technical Specifications
Output 2 x RCA output. PowerDAC-B and The PowerDAC-B makes it possible to directly drive many headphones (32 Ohm and up) without any analogue amplifier or buffer in the signal path, use a passive attenuator for headphones volume control, e.g. resistor based. ... - Page 6 Technical specifications PowerDAC-B PAGE 2 POWER Output Voltage shifts attenuation in dB Volume 4.4Vpp fixed 0 dB 6 15 © 1990-2022 - All Rights Reserved - ECdesigns...
- Page 7 DAPI firmware The DAPI firmware can be updated using the USB socket and jumper setting positions for firmware update. update Dimensions Width: 23cm, Height: 5cm, depth: 23cm. Weight 1.5 kg 7 15 © 1990-2022 - All Rights Reserved - ECdesigns...
-
Page 8: Jumper Settings
Jumper settings Below are the jumper settings for PowerDAC-B. You will need to remove the right plate (4 screws) and then pull-out the top plate to the right to access jumper block. Carefully remove or place jumpers using tweezers. -
Page 9: Firmware Update
Use tweezers to set the red jumpers on rear of PowerDAC-B to PROGRAM configuration (see Jumper settings on previous page). Download and unzip latest pdrs-firmware.zip Now connect a USB cable from the PowerDAC-B to your computer and start the STM32CubeProgrammer. 9 15 © 1990-2022 - All Rights Reserved - ECdesigns... - Page 10 Press the OK button on message window. Finally click on the Disconnect button to finish session. You can then close the STM32CubeProgrammer. Remove the USB cable between PowerDAC-B and PC. Set jumpers to the normal positions. After power-up PowerDAC-B the new firmware is used.
- Page 11 From this directory execute: If this completes without errors (File downloaded successfully) your firmware should be updated. Disconnect the USB cable from PowerDAC-B and reset jumpers back to normal or fixed. After power-up PowerDAC-B the new firmware is used. 11 15...
- Page 12 UT192 (Optical + ElectroTos output) The UT192 is an optional high-speed USB to Toslink converter that can be used with the PowerDAC-B or other Toslink DACs. It supports USB high-speed: 44.1kHz / 48kHz / 88.2kHz / 96kHz / 176.4kHz / 192kHz The UT192 is based on the XMOS processor.
- Page 13 RF ground loop noise and very large bandwidth noise in general. ElectroTos offers low jitter, blocks RF ground loop noise and offers a clean, band-limited output signal. 13 15 © 1990-2022 - All Rights Reserved - ECdesigns...
- Page 14 One possible solution is using an external input switch like the one below. It has 4 S/PDIF inputs and includes a remote control for selecting the active input. Digital Audio-Switch 14 15 © 1990-2022 - All Rights Reserved - ECdesigns...
- Page 15 If you are looking for simple music player for stand-alone or even multi-room to use with the PowerDAC-B checkout piCorePlayer. When run from an RPI4 you could connect your music to the RPI4 directly by USB or to NAS via network.

