Advertisement
Quick Links
Advertisement

Related Manuals for Happiest Baby Lola Crib


Summary of Contents for Happiest Baby Lola Crib
- Page 1 ™ Lola Crib Assembly Instructions...
- Page 2 Check this crib regularly before using it, and do not use it if any parts are loose or missing or if there are any signs of damage. Do not substitute parts. Contact Happiest Baby Inc if replacement parts or additional instructions are needed. •...
- Page 3 • FALL HAZARD: When child is able to pull to a standing position, set mattress to lowest position and remove bumper pads, large toys and other objects that could serve as steps for climbing out. • STOP using crib when child begins to climb out or reaches the height of 35 in. (89cm). •...
- Page 4 ENGLISH • Do not dispose of any packaging or shipping carton contents until assembly is completed to avoid accidentally discarding small parts or hardware. Contact Happiest Baby Inc 3115 S La Cienega Blvd Los Angeles, CA 90016 Ph: (310) 476 4440 www.HappiestBaby.com...
- Page 5 All hardware is packaged in bags labeled with the assembly step they correspond with. L-Key Locking Washer Barrel Nuts Wood Dowel 1.25 inch .63 inch 2.25 inch 1.75 inch 1.5 inch 3 inch Bolt Bolt Bolt Bolt Bolt Bolt Mattress Spring Corner Posts Headboard (Rear Side) Right Minor Side...
- Page 6 Find the 4 sides of the crib frame on the top layer of packaging. Take the 8 wooden dowels from hardware kit bag labeled ”For Step 1” and use them to mate crib frame. Headboard SIde Wood Dowel Footboard SIde When put together it should look like this:...
- Page 7 Use the 4 barrel nuts, washers and bolts in the “For Step 2” bag to fasten the frame together as shown. Locking Washer Barrel Nuts 2.25 inch Bolt Use the 8 bolts and washers from the bag labeled ”For Step 3” to fasten the legs as shown.
- Page 8 Use the 2 dowels from the bag labeled ”For Step 4” to index the Footboard on the frame. Then use the 4 bolts and washers to fasten the Footboard to the Frame as shown. Wood Dowel Locking Washer 3 inch Bolt...
- Page 9 Use the 4 bolts and washers from the bag labeled ”For Step 5” to fasten the 2 Corner Posts to the Footboard as shown. 1.25 inch Locking Washer Bolt...
- Page 10 Use the 2 dowels from the bag labeled “For step 6” to index the Minor Sides and use the 4 bolts and washers to fasten them to the frame as shown. Locking Washer Wood Dowel 3 inch Bolt...
- Page 11 Use the 4 washers and bolts from the bag labeled “For step 7” to fasten the Minor Sides to the Corner Posts as shown. 1.75 inch Bolt Locking Washer Place the Mattress Spring inside the crib on top of the frame. Flip up the attachment brackets located at each corner of the Mattress Spring.
- Page 12 Use the 2 dowels from the bag labeled ”For Step 9” to index the Headboard on the frame. Then use the 8 bolts and washers to fasten the Headboard to the Frame and Minor Sides as shown. Locking Washer Wood Dowel 1.75 inch Bolt...
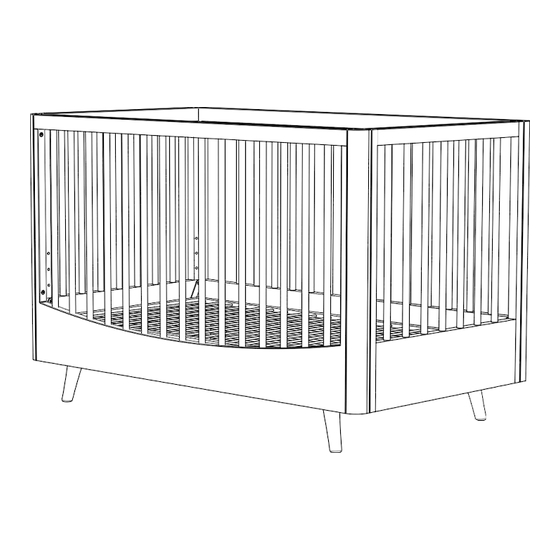
- Page 13 Congratulations! Your Lola Crib is now assembled. Grow up with Lola Crib!
Need help?
Do you have a question about the Lola Crib and is the answer not in the manual?
Questions and answers