Advertisement
STB Monitor Quick Start Guide
1. Unpacking
Check that all these accessories are present:
1 power supply cable
1 straight ethernet cable
1 Infrared USB
1 HDMI input USB
1 HDMI Splitter (Optional)
1 IEC to Schuko for STB Power Supply Restart (Optional)
2. Connecting to the embedded Web site
3. Adding new channel tests
•
On the embedded web site home page, click STB Monitor > +Add Item -> Add Channel Test
•
Input the channel name and number and you are ready to go.
•
The other option is to upload channels.csv file STB Monitor > +Add Item -> Config Channel Tests
•
The file format for channels.csv is For Example:
1;Channel1
2;Channel2
•
This will automatically create tests for all of your channels.
Please check the user manual for more information on how to communicate with your
www.kvarta.net
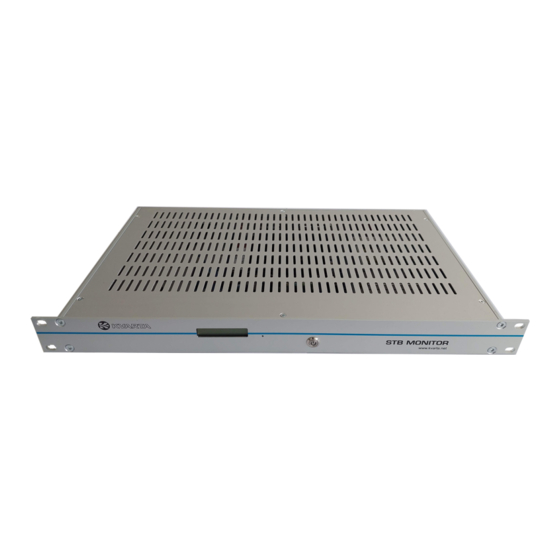
STB Monitor
Quick Start
1. Connect the Ethernet cable between the RJ45 and the network.
2. ETHERNET 0: Default IP address is 192.168.3.3.
3. The default MANAGEMENT port is ETHERNET 1 with IP address 192.168.2.3.
NOTE: Your computer should be in the same network.
4. Open a Web browser (preferably Chrome...) and enter the device IP address.
Login with the default username and password: (admin/admin).
The home page of the embedded web site is displayed.
device and how to configure it.
Advertisement
Table of Contents

Summary of Contents for Kvarta STB Monitor
- Page 1 The home page of the embedded web site is displayed. 3. Adding new channel tests • On the embedded web site home page, click STB Monitor > +Add Item -> Add Channel Test • Input the channel name and number and you are ready to go.
- Page 2 STB Monitor Quick Start Guide STB Monitor HDMI Splitter Connection 1. Connect USB power port of the HDMI splitter to one of the 4 free USB 3.0 ports at the back of the STB Monitor. 2. Connect HDMI OUT2 to HDMI Capture (HDMI to USB) 3.


Need help?
Do you have a question about the STB Monitor and is the answer not in the manual?
Questions and answers