
Summary of Contents for Weistec 01-000-01914-6
- Page 1 ______________________________________________________________________________ Weistec Can-Am Maverick X3 Optima Battery Kit Installation Guide • 2016+ Can-Am Maverick X3 Product P/N: 01-000-01914-6 Phone 877-WEISTEC Fax 888-516-8219 www.weistec.com...
-
Page 2: Tools Required
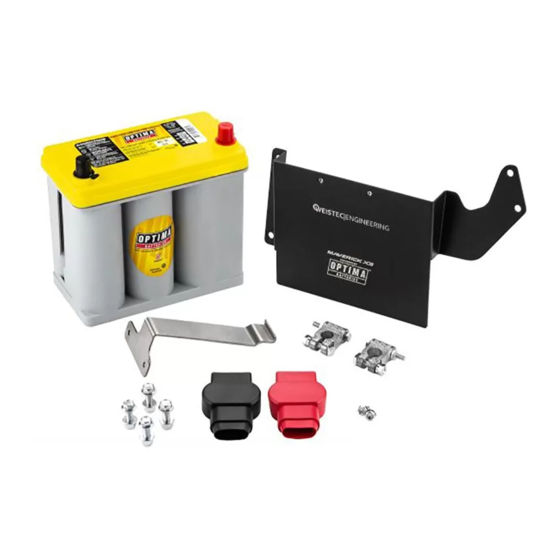
______________________________________________________________________________ WEISTEC Can-Am Maverick X3 Optima Battery Kit Thank you for your purchase of the Weistec Optima Battery Kit for the Can-Am Maverick X3 Vehicles. Please follow all directions, and keep a clean work space when commencing installation. Tools Required... -
Page 3: Installation
Move the seat to the furthest back seating postion that it will go to, once you do that you can look through the holes in the back of the seat and see the tops of the 18mm nuts. Phone 877-WEISTEC Fax 888-516-8219 www.weistec.com... - Page 4 Remove 2- 18mm nuts from the rear of the seat. d) Remove 2- 13mm bolt and nuts from the front of the seat e) Remove the Seat from the car, the seat belts will come out with the seat. Phone 877-WEISTEC Fax 888-516-8219 www.weistec.com...
- Page 5 3. Only For Racing and Extreme Applications, If you do not need to do this step, proceed to Section 4. a) Place the Weistec Battery cover in its place to use as a template, push the top bolt into its hole on each side. The lower holes need to be drilled to allow a fastener into them.Remove the single 10mm bolt holding the...
- Page 6 ______________________________________________________________________________ b) Mark the center of the non drilled hole on both sides. c) Remove the Battery plate and then drill both holes at the marked locations using an 11/32” Drill Bit and Power Drill Phone 877-WEISTEC Fax 888-516-8219 www.weistec.com...
-
Page 7: Wiring Preparation
Remove the stock rubber terminal cover over the Positive cable, feed the new provided terminal covers onto both the negative and positive wires. Connect the Can-Am wires to the Battery clamps using a 10mm(Bolt Side) and 13mm(Nut Side) wrench or socket. Phone 877-WEISTEC Fax 888-516-8219 www.weistec.com... - Page 8 After- Aimed to the Left Lower Wire After Lower Wire Before e) Secure the battery clamps onto the battery using a 13mm socket or wrench f) Move the covers until they cover both battery terminals are sufficiently covered. Phone 877-WEISTEC Fax 888-516-8219 www.weistec.com...
-
Page 9: Mount Installation
Don’t sinch this completely down as you will need a slight amount of play to ensure everything fits well. Phone 877-WEISTEC Fax 888-516-8219 www.weistec.com... - Page 10 Clip the front brace through the mount section in the rear of the battery cubby. g) Using a 10mm socket tighten the top brace to the front battery mount. Enjoy your new Weistec Optima Battery Mount!! Phone 877-WEISTEC Fax 888-516-8219 www.weistec.com...
Need help?
Do you have a question about the 01-000-01914-6 and is the answer not in the manual?
Questions and answers