
Summary of Contents for X2Power SLC10004A
- Page 1 SLC10004A INSTRUCTION MANUAL AUTOMATIC BATTERY CHARGER AUTOMATIC BATTERY CHARGER 3.8A 3.8A BATTERIES PLUS ® EXCLUSIVELY AT...
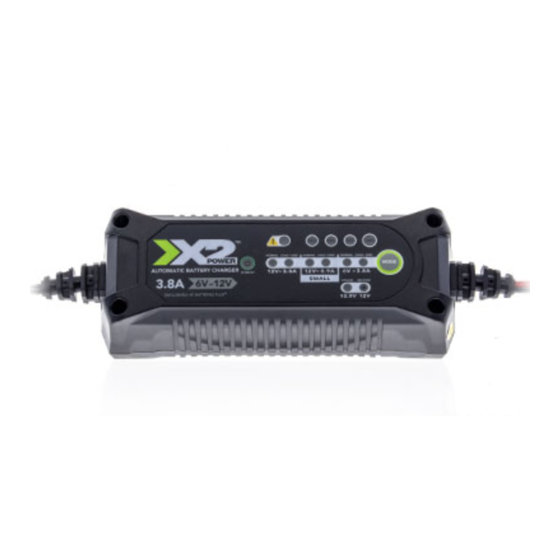
- Page 2 Input: 110-120V AC 60 Hz 1.2A Output: 100% 12V DC 3.8A / 0.9A NORMAL COLD / AGM NORMAL COLD / AGM NORMAL COLD / AGM MODE 6V DC 3.8A AUTOMATIC BATTERY CHARGER 3.8A 12V 0.9A 3.8A STAND BY 3.8A 6V 12V SMALL 12.8V DC 3.0A LITHIUM...
- Page 3 3. Do not expose charger to rain, snow 11. Do not disassemble the charger. Incorrect or moisture. reassembly may result in a risk of electric shock or fire. 4. Operate charger only in well-ventilated areas. Batteries generate explosive gases during 12.
-
Page 4: Safety And Precautions
and the manufacturer of any equipment you 6. Remove all jewelry and other metallic items intend to use in the vicinity of the battery. from your hands and body when working Review cautionary marking on these with batteries. Metal may spark or create a products and on engine. - Page 5 MOUNTING The SLC10004A has four (4) external holes #6 Self Tapping Screws for mounting. Mount (Not Included) the charger in a desired location with #6 self-drill screws. Make sure there are no obstructions 100% behind the mounting NORMAL COLD / AGM...
-
Page 6: Charging Modes
CHARGING MODES The SLC10004A has eight (8) modes. The Lithium and Recover charge modes require the mode button to be pressed and held for three (3) seconds to enter the enhanced mode. These “Enhanced” modes require your full attention before selecting. - Page 7 Do not operate the charger until you confirm the appropriate charge mode for your battery. Here is a brief description. CHARGING MODES BATTERY VOLTAGE MODE DESCRIPTION OUTPUT SIZE For charging 12-volt Flooded, 14.5V / Normal 12Ah-120Ah Gel, Maintenance-Free batteries. 3.8A For charging 12-volt batteries in cold temperatures Cold/ 14.7V /...
- Page 8 CHARGING MODES BATTERY VOLTAGE MODE DESCRIPTION OUTPUT SIZE For charging 6-volt Flooded, Gel, Maintenance-Free 7.3V / Normal 12Ah-120Ah 3.8A batteries. When selected, the LED will illuminate. Cold/ 7.4V / For charging 6-volt batteries in cold temperatures 12Ah-120Ah 3.8A below 50°F (10°C) or AGM batteries. Press &...
-
Page 9: Charging Times
CHARGING TIMES BATTERY 12V/6V APPROX. 12V SMALL BATTERY 12V/6V APPROX. 12V SMALL SIZE CHARGE TIME MODE CHARGE SIZE CHARGE TIME MODE CHARGE (AH) (HOURS) TIME (HOURS) (AH) (HOURS) TIME (HOURS) PREPARING TO CHARGE 1. If necessary to remove battery from vehicle 4. - Page 10 CONNECTING TO BATTERY see (6). If positive post is grounded to the chassis, see (7). 1. Set any charger switches to “off” position and remove AC cord from electric outlet 6. For Negative-grounded vehicle, connect before connecting or disconnecting DC POSITIVE (RED) clamp or eyelet connector output clamps or eyelets.
-
Page 11: Starting The Charging Process
THE BATTERY CHARGER MUST BE CONNECTED TO THE BATTERY ACCORDING TO THE INSTRUCTIONS ABOVE. STARTING THE CHARGING PROCESS: Once you have established that the battery clamps or eyelets have been correctly connected, you can start the charging process. To do so, insert the charger plug into the AC socket. The charger will start in Stand by mode, indicated by the STAND BY LED (1). - Page 12 STATE OF CHARGE INDICATORS The state-of-charge (SOC) LED display has four (4) SOC indicators. EXPLANATION The LED will flash when the battery is less than 25% Red LED 25% charged. When the battery is 25% charged, the LED will be solid. The LED will flash when the battery is less 50% Orange LED than 50% charged.
-
Page 13: Troubleshooting
TROUBLESHOOTING Error conditions are indicated in the LED display. ERROR REASON/SOLUTION Standard Charging The battery is not accepting a charge. Mode Change charge mode to Recovery Mode. Solid Red LED Recovery Mode The battery cannot be recovered. Battery capacity may be too high for the selected mode. Flashing Yellow LED Verify the battery capacity and charge mode. - Page 14 NOTES...
- Page 15 NOTES...
- Page 16 This device complies with part 15 of the FCC Rules. Operation is subject to the following two conditions: (1) This device may not cause harmful interference, and (2) This device must accept any interference received, including interference that may cause undesired operation. Changes or modifications not expressly approved by the Party responsible for compliance could void the user’s authority to operate the equipment.
Need help?
Do you have a question about the SLC10004A and is the answer not in the manual?
Questions and answers